Post #140
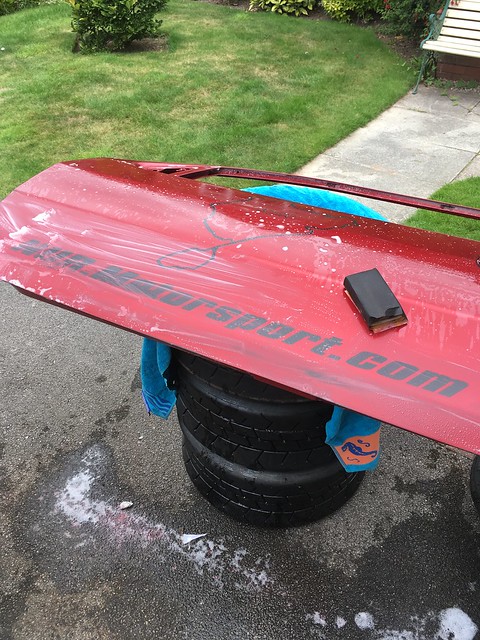
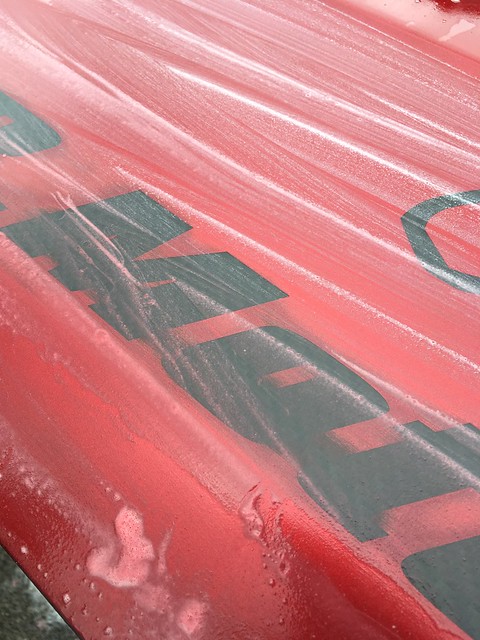
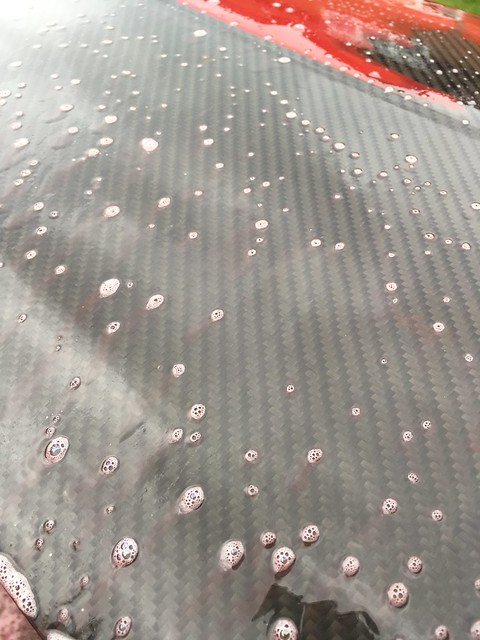
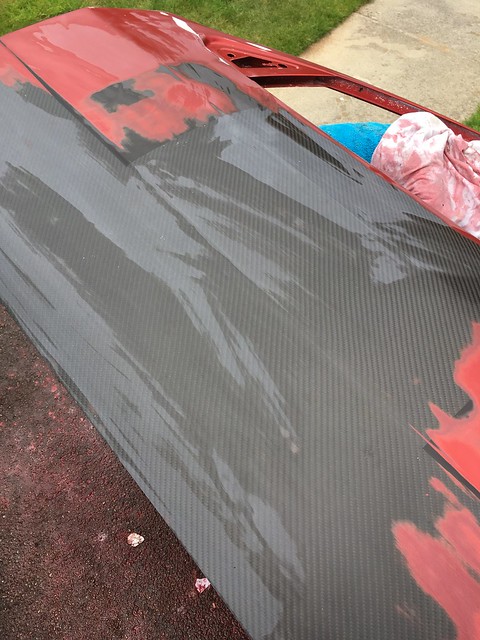
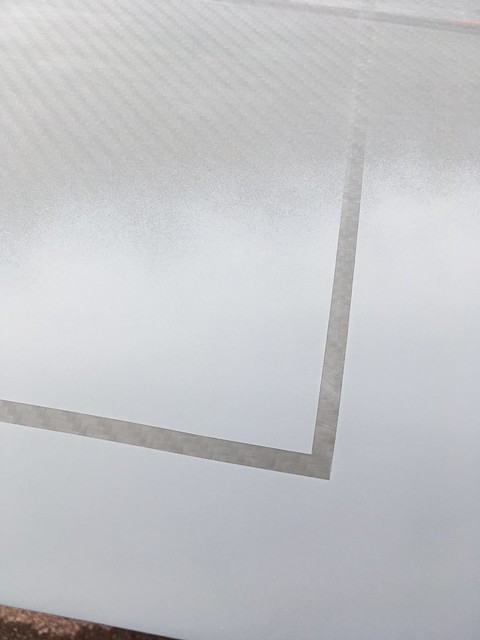
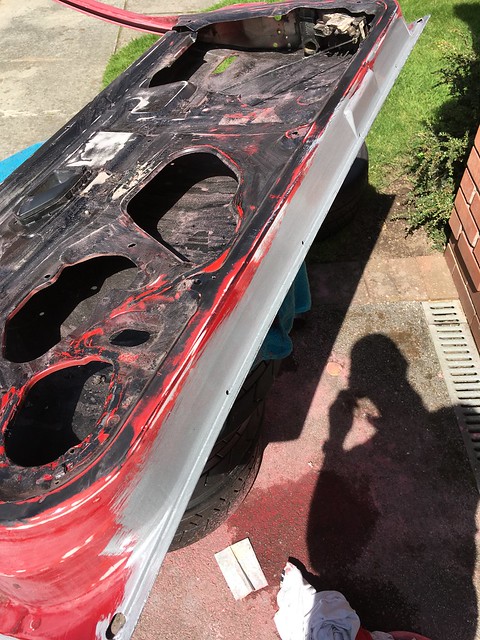
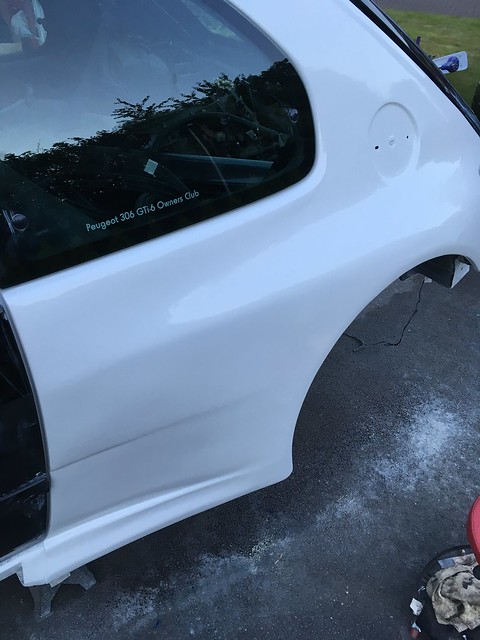
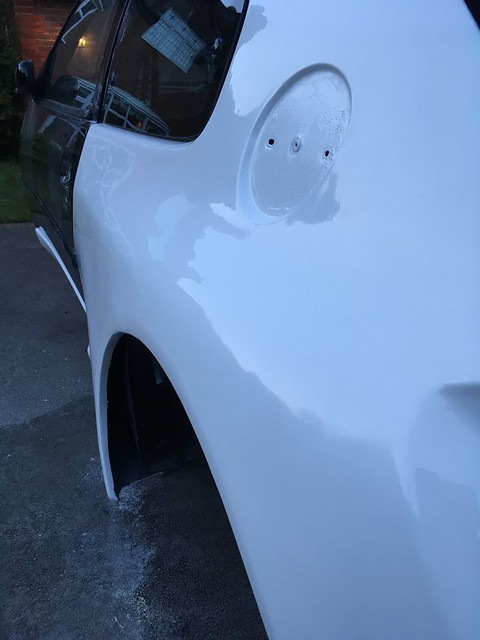
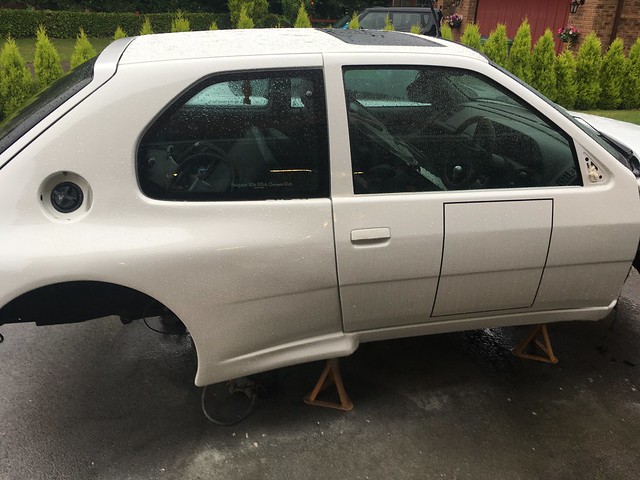
Quick update; last weekend decided to repaint the car again, as you do.
I'd got away without any issues after polishing it a bit early, but I just couldn't get it quite as good as I wanted to.
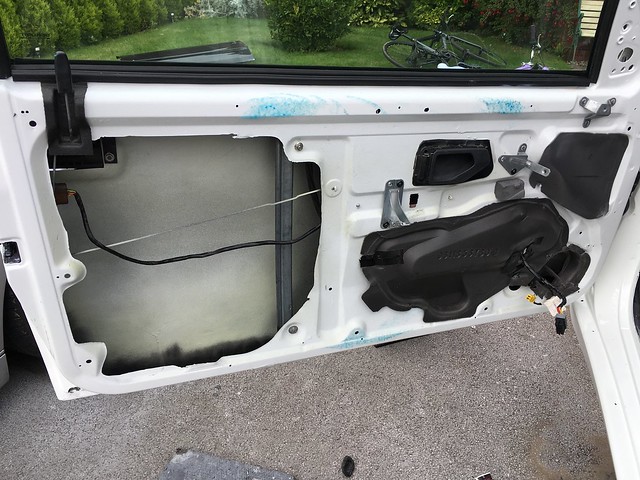
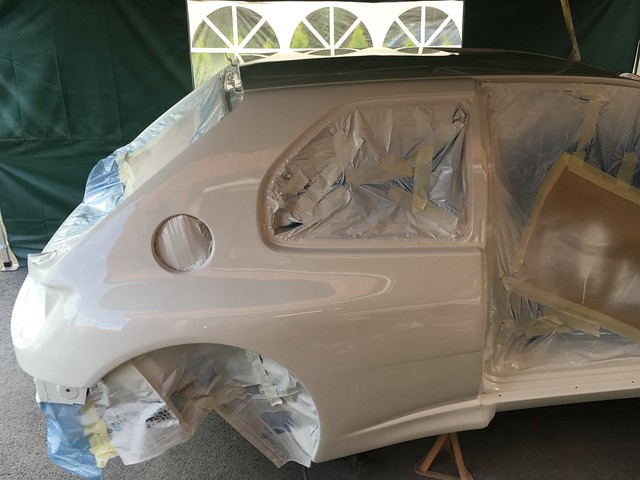
Having painted my doors using my primer gun (1.7 nozzle) and a little adjustable regulator at 35psi I got such a better result, I wanted to go again on the actual car.
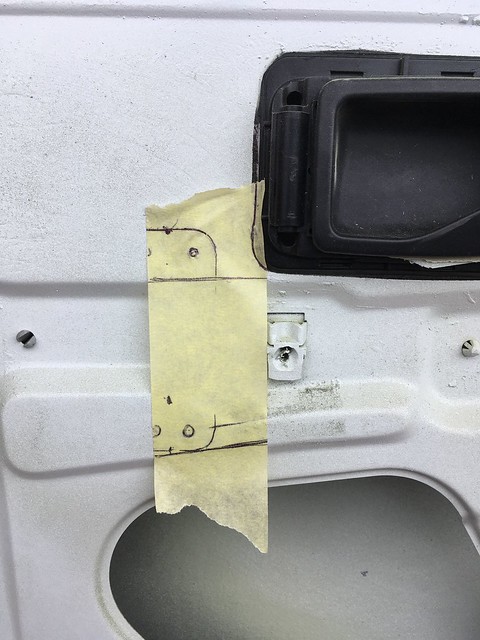
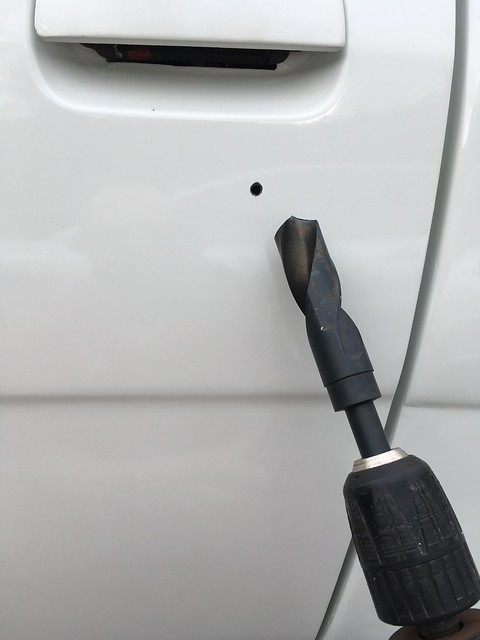
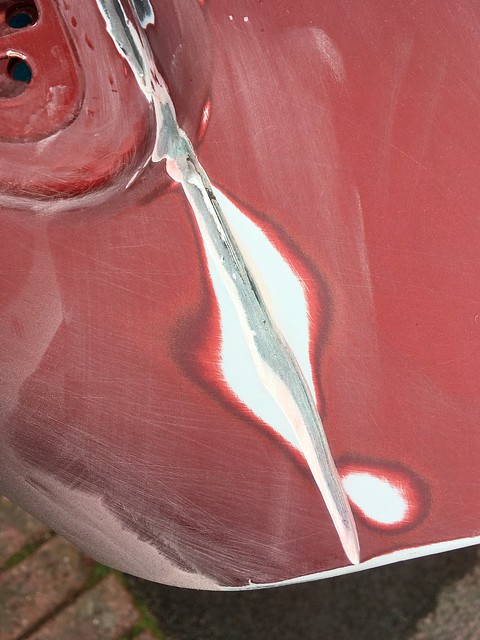
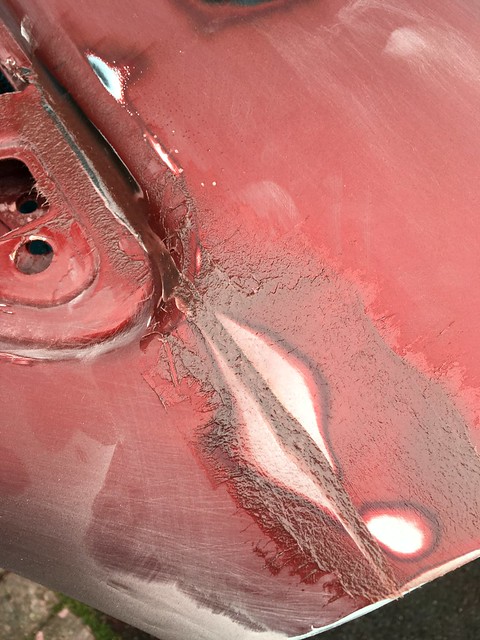
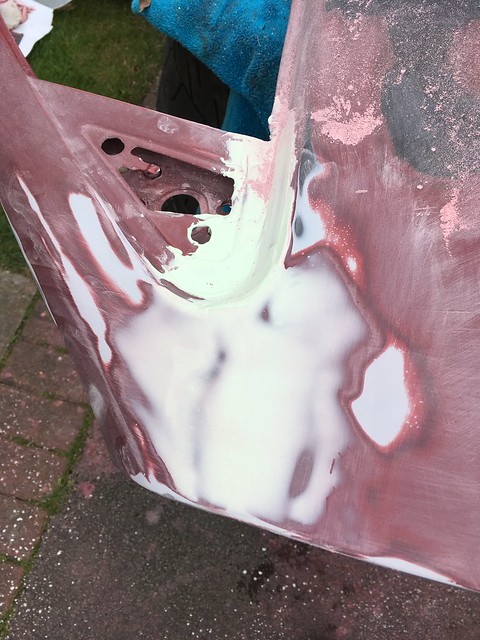
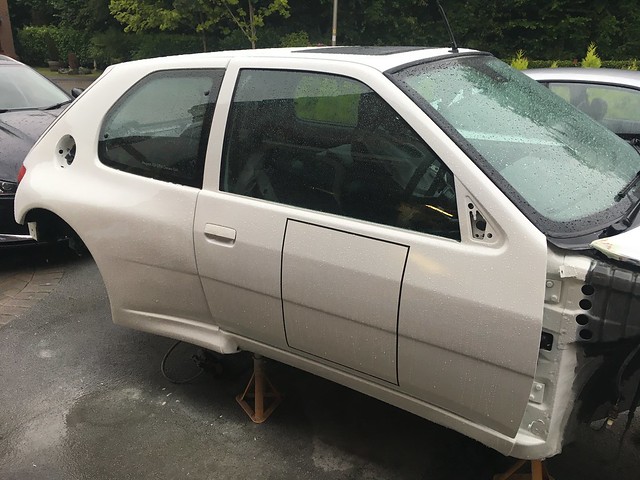
The weather was due to play ball, so followed hours of flatting, and masking getting ready.
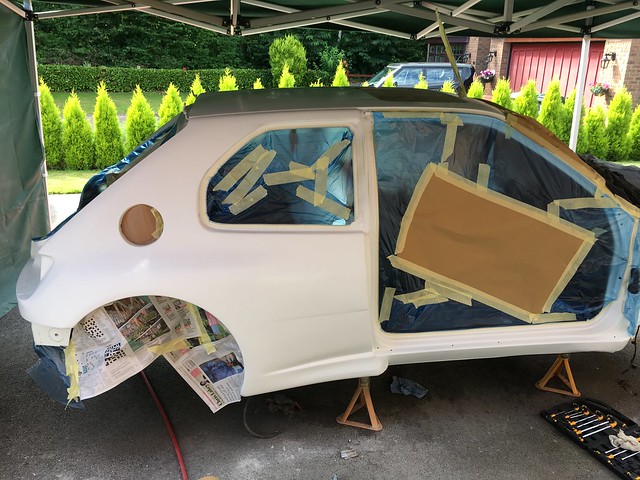
One thing impressed me was how tough the paint was in taking the flatting and sanding prep before paint. I can be confident in the finish if I could get it how I want it.
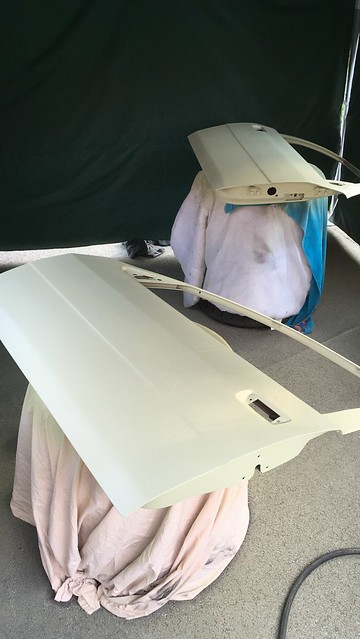
The painting is the quick and easy bit once all the masking is done!
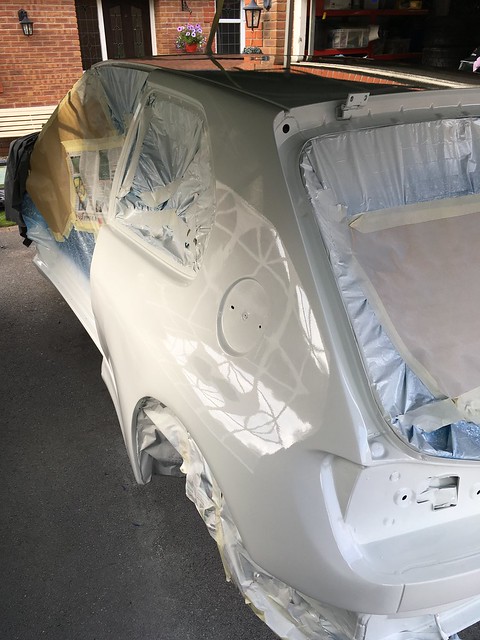
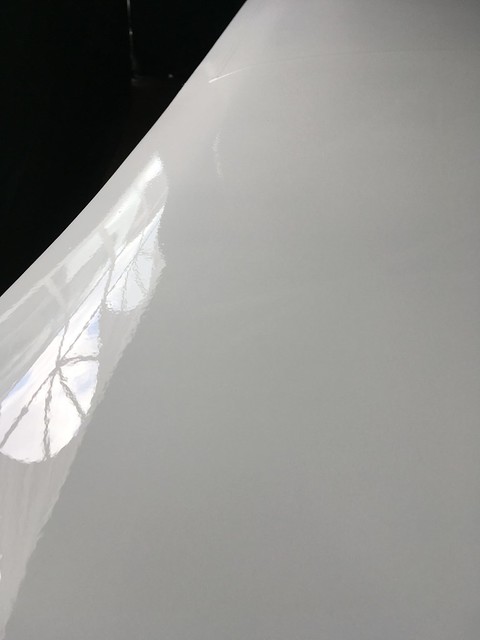
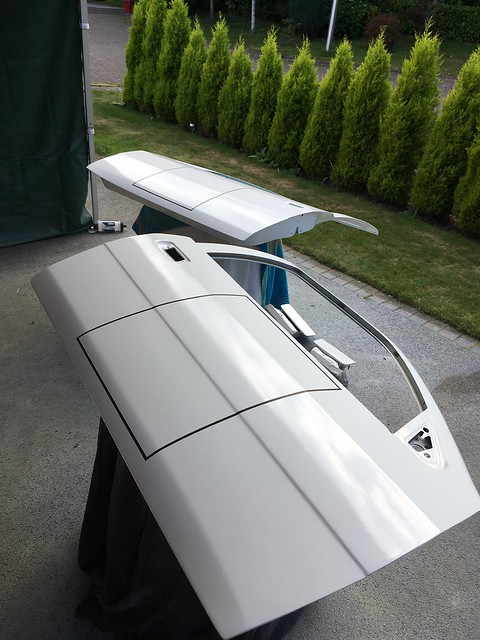
Well, it came out so much better than first time, and I'm really pleased with it now.
I guess it's just going through a process of trying and learning as you go.
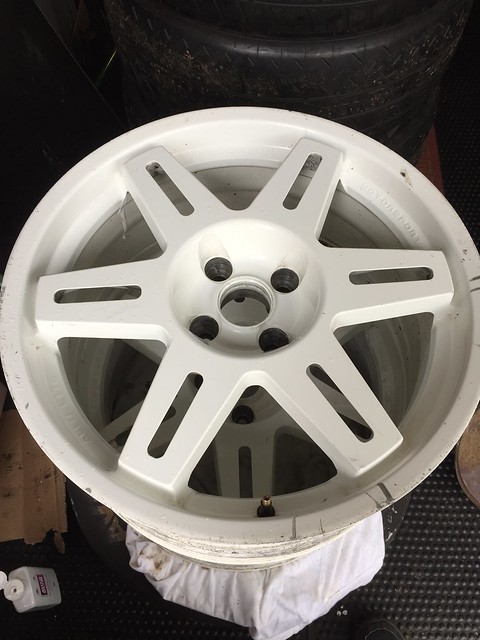
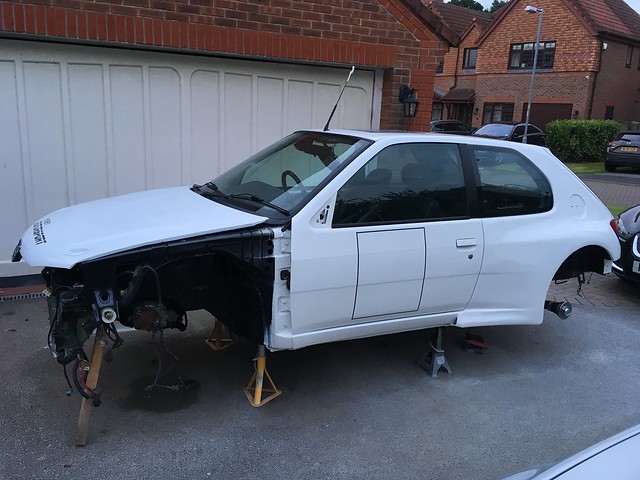
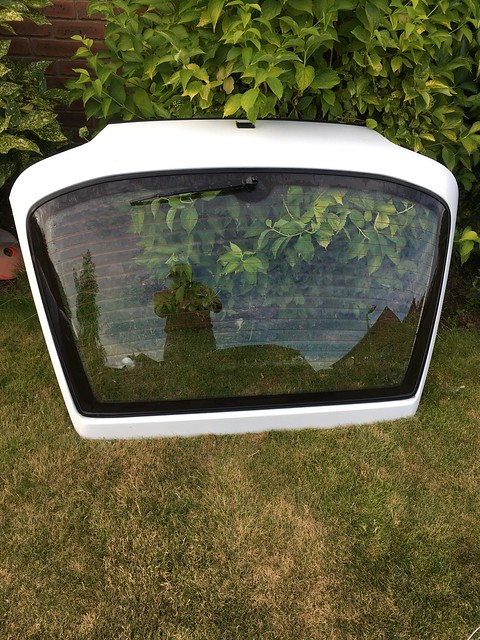
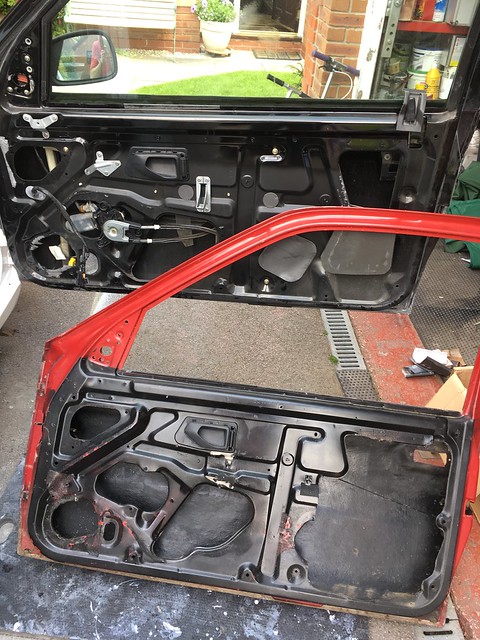
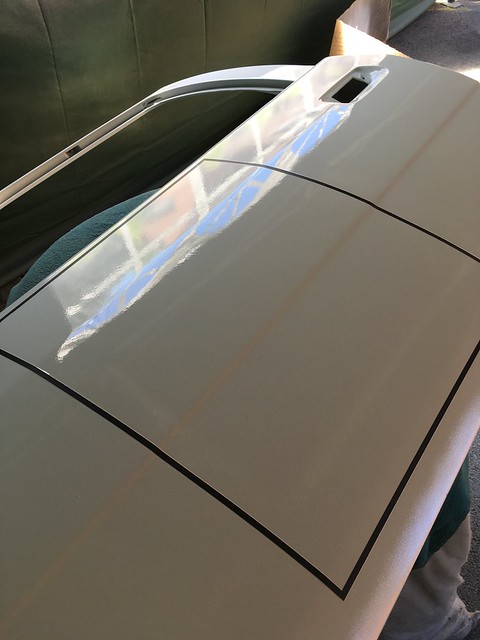
Also found myself a white ph1 hatch locally, which 1) saves me a paint job on that and 2) Mean't I could clean it up and fit it straight away. £12 well spent! Not a perfect colour match but ok for now and will benefit from a good polish too.
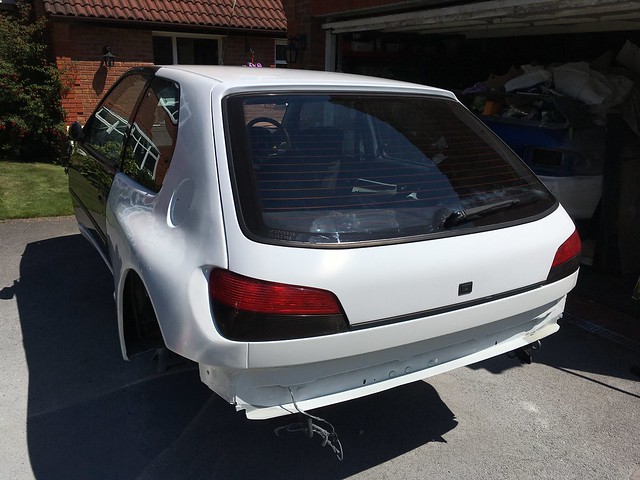
And everything back together the next morning.
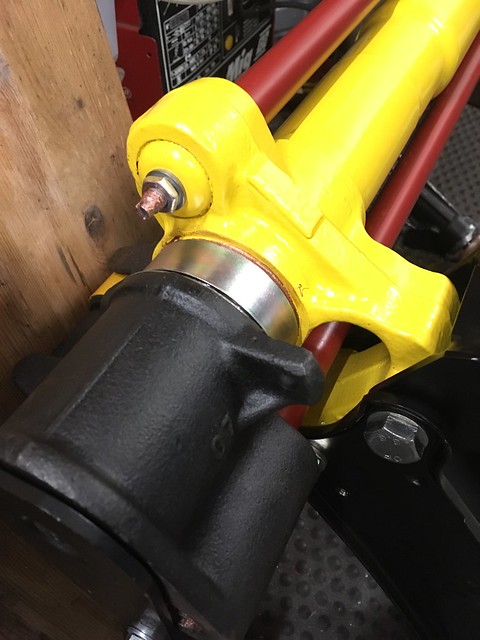
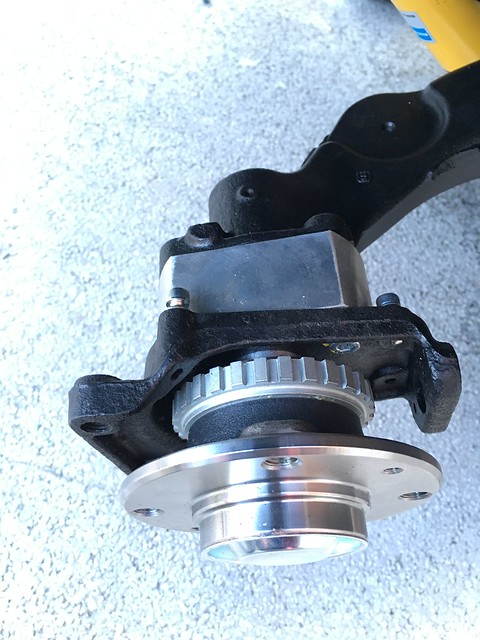
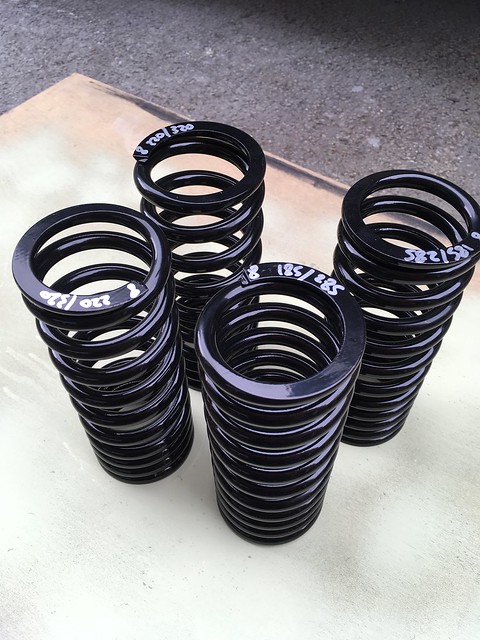
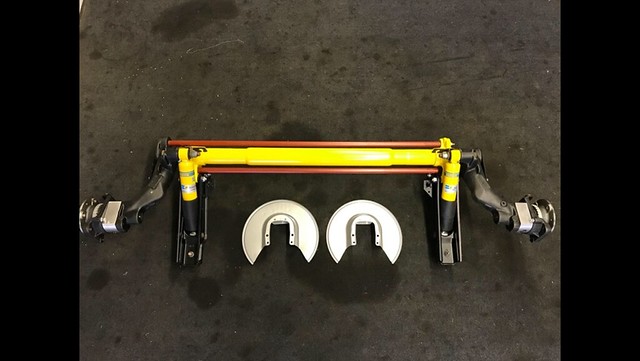
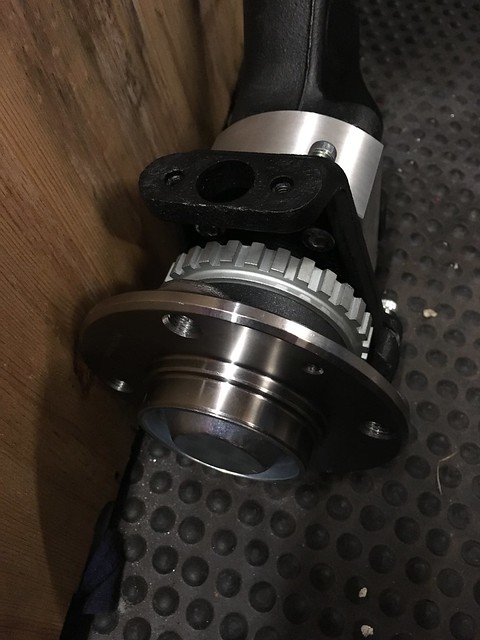
Just picked up some new top mounts. Went eccentric alloy type in the end as I think the bearing will tolerate the camber and castor on this set up better than a standard type. Need to weld in my turret tops now, but I think I've got mostly family time coming up this weekend, so progress might slow back down for a bit.
I've also come to the realisation that I'm not going to make my deadline for the Sprint I had booked in at Curborough next month, so I've handed my entry back

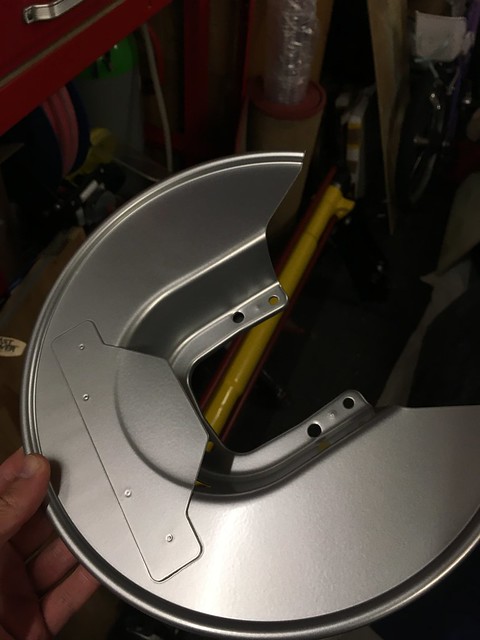
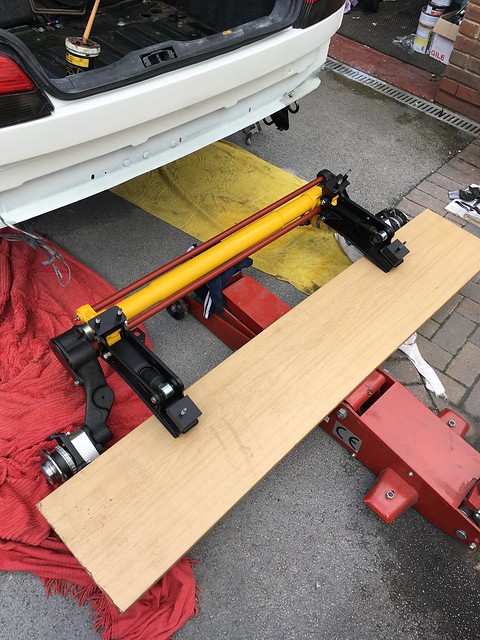
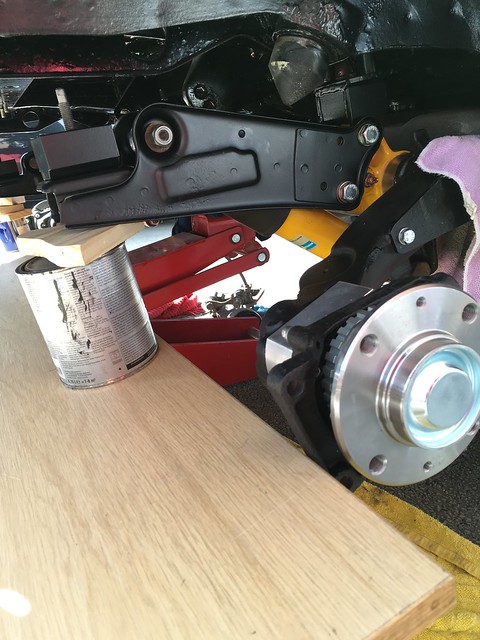
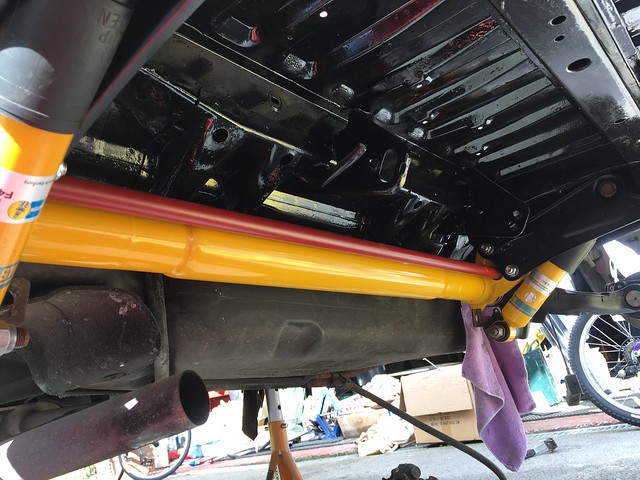
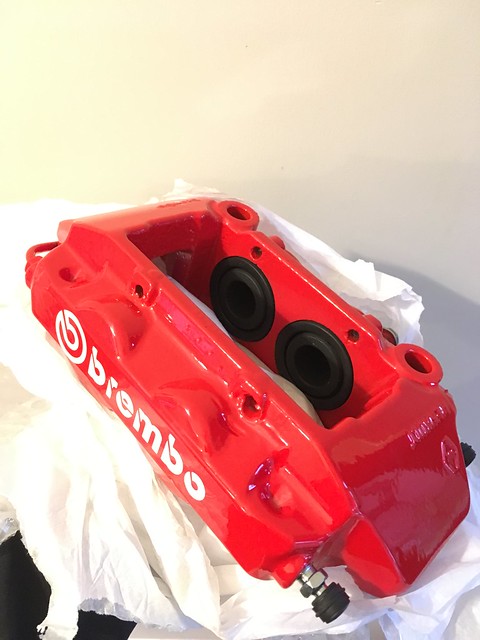
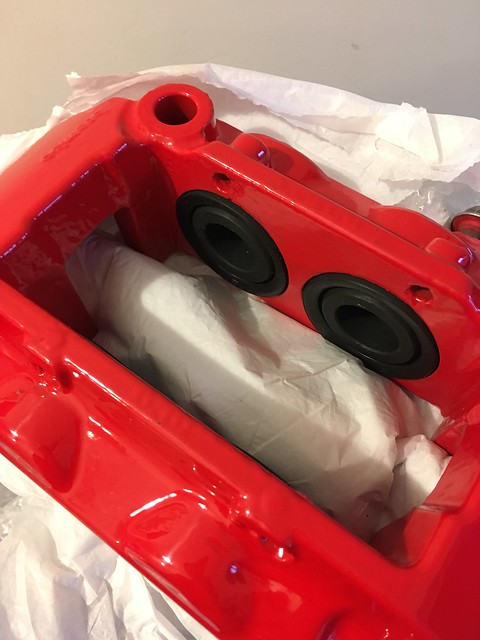
My axle is ready to collect now, which will take me a big step forward, but I'm still missing some big bits of body work as well as a wheel in each corner (which I've heard is important) so I'll need to move my deadline on a bit, whilst still keeping myself honest..
Cheers
Iain


 visible, and C) kack, or cool..
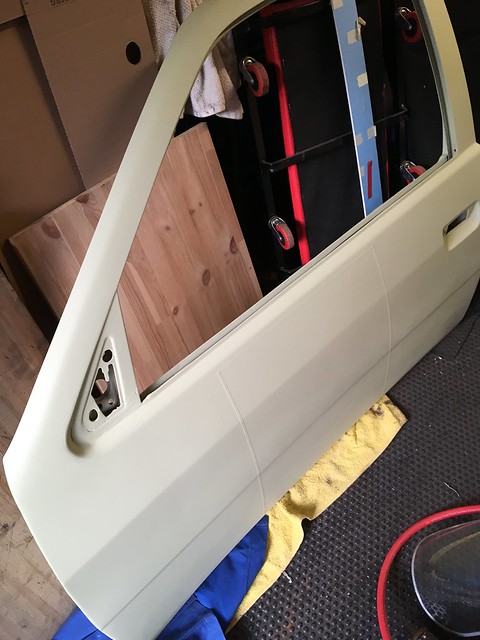
 [/url]

 cant wait to see this all done attention to detail


 [/url]