displaying posts 101 to 125 of 254

Pages (11): first .. 4 [5] 6 .. last

Author Subject: 306 Maxi project
RallyeRed

Regular

Location: Northwich

Registered: 03 May 2016

Posts: 353

Status: Offline

Post #101
Small report; new hubs arrived. Went Febi-Bilstein. Look good quality.


I've some SKF bearings to go with these, so have given my uprights a bit of spit and polish. Will be hoping to get the old bearings pressed out by my local garage on Monday and the new ones fitted.

This afternoon I returned to underneath the boot floor to do the top coats. Ideally I should have done this a couple of hours after the POR15 first coat, but as I was out of time, it mean't I had to give it a very light sand today to key it for the top coat. It proved to be a pretty hard and resistant paint to sand which looks promising for future protection.

I gave it two layers of POR Top Coat, (aerosol), and did a bit more into the rear arches as well, and I'm very pleased how it came out. It's good stuff. It's not show quality by any means, but now it's rust free and painted so I'm happy!


(The colours you can see is just the reflection of things below i.e. red rear callipers)


I also spent a good few hours this morning sorting my brake fittings and brake lines out. Spent a small fortune, so for the moment my cost neutrality concept has gone out of the window! I need to sell those three Revs that turned out to be Es Cos not Pug to get myself back on track.. Still will be nice when the postman turns up with that little lot. Then it's interior out and brake lines and battery cable routed inside..

Off to Cetus stages at Three Sisters tomorrow to watch with my little lad, so that's all my progress for the week.

Cheers
Iain
Posted 30th Jun 2017 at 23:08
gnrlee Forum Admin

Location: Leeds

Registered: 20 Aug 2005

Posts: 8,878

Status: Offline

Post #102
Thumbs up

________________________________________

Proud Member of the ASTOR Owners Club
Posted 14th May 2017 at 01:01
Day666

Seasoned Pro

Location: Bristol

Registered: 20 Apr 2013

Posts: 5,206

Status: Offline

Post #103
YEP know that feeling after £20k Crazy

Looking great Iain keep the updates coming Thumbs up
Posted 14th May 2017 at 18:46
RallyeRed

Regular

Location: Northwich

Registered: 03 May 2016

Posts: 353

Status: Offline

Post #104
Hi Folks
Cashed in a few more garage tokens this week.
Postman brought this for me..
5.2 Bacci Romano CWP for the 6sp box. Only had 12hrs use..


Need to sort diff, then box can be done.

Postie also brought new top mounts. Will need to drill them out slightly to fit the damper rod through.


Started on a little cosmetic refurb of my Bilstein coilovers, just waiting on some paint arriving before doing top coat. Also ordered two sets of custom dual rate springs 2.25" dia. Thanks to Wayne for the tip. Will be with me in 3-4weeks.


Started measuring up for a turret top plate. Have sorted template now, so have made some enquires for the plates to be laser or plasma cut.


Today I'd intended to have a crack at the brake lines and gear shift, but as is always the way I got a little derailed with getting things in order. Started with off with a rather dusty car after all the sanding that's been going on with getting the rear quarter panels done. Passenger seat out, and start crawling under the dash looking for a hole - or at least somewhere to put one..

I want to put a forged 90deg bulk head fitting from the engine bay for the brake line to come inside (to bias valve, then hand brake m/c). Anyway found a spot, got the drill out. All good. Thing is I didn't want to permanently bolt it in when that area of the bay was still in it's rust-treated (but un painted state) etc.

So decided on belt and braces with the metal treatment, and went with the POR15 again.


Could have done a matchbox sized bit, but got carried away as usual. Onto the gear lever whilst that was drying. This was the one that I got from Geoff (Jorg) here with the Constella quick shift. No dramas fitting that, all good. Only bodge tho, is I have an OEM reverse cable with an inline nipple (oo-er) and the ex-brake lever needs a well.. a brake cable style fitting. Anyone know if I pull the inner cable wire through if it's straight forward to thread another back one through? I must confess I don't know what's on the other end of the cable..


By the time I sorted this, it was time for top coat on the little section in the bay.. This time the POR15 hadn't fully gone off, so it was spot on for top coat. Couldn't resist doing the passenger arch as well.


So there we go, that was my week on the car. I didn't get back to the bulkhead fitting, but that's where I'll carry on next time, and sort lines to my bias valve on the side of the gear lever turret.

Cheers
Iain
Posted 30th Jun 2017 at 23:04
RallyeRed

Regular

Location: Northwich

Registered: 03 May 2016

Posts: 353

Status: Offline

Post #105
Update time (told you progress would slow down after going back to work!)

Been mostly fiddling around with brakes the last week or two. Found a spot to bosh in a bulkhead adaptor. Went 45deg with this to clear the chassis box above it.


Mocked up the hydraulic handbrake, and set about measuring up the spacers/mounts required to position it at the right height. I'm only allowed 4degree variance in the push rod angle of the master cylinder.


Also started messing about with the 25mm Transporter master cylinder. This has M12 ports as I discovered (advertised as being M10) so that caused me a bit of hassle trying to sort fittings but got there in the end. I was aware the GTI reservoir doesn't fit well for clearance on these, as you can see..


The banjo fittings are big, but the reservoir is a good half an inch from sitting fully home. I tried warming it and molding it a bit but it wasn't enough. Had a trawl through my local breaker and found a Focus one that fitted as well as a 106.

The 106 one got the nod as clearance is excellent to the banjo bolts, it offers a fighting chance of actually squeezing somewhere under scuttle panel (ish..)


More on that in a moment. Onto the handbrake. My mate had made me some alloy pillars. I used the holes in the floor where the rear ashtray plastic bolts down for the front pillars. An M6 bolt squeezes between the skins where the handbrake cables go and up through the holes and inside the pillars. For the rear pillars I welded the bolts down to the floor and made them captive with a large washer over.

I welded the 5mm steel offered up to the handbrake in the place I figured was the place to make the bracket for the pushrod clevis.


Think it's in the right place!

Then started doing some brake lines. I'm using a mix of Goodridge fittings and Earls fittings depending on the function of the fitting. I've also covered them in Raychem DR25 heat shrink for a bit of extra protection.

Here's a pic of the handbrake finished (it works!) and some of the lines fitted..


One of the other benefits of the Raychem covering is than when it's heated the shape you created for the line is held nicely in position.

Back to the master cylinder up front. Bit of surgery for the scuttle panel to get everything fitting. Will need to tidy this up and look after the drainage situation here so water doesn't flow into the engine bay from this point.


You'll also see I'm covering the lines in the bay with thermal insulation, as no doubt it will be a hot place to occupy. And finishing off back down to the bulkhead.


Getting to this point has taken most of the car time I had this past week or so. I've also been chasing up a few suppliers or contacts to keep things moving on.

Hopefully I've been able to progress my turret top plates this weekend. My trailing arms have been blasted and are with Allan at Bridgecraft for maxi-track width and will go direct to Andy who's waiting on them to complete my beam refurb. My front brake calipers are nearly ready from refurb, and my widened driveshafts should be ready for collection this weekend after having my CV's checked out.

Hopefully the next week or two will see a flurry of parts and work getting completed so I can start to tick off some big chunks. The only remaining battle I'm having (in my mind) is do I sort a diff, so I can get my box rebuilt with the new CWP and slot the new box straight in, or just go with what I've got for now...

Apart from a bit more brake line activity, I'll be back to body prep and looking to get some painting done shortly Smile

Cheers
Iain
Posted 30th Jun 2017 at 22:50
Twangy

Senior User

Location: heswall

Registered: 27 Jun 2014

Posts: 623

Status: Offline

Post #106
nice work iain , glad to see your still keeping up progress mate

________________________________________

wayne mcardle
Posted 6th Jun 2017 at 19:46
RallyeRed

Regular

Location: Northwich

Registered: 03 May 2016

Posts: 353

Status: Offline

Post #107
Cheers maestro! Likewise Smile

Mirrors just arrived today; carbon ones. Bit of a mix up on the order. Thought I was getting the normal maxi type and ended up with these. Same as Dave West runs on his Maxi I think, and tends to be the mirror some of the 'modern' maxis that are still active in France opt to run, especially the F2000 cars. Certainly they'll be a lot less vulnerable than the other type.

Nice and light, look reasonably well made, although one of the mirrors is a bit mis-shaped near the top edge, but hey, such things don't trouble me too much. They sit on a ball and socket joint for adjustability.

They're actually very similar to the Impreza carbon fibre ones I have for my other project, only they cost three times as much (for some reason..)


Posted 30th Jun 2017 at 22:21
Twangy

Senior User

Location: heswall

Registered: 27 Jun 2014

Posts: 623

Status: Offline

Post #108
mirrors look awesome m8

________________________________________

wayne mcardle
Posted 27th Jun 2017 at 16:56
demondriverdan

Seasoned Pro

Location: Londinium

Registered: 29 Nov 2010

Posts: 2,665

Status: Offline

Post #109
Good idea covering the lines in thermal protection in the engine bay. I didn't do it originally on the race car and it made it a nightmare trying to undo some of the connectors afterwards!

________________________________________

Rallye Race Car
Posted 27th Jun 2017 at 19:31
Day666

Seasoned Pro

Location: Bristol

Registered: 20 Apr 2013

Posts: 5,206

Status: Offline

Post #110
Great updates Iain ....keep them coming m8 & if those turret tops are cheaper ordering a couple of sets I'll have a set just incase I decide next year to go widetrack Thumbs up

I'm sure you've mentioned in a post but are you going 50mm or 75mm on the front ?
Posted 28th Jun 2017 at 06:30
RallyeRed

Regular

Location: Northwich

Registered: 03 May 2016

Posts: 353

Status: Offline

Post #111
Hi Damo these only go 40mm per side (80mm overall) but obviously the wishbones have scope to go wider just through using the adjusters. I'm aiming to go 35mm wider on the top mount so I have a fraction more camber automatically and the rest will be taken care of with the wishbones.

Still trucking on with this fellas, will have an update soon!

Cheers
Iain
Posted 29th Jun 2017 at 07:45
Day666

Seasoned Pro

Location: Bristol

Registered: 20 Apr 2013

Posts: 5,206

Status: Offline

Post #112
RallyeRed wrote:
Hi Damo these only go 40mm per side (80mm overall) but obviously the wishbones have scope to go wider just through using the adjusters. I'm aiming to go 35mm wider on the top mount so I have a fraction more camber automatically and the rest will be taken care of with the wishbones.

Still trucking on with this fellas, will have an update soon!

Cheers
Iain


I may still be interested at 40mm Iain ...what sort of money ?
Posted 29th Jun 2017 at 17:03
RallyeRed

Regular

Location: Northwich

Registered: 03 May 2016

Posts: 353

Status: Offline

Post #113
I've not got there yet mate. Am procrastinating to say the least.. One place was basically a tenner a side, another £50.. Decided today I'd plump for the original Dimma top mounts only to find they're NLA, so unless anyone has any spare they'll sell me I'm back round to the turret top re-enforcement again.

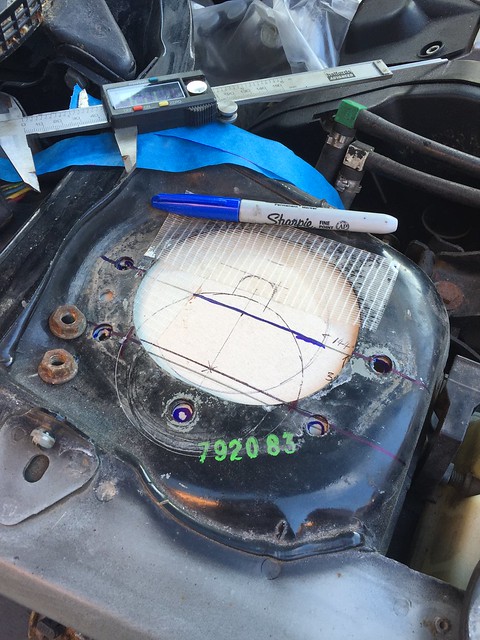
The problem is Damien that I pretty much sorted a template from 3mm steel that I wanted to have laser cut in 5mm steel, but it then struck me being a bit daft to do that then use the OEM mount underneath. However not being a race car, I didn't want to do the whole solid mount bearing thing. (Been there before) hence my to-ing and fro-ing.

I think 3mm welded underneath the turret top would probably be sufficient and I could do that myself to use an OEM top mount so I might end up there as well..

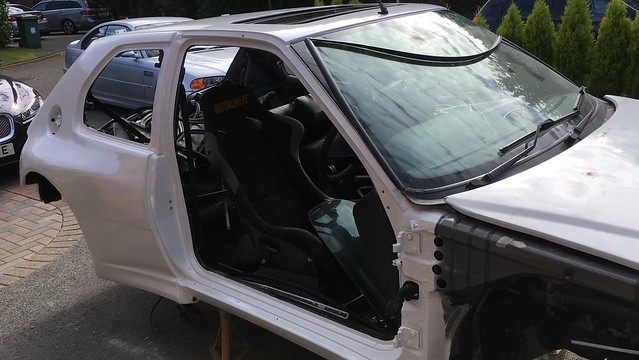
Ok on to other things, what's been going on I hear you cry..?

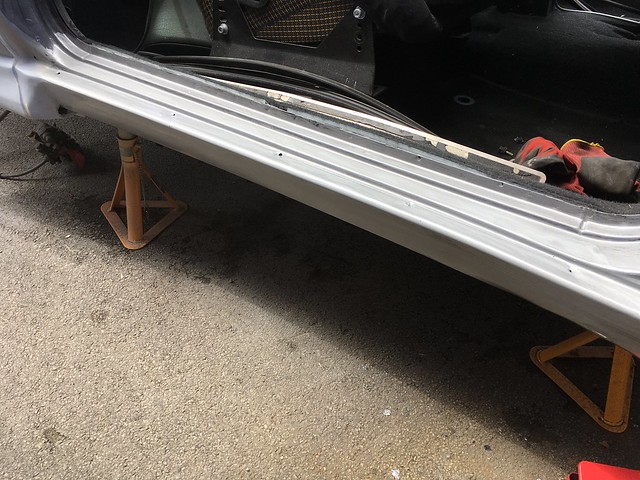
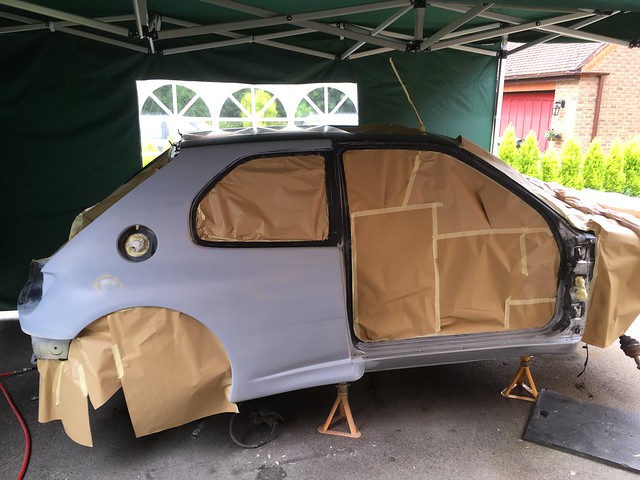
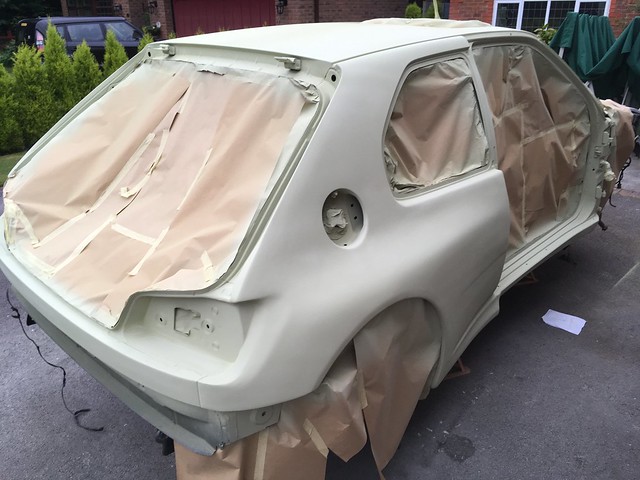
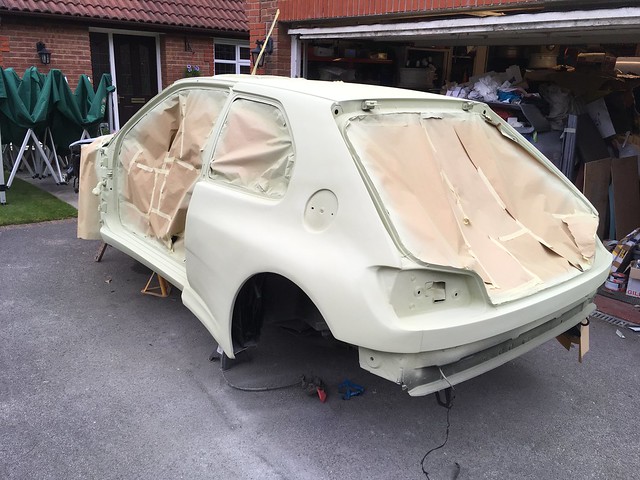
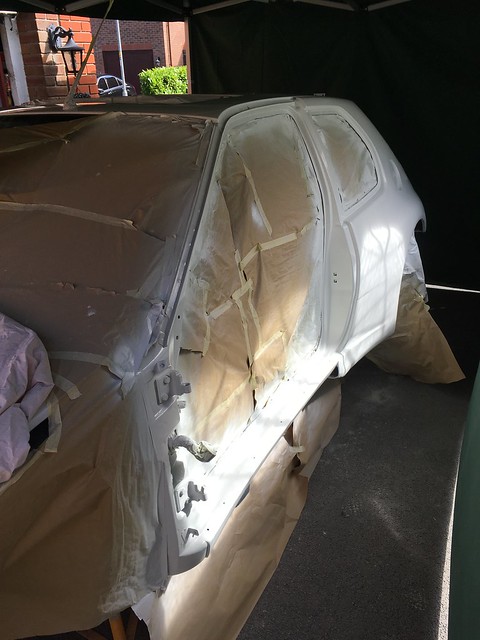
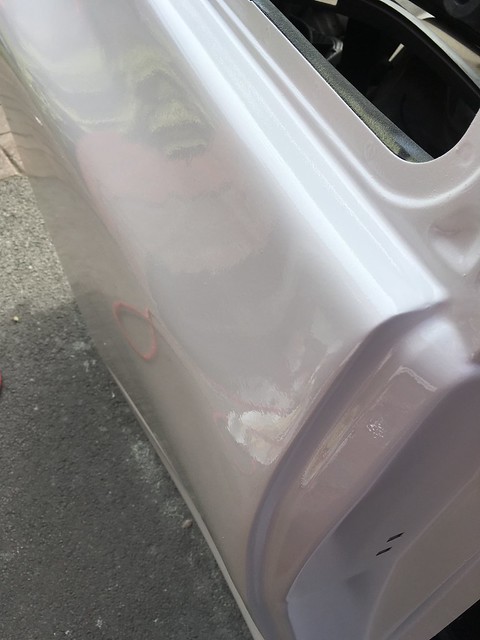
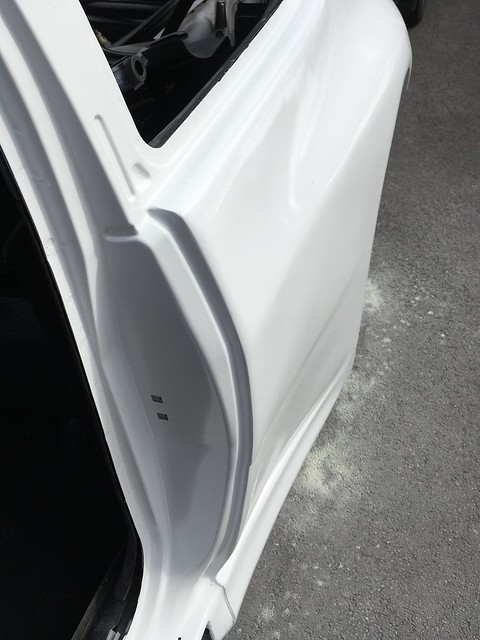
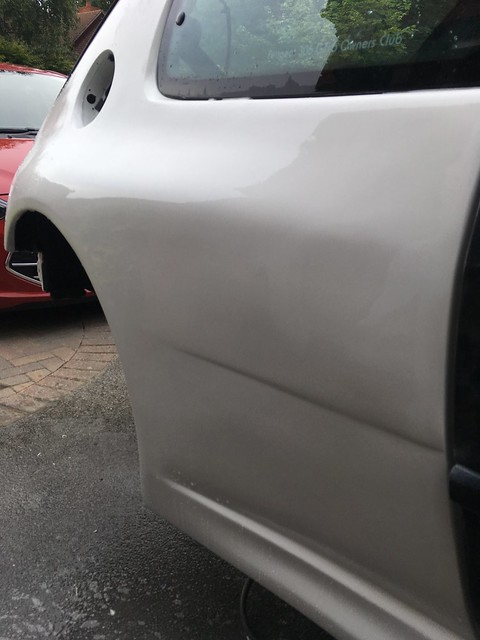
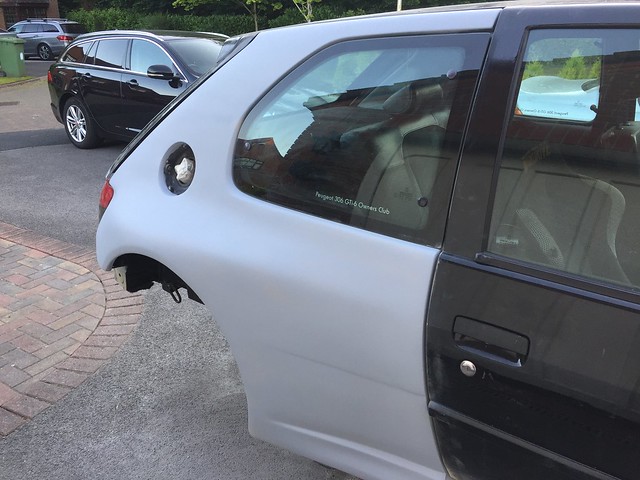
I've revisited the rear qtr panels again, attempting to improve further the finish before painting. Having passed them each day back and forth walking past the car allowed me to spot little areas I felt I could improve, so on the back end of the decent weather the other week (remember that; the Summer of '17) I cracked on with a bit more bodywork.

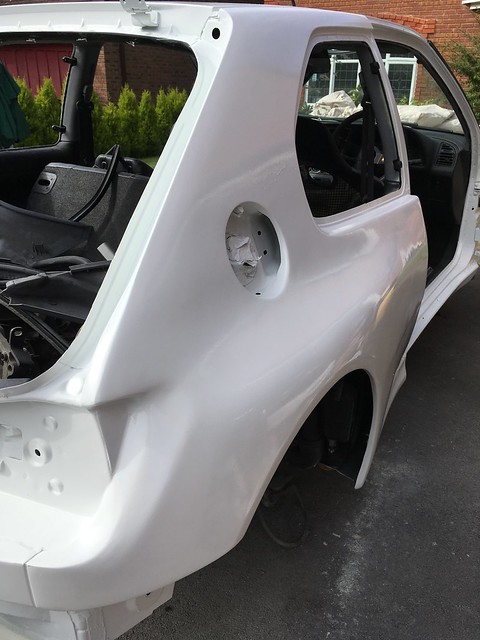
So up went the EZ up again, lots of rubbing down, Dolphin Glaze, filler primer, and final primer ensued..


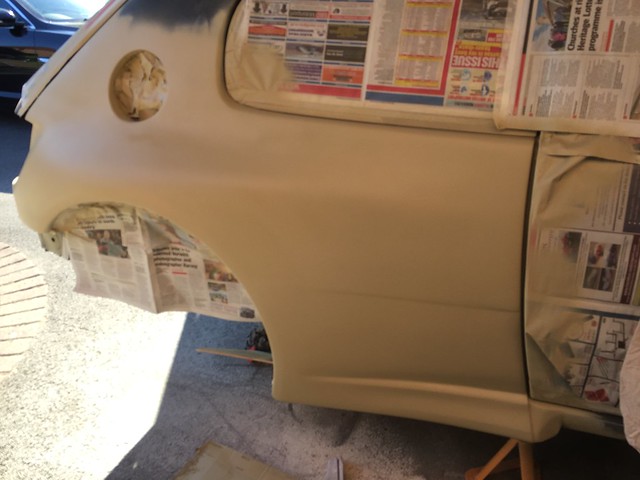
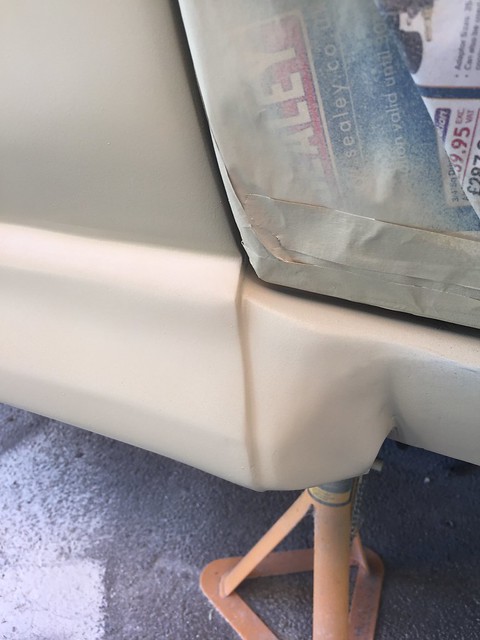
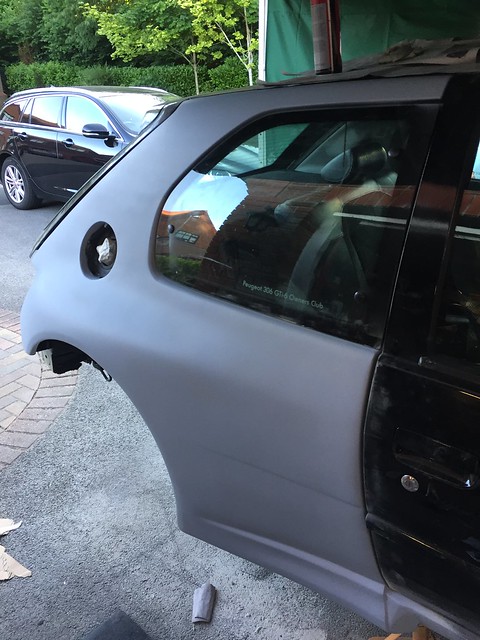
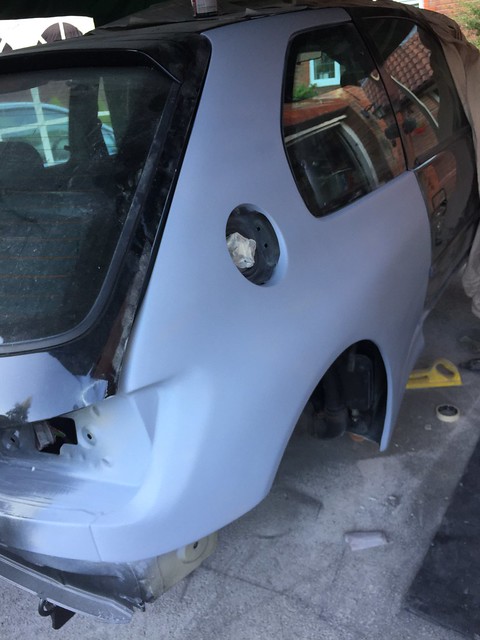
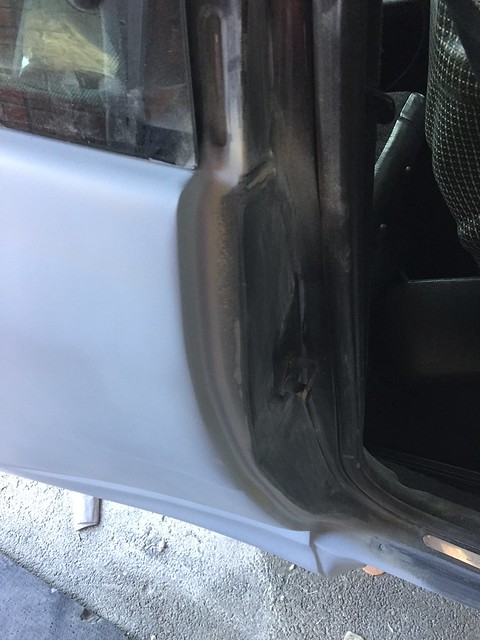
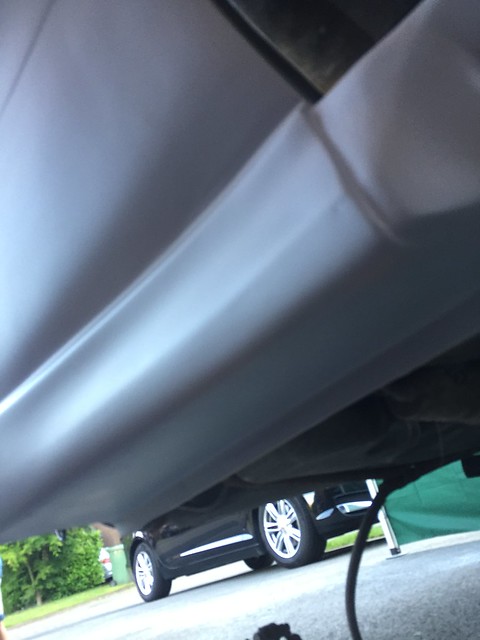
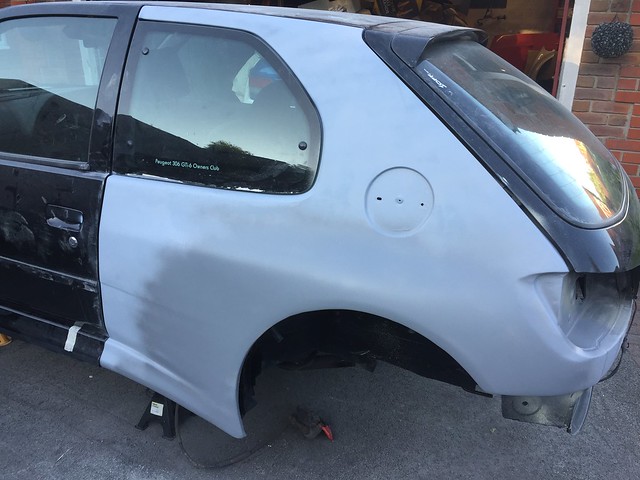
(Forgive the two-tone primer effect!)
Anyway, pretty darn pleased with how that turned out, you'll have to trust me I haven't re-posted the pics from a few pages back!

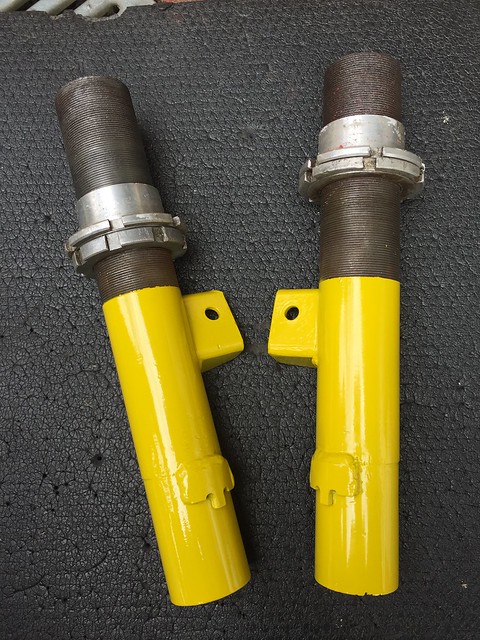
In the meantime I gave my Bilsteins a lick of paint.. turned out well.


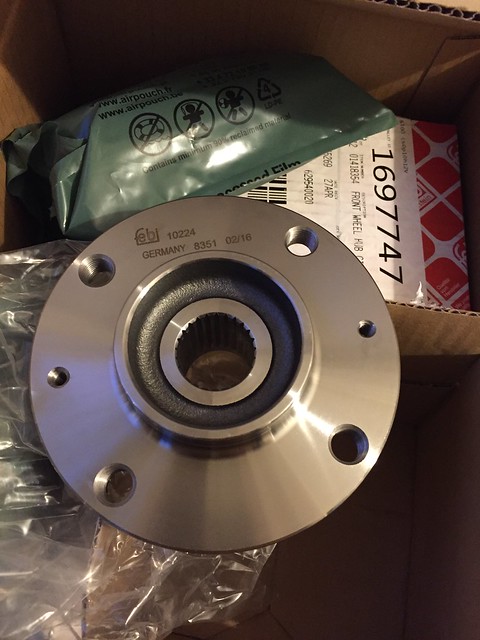
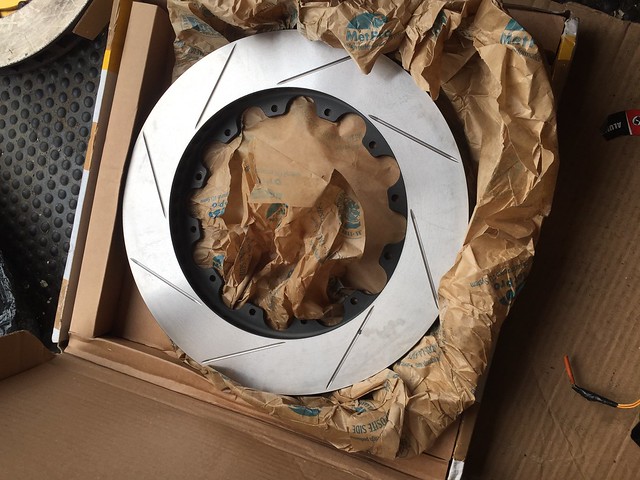
I also scored some brand new AP rotors 330x28mm exact same spec as I needed for basically half price Smile


Somewhere down the line I sourced an ATL filler for a bargain price then found an equally bargain-ous matching fuel neck - just need to re-drill the bolt holes. (Dave - Car builder solutions #FN2 if you're interested!)


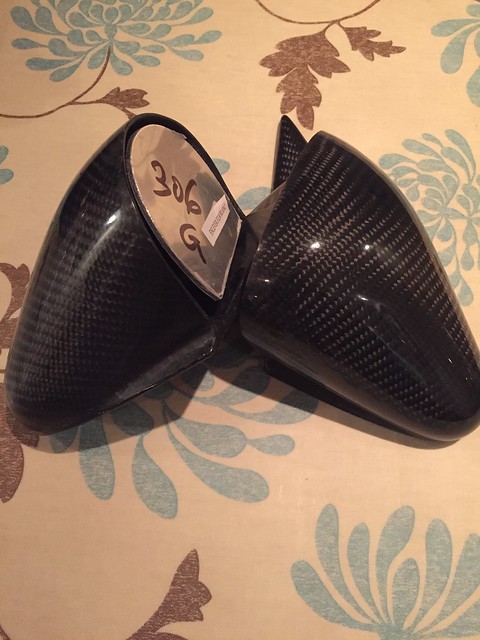
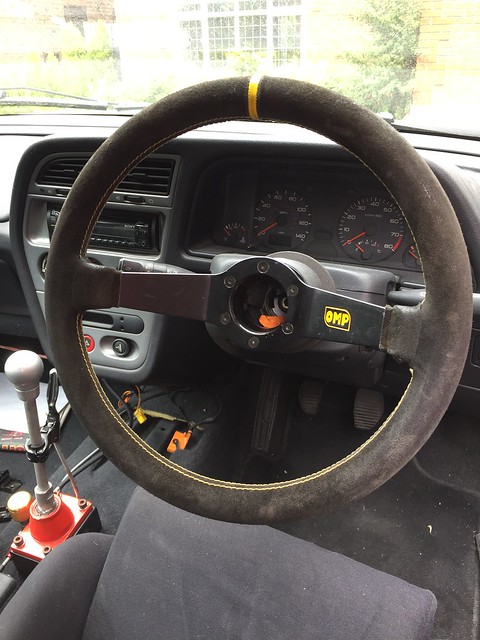
Also stumbled upon a little used steering wheel - this is a fraction smaller than my current one, and a bit deeper. The net effect is that I now have more clearance between the bottom of the wheel and the sides of my seat, so I can get into my seat easier and have a better position as well.


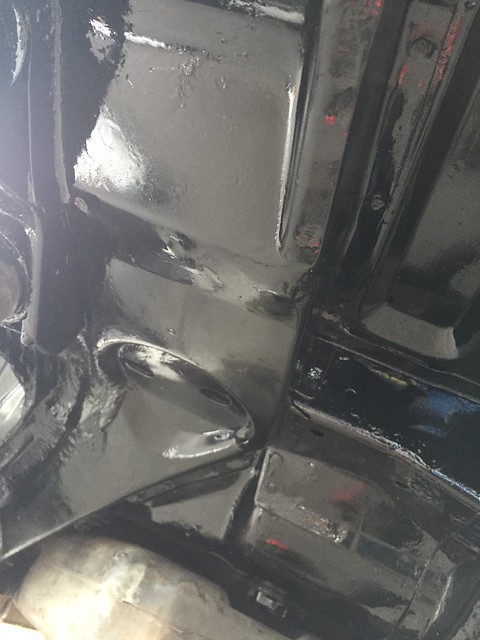
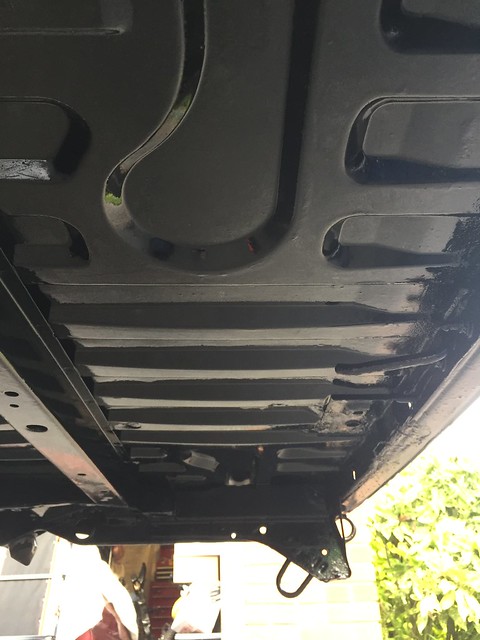
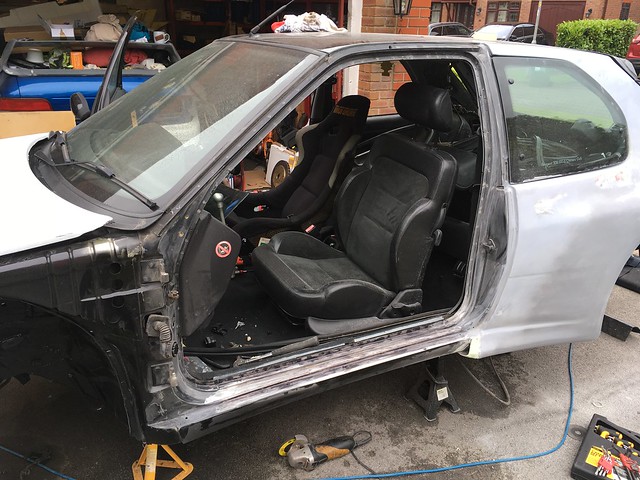
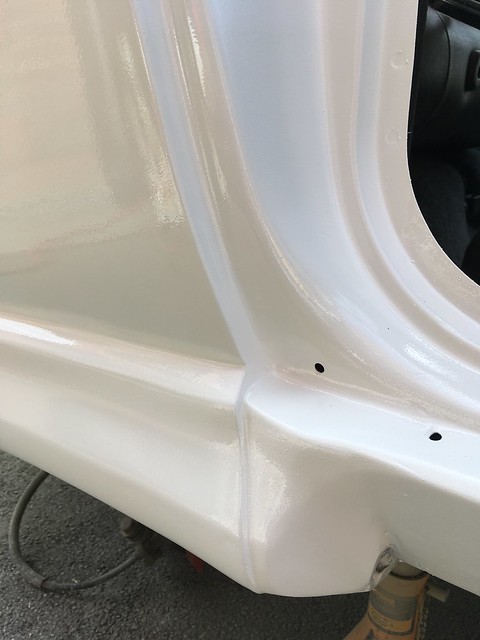
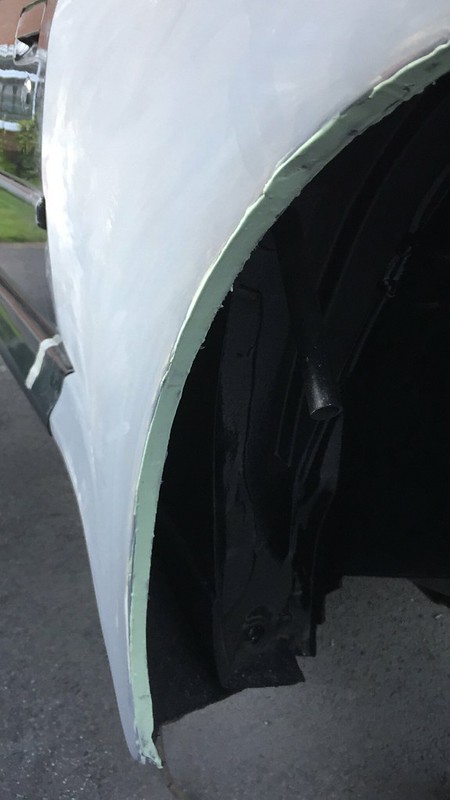
Next up, thought I'd tackle the remaining inner arch, the OSF. Out came the grinder and oops, found some rust which became a hole..Cut it right back to do a repair. Oddly this little bit was far worse than any other bit; the rest of the inner arch was pretty good. Thought I might find more lurking under the stone chip but thankfully not.


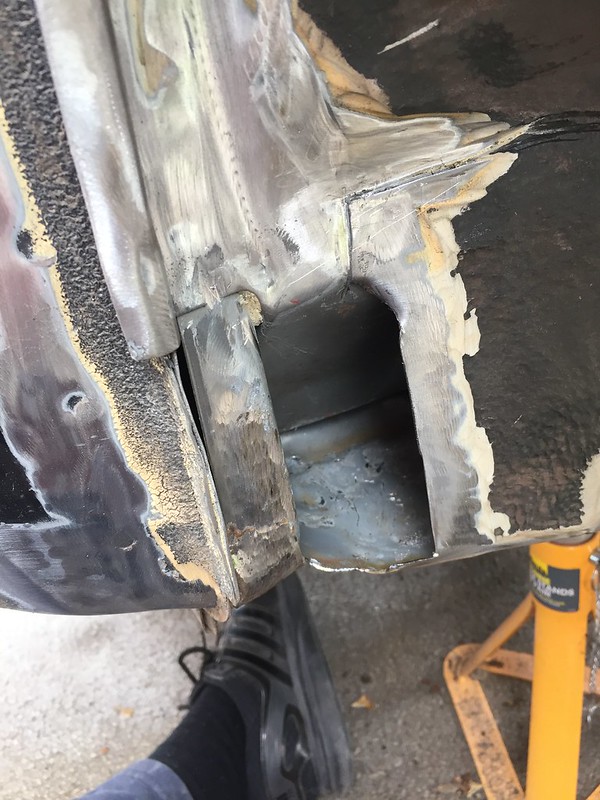
Patch being sized up..
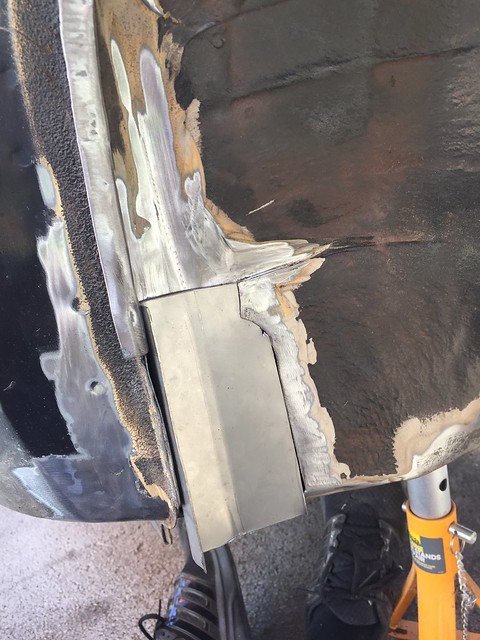


And home..


Proper anti-rust treatment and paint etc to come. May be tomorrow if the weather is kind..

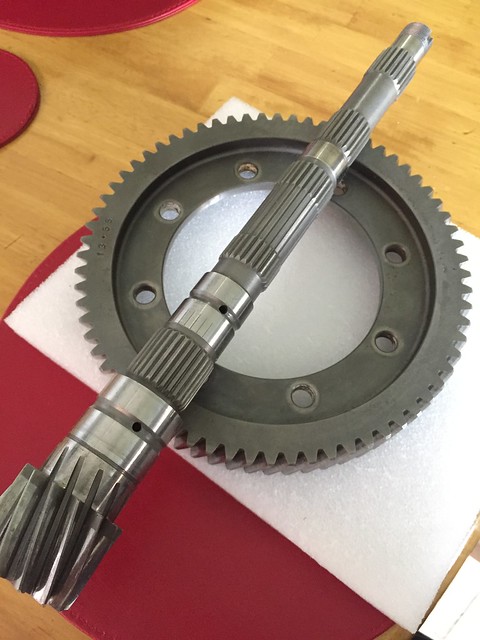
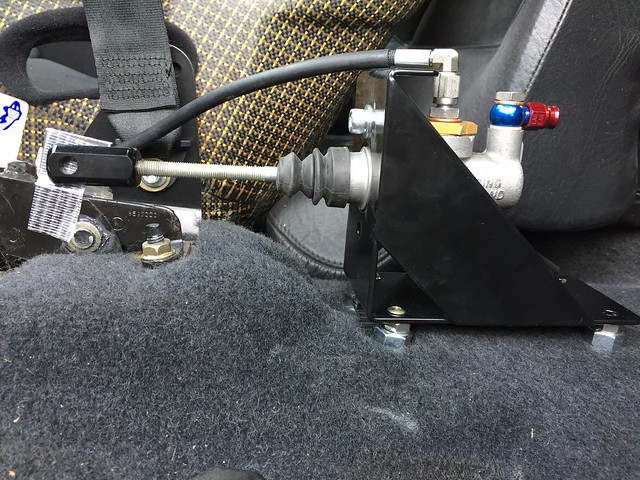
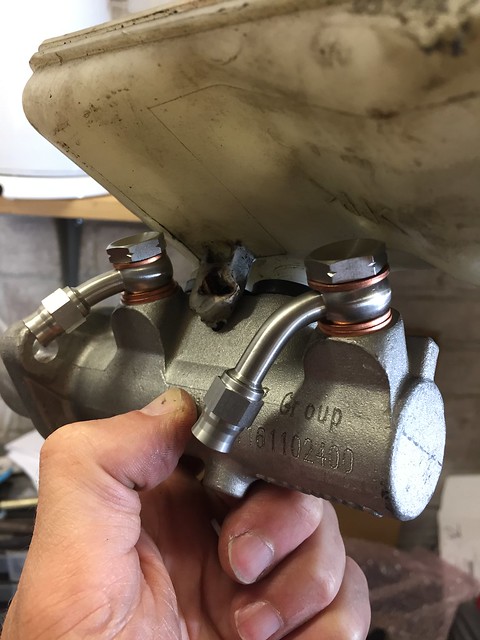
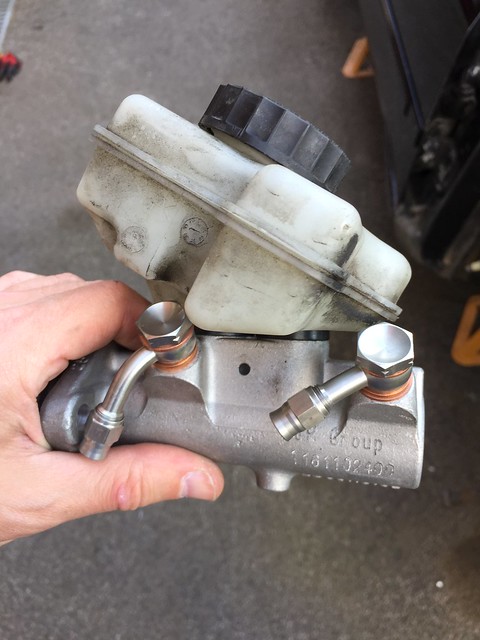
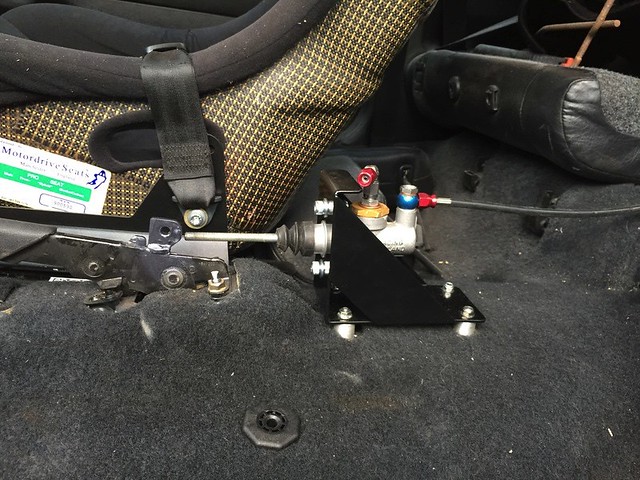
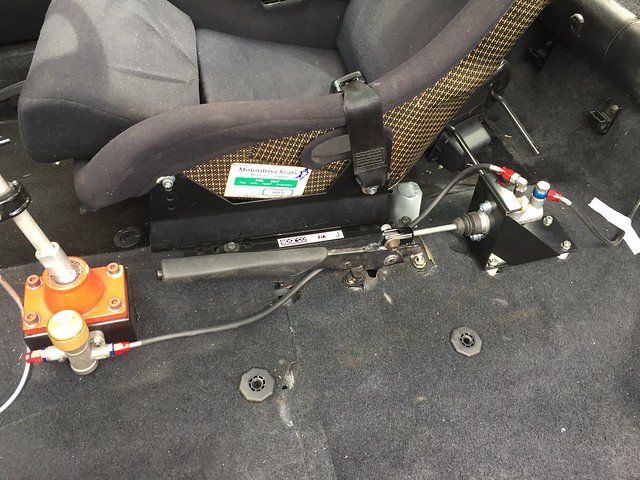
Now then, what do we think of this little fellow? Wasn't expecting it to come with the bronze bush which was a bonus (pic showed plastic one), but the ball end of the lever looks a fraction longer than the one that came off it.


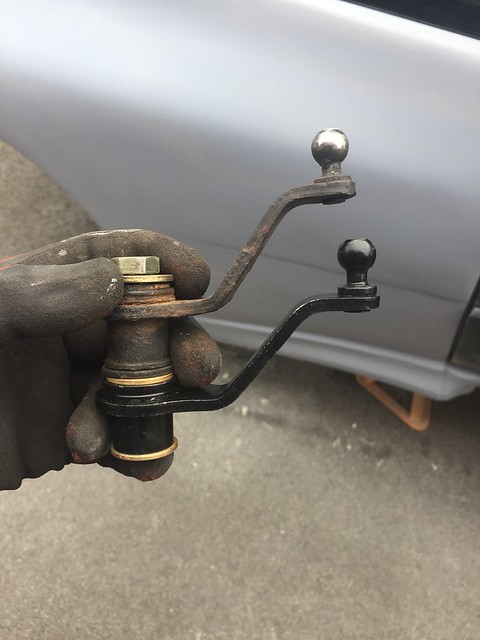
What do you think? Will it be ok?

That's about all from me right now. Chasing up parts and jobs still.. becomes a bit of a weekly chore, but hopefully getting there. Poor Andy has had most of my beam ready to go for ages, and we're waiting on a part which will hopefully come soon so the beam will be completed.

I also bought all my paint last week, so slowly but surely getting there..
Thanks for all your contributions and positive comments guys, keeps me going!

Cheers
Iain
Posted 30th Jun 2017 at 22:20
jord294

Seasoned Pro

Location: somewhere in north wales

Registered: 09 Nov 2009

Posts: 3,102

Status: Offline

Post #114
Shame I can't see pics Iain

________________________________________

FRESHLY RE-FURBISHED GTI BEAMS
FITTING AND LOWERING AVAILABLE.
ALL AXLES BUILT USING GENUINE PEUGEOT PARTS

IF I'M NOT HERE, IT ONLY MEANS ONE THING.... I'M SOMEWHERE ELSE!
Posted 30th Jun 2017 at 14:57
RallyeRed

Regular

Location: Northwich

Registered: 03 May 2016

Posts: 353

Status: Offline

Post #115
What's going on there? Were there last night...
Posted 30th Jun 2017 at 20:07
RallyeRed

Regular

Location: Northwich

Registered: 03 May 2016

Posts: 353

Status: Offline

Post #116
Turns out photo bucket now want $400 per year for 3rd party image hosting. Nice..

Sorry to everyone for the lack of photos. Seems this has just been introduced by photo bucket. Bit s**t ain't it?
Posted 30th Jun 2017 at 20:14
RallyeRed

Regular

Location: Northwich

Registered: 03 May 2016

Posts: 353

Status: Offline

Post #117
Gonna start reposting pics with Flickr.. bear with me!

Edit: done the last three posts with Flickr links. Taken a while but getting there. Hopefully everything in the right order!

A little bit of progress to report today as well. Thought I might have a sniff of a chance of getting the main body of the car fully in primer and ready to paint, but fell a bit short. Nonetheless by the time I twigged I wasn't going to be able to do it, mean't that I spent more time in prep and that's probably more important.

Wasted a bit of time figuring out how to lift the rear hatch out, and doors off etc, but now I've done it it'll be easier next time. Enabled me to do the last bit of sanding, rust killing in the spot welds etc.


Hopefully if the weather will be kind (warm-ish, dry-ish) I can put the EZ up up tomorrow and mask up and get going. The aim is to get all of the main body and roof, door apertures, and hatch opening in primer and follow up a week later in paint (or sooner if I get impatient!)

Cheers
Iain
Posted 30th Jun 2017 at 22:57
RallyeRed

Regular

Location: Northwich

Registered: 03 May 2016

Posts: 353

Status: Offline

Post #118
Phew big weekend on it!

So yesterday, was 2 pack primer filler day.. First time spraying with a compressor etc.
Still found myself doing loads more prep, so hours went by before masking up, then it took forever to actually mask up every nook and cranny.

Started off with the POR15 paint again on it's under crackers as I didn't want any rust coming back. Did this first so it could start going off whilst masking up;


Then finally got to mask up


Anyway long story short, it went better than I could have hoped. Here's after 2-3 coats and started clearing up afterwards.


Chuffed to bits with that. Had good temps during the afternoon which helped enormously. Not long after this shot the rain came in. I'd already packed up for the night, and the paint had dried. Decided to leave the masking on, and so just left it like this overnight!

This morning dawns dry and bright, and car looked fine. Decided to rub it down with wet and dry using mostly 800 grade. Took down all the high spots and flatted it back nicely. Was confident the weather would do it's part drying everything out for me, and I took my time with it, so after lunch it was time to put some paint on!

The only problem with two pack is the fanny-ing about mixing everything up, so finally ready to go under the EZ up with good weather conditions to boot. All went well. Got a couple of coats on.


Had a chat with my technical advisor (Wayne) over a brew and decided to shoot one more coat with a bit more thinners in as we figured the warm weather was seeing it evaporate quite quick. I was looking for a slightly wetter coat that I was getting. That did the trick and improved things.

Not a perfect out of the gun finish, but will flat well, and should buff up nice. Here's how it came out, plus the belly-ache of having to re-fit doors, windows etc, so I could leave it secure overnight. Again, the weather made this possible because the paint well off really well. Will flat back either in the week, or next weekend.


Posted 2nd Jul 2017 at 23:25
RallyeRed

Regular

Location: Northwich

Registered: 03 May 2016

Posts: 353

Status: Offline

Post #119
And fitted up for the night..

Posted 2nd Jul 2017 at 23:27
Twangy

Senior User

Location: heswall

Registered: 27 Jun 2014

Posts: 623

Status: Offline

Post #120
looking good iain

________________________________________

wayne mcardle
Posted 4th Jul 2017 at 20:02
RallyeRed

Regular

Location: Northwich

Registered: 03 May 2016

Posts: 353

Status: Offline

Post #121
Cheers Wayne!
Had (literally) 10mins to give it a quick flat tonight. Tried 2000 but it barely touched it, so went 1200 and made some decent headway. Looks pretty promising. A good polish with the G3 should do the trick Smile


My two sets of dual rate springs are ready now so will collect from my supplier on Friday.
Posted 4th Jul 2017 at 21:55
gretsch-drummer

Regular

Location: Leeds

Registered: 12 Feb 2011

Posts: 276

Status: Offline

Post #122
Nothing a good cut and polish won't sort there mate! Have a look into getting a cutting compound called 'Roar'. It's bloody amazing! The guys who created it use to work for (pretty sure it wasSmile Farecla but they decided they could make a better product, and they have!

http://www.ebay.co.uk/itm/ROAR-610-EXTREME-CUT-POLISH-COMPOUND-/182330129234?epid=2059812321&hash=item2a73b8fb52:g:de0AAOSwMVdYEL9X

Are you finishing your wet sanding with 2000/3000? makes polishing hell of a lot easier.

________________________________________

Ph1 Cossack 6'
Posted 4th Jul 2017 at 23:01
RallyeP6

Regular

Location: West Byfleet

Registered: 11 Jul 2013

Posts: 451

Status: Offline

Post #123
Some excellent work and finishing going on there, well done, its good the weather has been kind to you too.
Posted 4th Jul 2017 at 23:17
RallyeRed

Regular

Location: Northwich

Registered: 03 May 2016

Posts: 353

Status: Offline

Post #124
Cheers fellas.
Thanks for the tip Andrew will look in to that. Have some G3 at home which would be the logical next step and so as I have it already I'll give it a go.
Yep, I'll go 2000 next, then the G3..
Posted 5th Jul 2017 at 12:58
Chr1sch

Seasoned Pro

Location: Worcester

Registered: 02 Aug 2014

Posts: 1,025

Status: Offline

Post #125
Wow, absolutely brilliant for a DIY job, it looks great!
Posted 5th Jul 2017 at 20:51

Pages (11): first .. 4 [5] 6 .. last

All times are GMT. The time is now 14:51

The Peugeot GTi-6 & Rallye Owners Club - ©2024 all rights reserved.

Please Note: The views and opinions found herein are those of individuals, and not of The Peugeot 306 GTi-6 & Rallye Owners Club or any individuals involved.
No responsibility is taken or assumed for any comments or statements made on, or in relation to, this website. Please see our updated privacy policy.