Post #106
About time for an update. Been working on this every night when I get home from work for a couple of hours. Get home about 17:30. I live on a pretty quiet estate with a lot of young children, including my daughter and grand daughter so working any later, unless its a quiet job, just isn't happening.
So, its taken many hours of ploughing through horrid underseal, stone chip, seam sealant but the underside of the chassis is now pretty much done. I've bare metalled the lot and have already started on the zinc primer as I've gone to make sure i don't get any more surface rust. Its been an awful job and, looking back, I'm not sure if I'd do it again.... The only part left is the front of the exhaust tunnel where I'm yet to remove the forward heat shield as I think the cat needs to come off (and possibly drop the subframe) and the cxat bolts are a nasty, rusty affair that don't want to play right now. But anyhow...
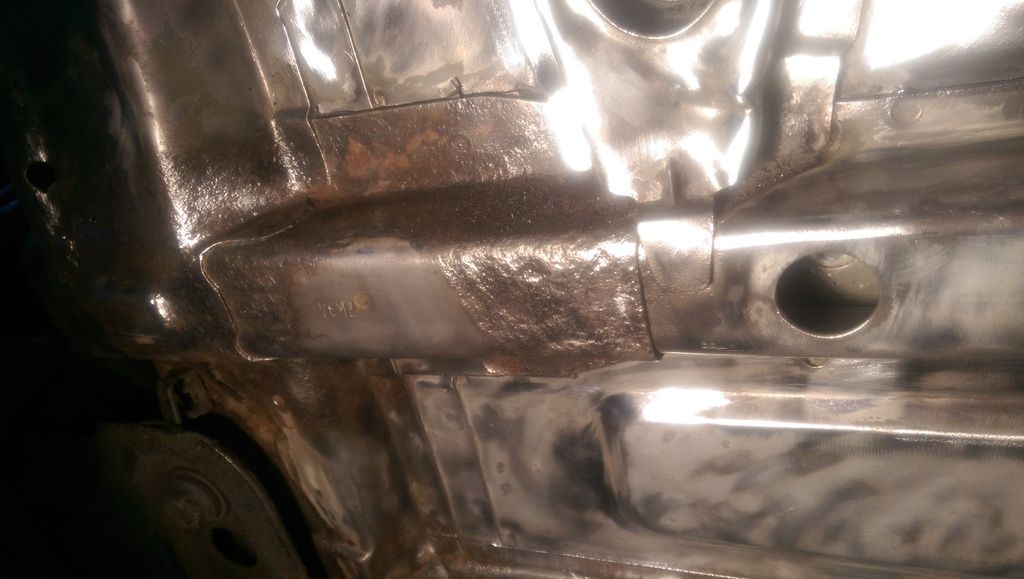
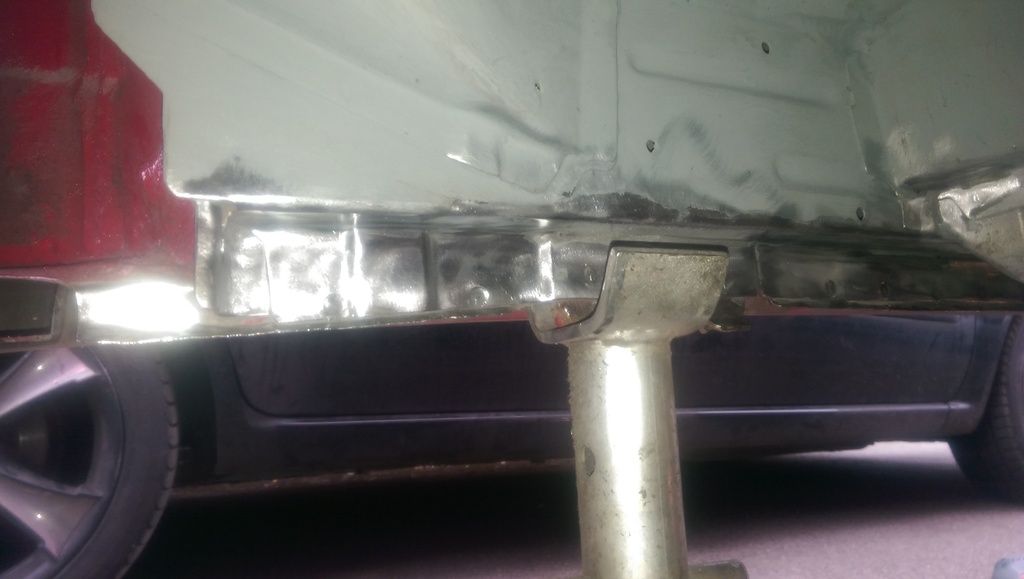
So, the chassis and some pics, as that's what we are all here for..... This is the front passenger side, the last real bit i had to do. The floorpan is now much flatter here as I've mostly cured it of the 'blind trolley jacker' disease it had contracted. A large rubber mallet to the inside of the passenger side front foot well worked wonders. Still a little to do but its much better.
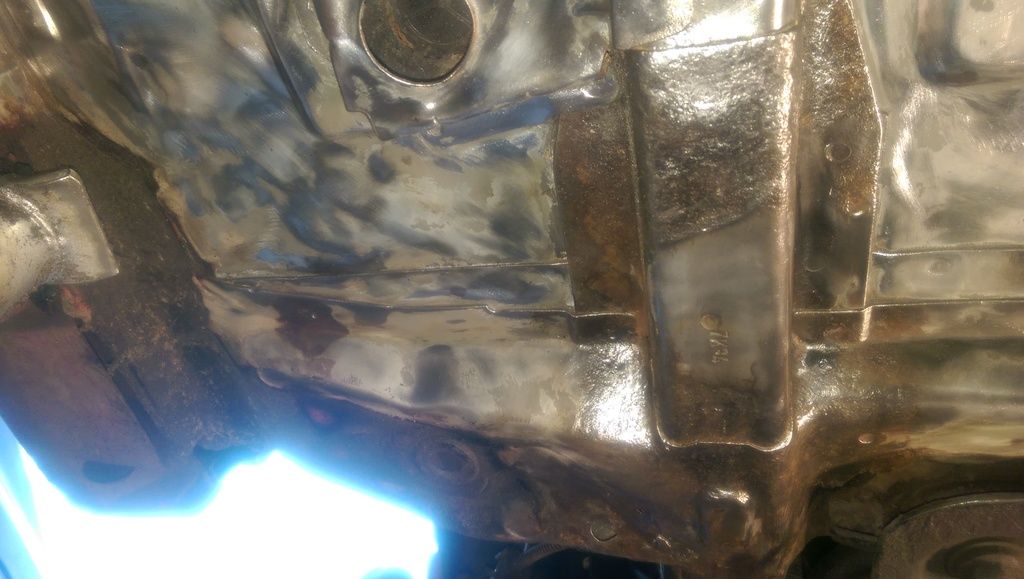
I'm toying with the idea of drilling the spot welds in the bracket you can see and removing it and getting it back into shape and then have it rewelded. Only 5 or 6 spot welds per bracket. Very difficult to try and reshape on the car as you need to come from the side that's against the chassis.....
More pics.........
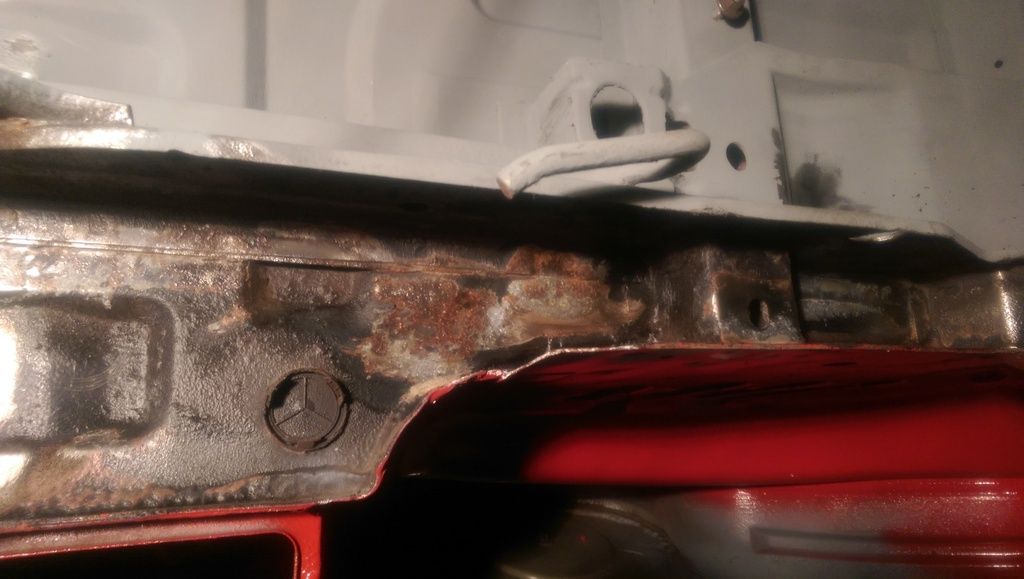
Chassis leg is plenty pitted but wire brushed off pretty much all the surface rust. It still got a good old layer of deox gel which I will remove tomorrow.
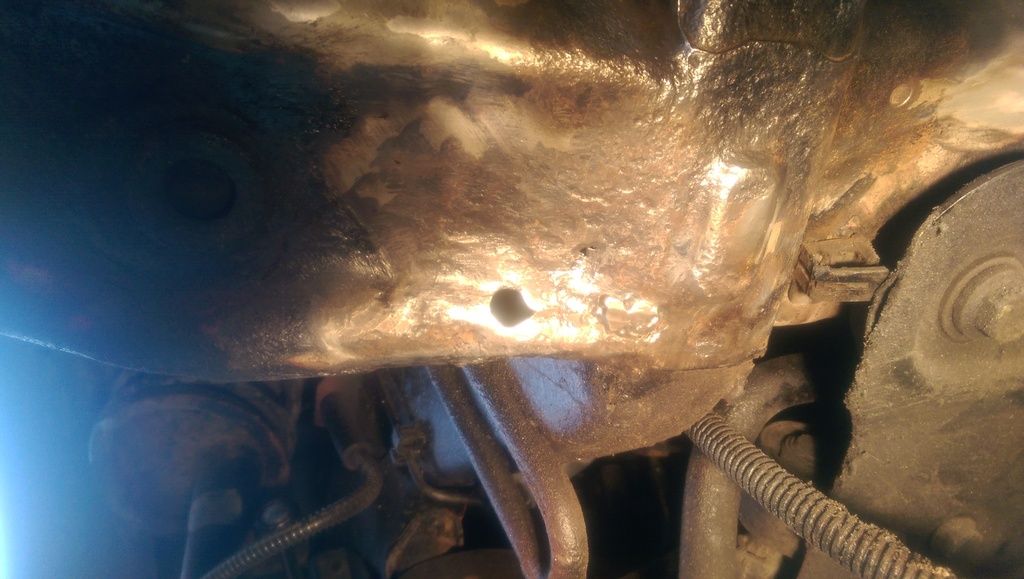
Hole in the cross member. Again, its been jacked here (FFS! grrrrrr!!) and the cross member is pushed in. Not sure if the hole has been made on purpose or what. Edges are very clean, almost looks like a section has cracked out. Couple of other little pin holes so might have it looked at when it goes in for the sill work.
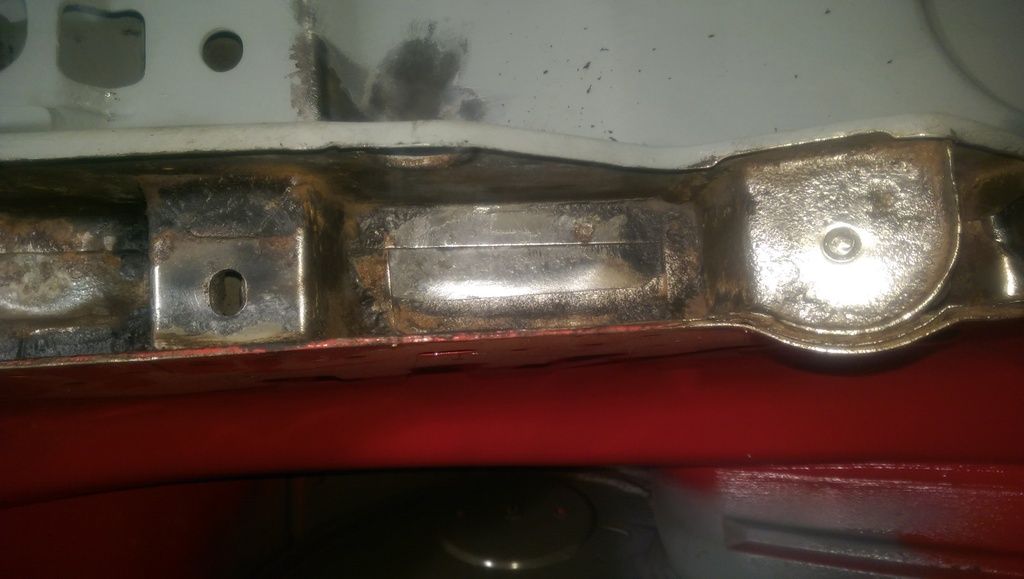
Clean....
I ended up having to jack the car up again so I could move the axle stands to get to the bits behind them. Again, fun.......not.
I bought a drill wire brush set from Screwfix this afternoon as the one I had for my drill was worn out and I had some tight spots to get into which the grinder brushes were too big for. £3.99 for a set of 3, surprisingly good actually. It was these....
http://www.screwfix.com/p/drill-carbon-steel-wire-brush-set-3pc/13734
Going back for another set tomorrow as I hammered them this afternoon and have worn down the wire wheel!!
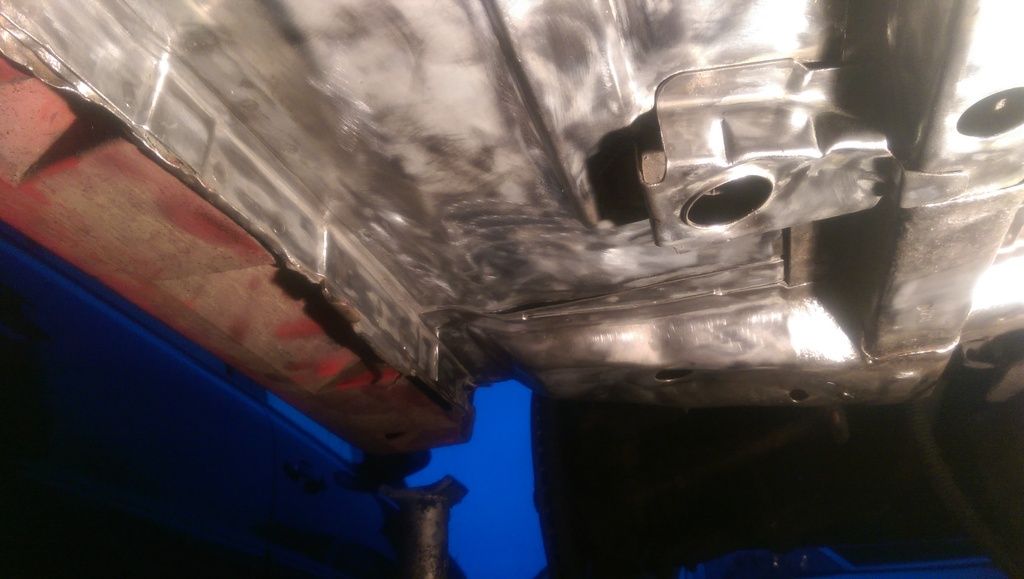
Enabled me to get into some tight spots on the rear sill.....
So that was that. Just need to pick up some panel wipes tomorrow on my way home and I can wipe down and get it primed. I also noticed a few spot of the zinc primer where is had gone white. On inspection, I could remove the primer with a finger nail. This is no fault of the Electrox primer, its where I hadn't prepped the surface properly. Mainly a very few small corners where id missed surface rust or underseal....All bits taken back to bare metal, surface prepped properly and read for more primer tomorrow. Need to get some Xylene thinners too as I want to thin down some of the primer and do all the chassis joints, so it gets as far inside as I can get it. The Electrox is pretty thick out of the tin so thinning it should allow it to run into the joints better. I'll do the same with the Epoxy mastic but I'll do it before I start painting properly. Again, the more I can get into the cleaned seams the better.
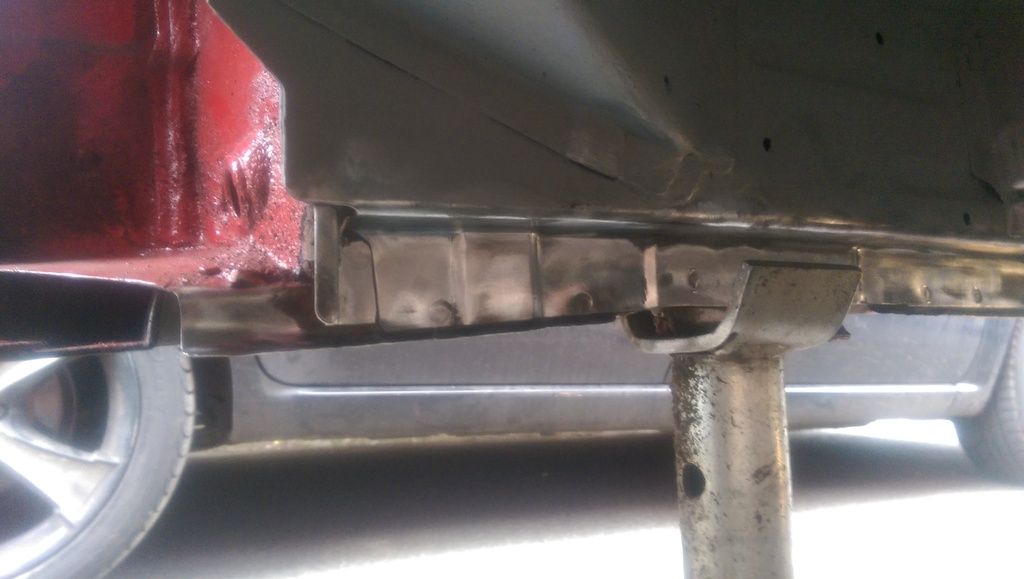
I then moved back onto the bump stop area. There are two rectangular sections either inside of the boot floor. Right in line to pick up all the crap from the road wheels. Again, covered in under seal, which, when removed revealed this....
Yuk. More chuffing rust. Stuck a cup wheel on the grinder as that had more access and it did improve a bit....
Still work to do though.
So that's where I am at the moment. If I can get the cat/heat shield off, I aim to have the whole chassis in primer by Sunday night. Then it will be time to stick the rear beam back on for now and drag it off somewhere to have the sill repaired. Once that's done, I'll start thinking about the Epoxy mastic.....
________________________________________
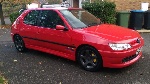
Cherry Red Rallye .... On going OEM spec resto
China Blue GTi6 .... Weekend toy
Black 208 GTi .... Wife's car now
Silver BMW 550i.... The executive missile


 Wonder if there are any easier ways of doing it that dont cost a fortune?