Post #29
Well time for another update on the back of last weekends work. Between the when I wrote the list of to do's earlier in the thread and the weekend a few more jobs had found their way onto the list:
- Replace droplinks and wishbones
- Sort fuel supply - i.e filter/hose (as my Mi manifold didn't come with any)/banjo etc
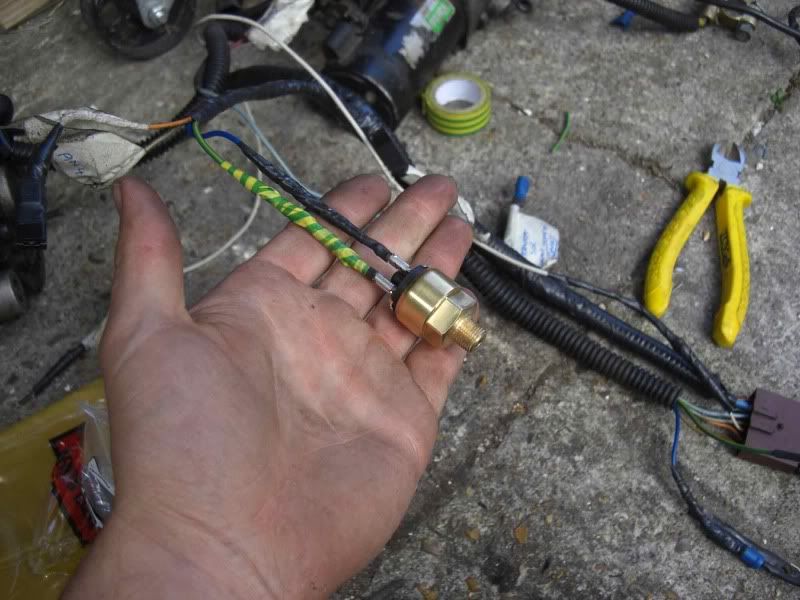
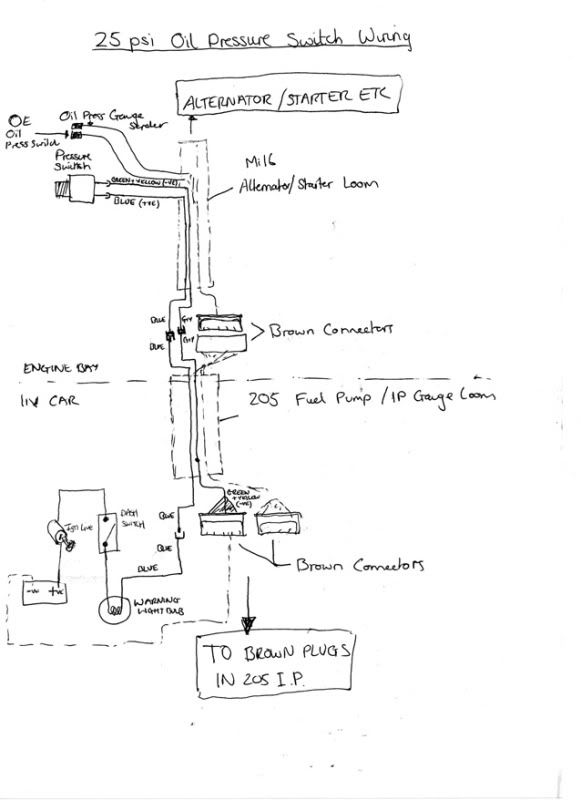
- Calibrate Pressure switch and incorporate wiring into the loom
- Fix rust hole on offside wheelarch
- Paint exhaust manifold
I got an early start saturday morning but didn't have much success, I started trying to tackle what I thought were going to be the biggest/most time consuming problems - track rod ends, fuel supply and sorting the rest of the sheared bolts/studs etc in the bay.
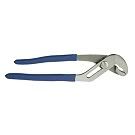
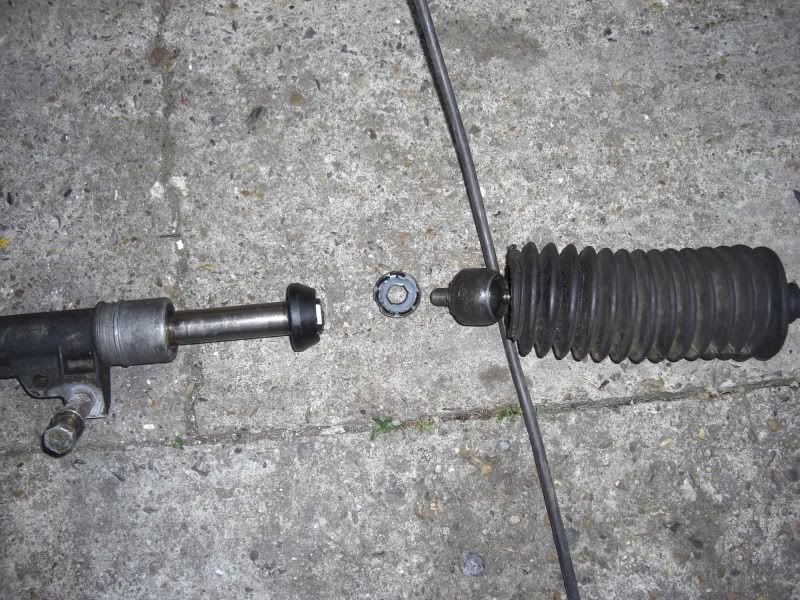
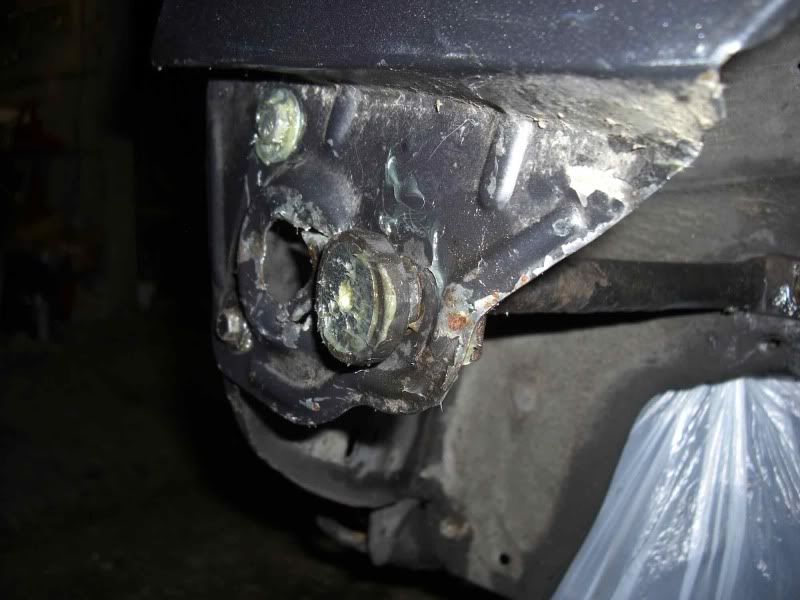
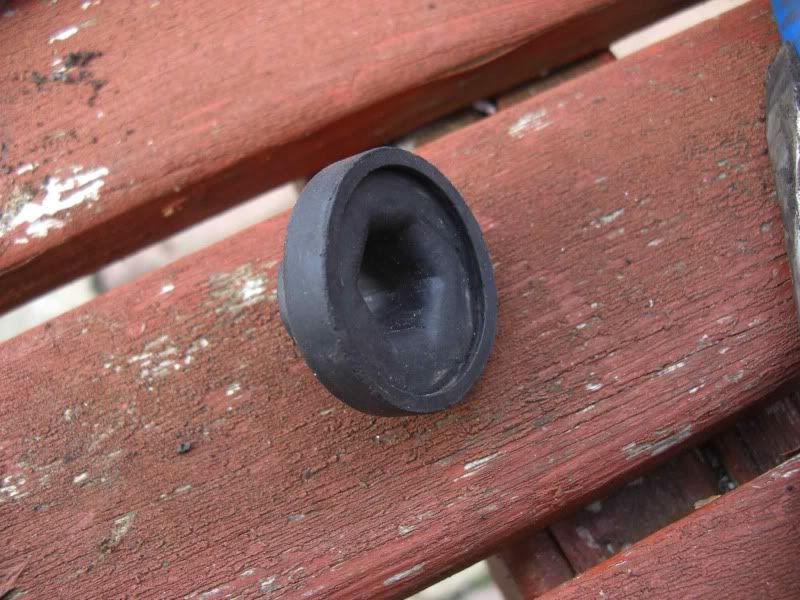
I eventually got one of the track rod ends off, but I had to use my full bodyweight to turn it right up to the last three threads. This ruined the threads and I knew I'd never get the new TREs back in - new track rods to be ordered! The track rods are removed by pulling back the bellows (not easy!) then using a set of these-
To undo the track rods by the black balljoint socket as seen below
I had no luck finding anything for the fuel supply but found some hose reducers (10mm to 8mm) on ebay so bought them and bought some 10mm pipe that way I can use the standard filter or switch to another filter (I thought about the custom banjo but then I'd be stuck with the bulky standard filter).
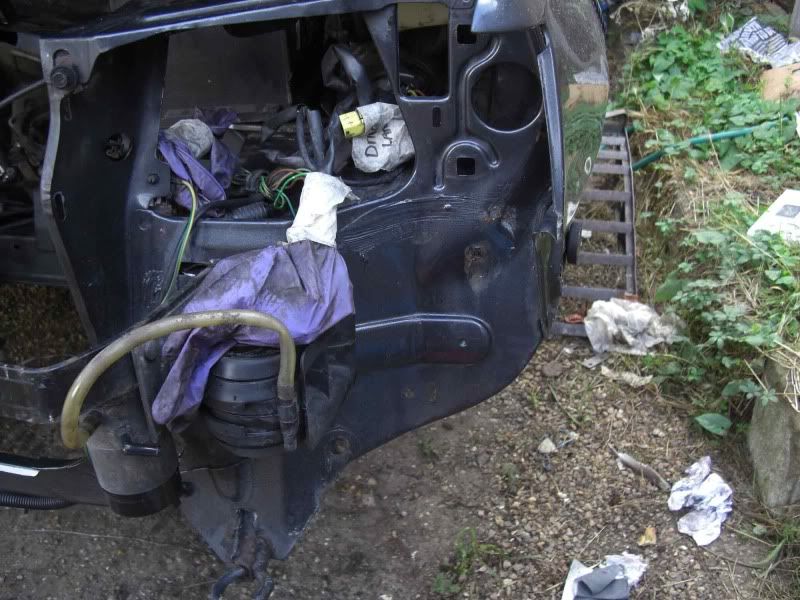
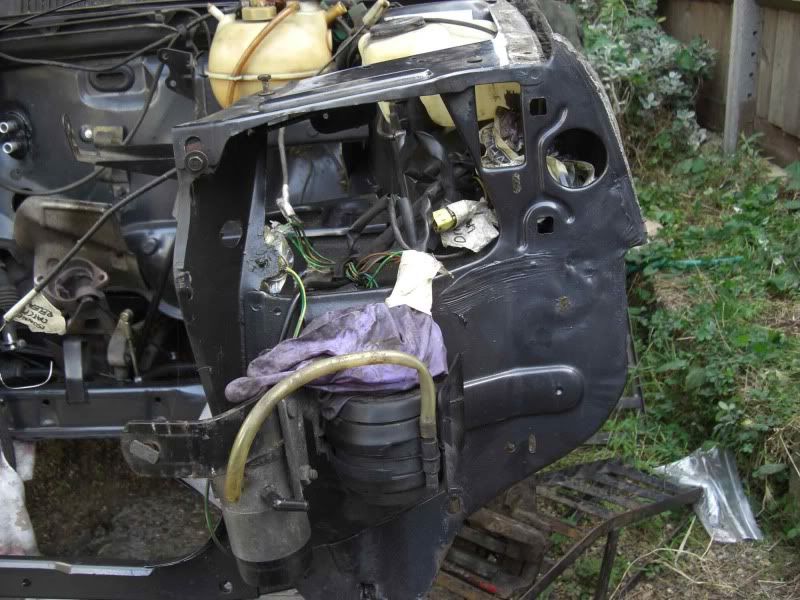
Once I had sorted the rest of the ruined bolts/threads etc I moved onto straightening the offside headlight panel and wing. First thing I whipped off the wing, no sealant so must have been off before!
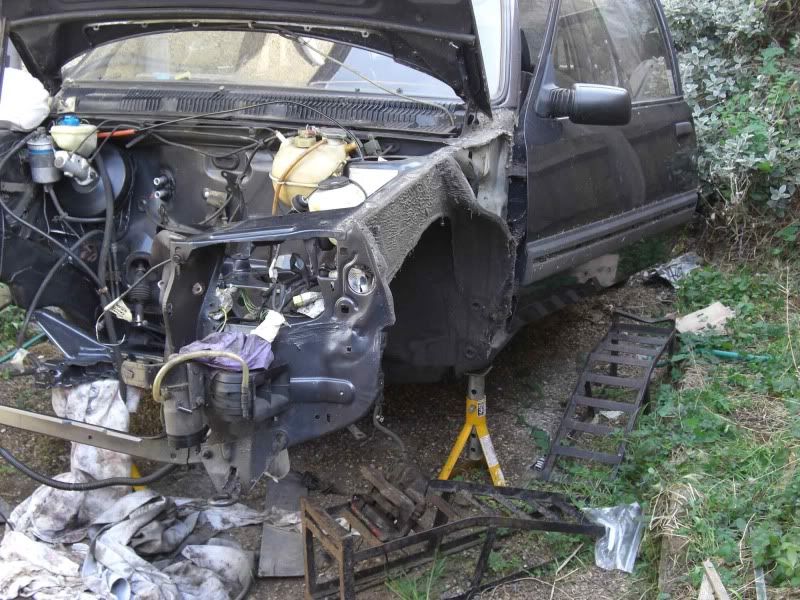
Then using a combination of wooden blocks and a rubber mallet I got it straightened out, ensuring the wing/bumper mounting points were right by using a spare wing I had as a template. So here is a before and after:
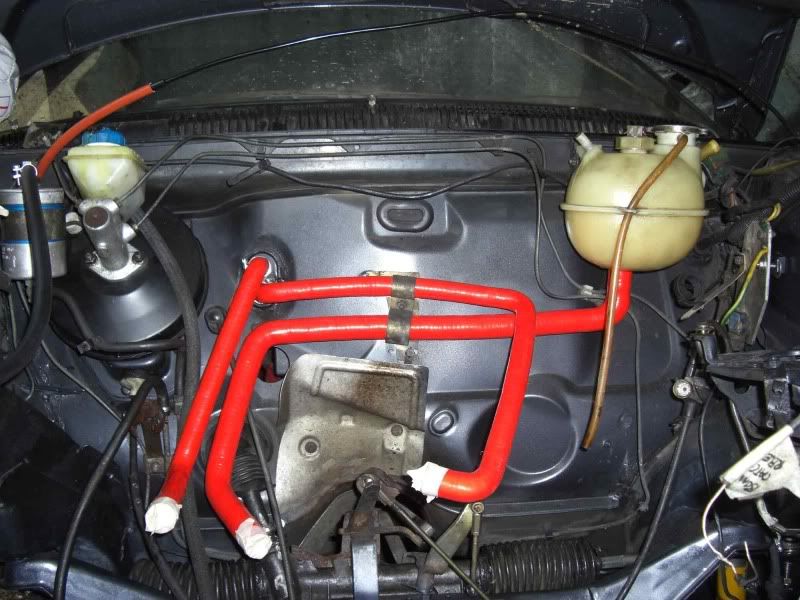
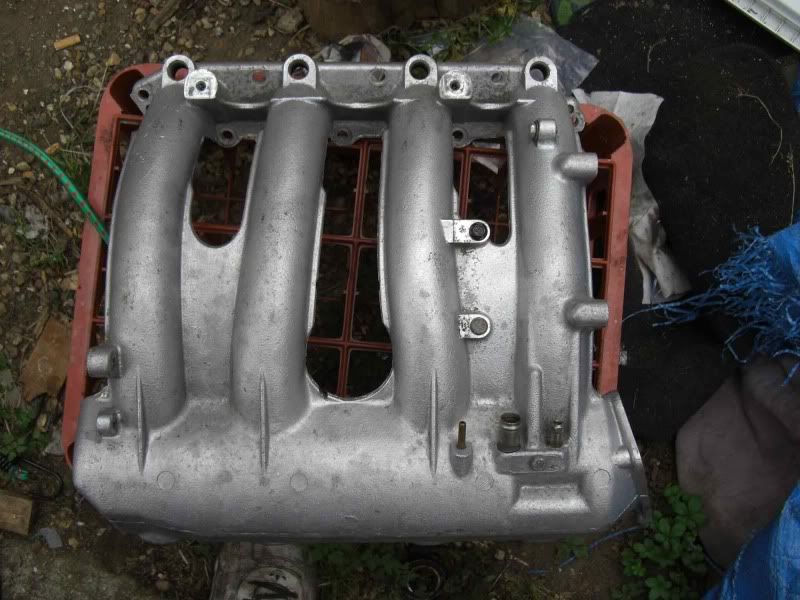
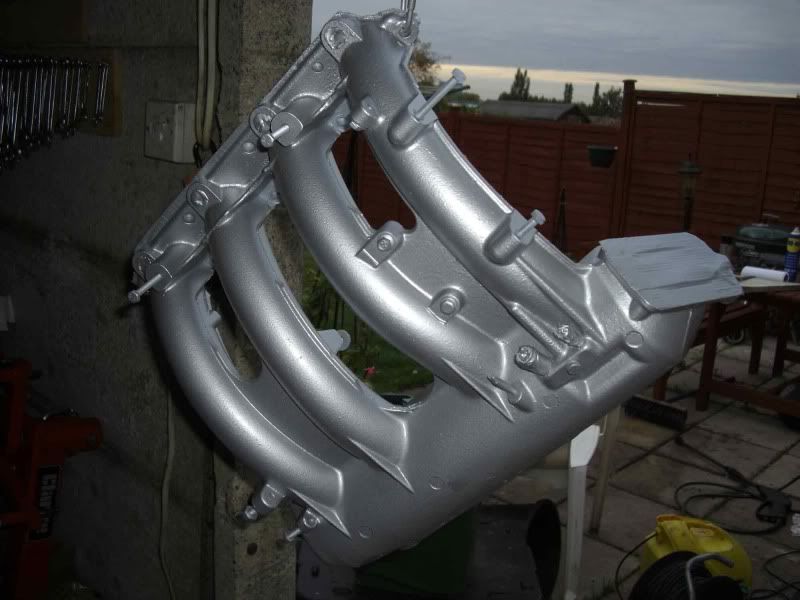
The last thing I did saturday was strip down the inlet manifold ready for cleaning and painting
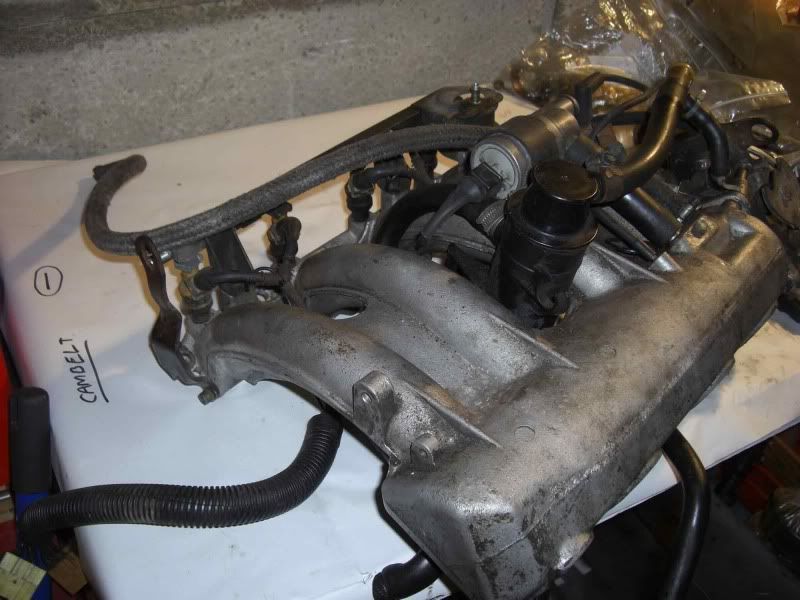
The oil filler pipe has a massive split in it. Does anyone know the best place to get a replacement?


 Are you doing it in Epsom?
 . I found what I needed by having a look at the diagrams on servicebox (see the FAQ section) so maybe try there, you'll be able to get part numbers too.

 ) and notes to myself as I go along. Just the bottom end rebuild I am a bit nervous about, just wanna get stuck in now (still waiting for block to be decked)!
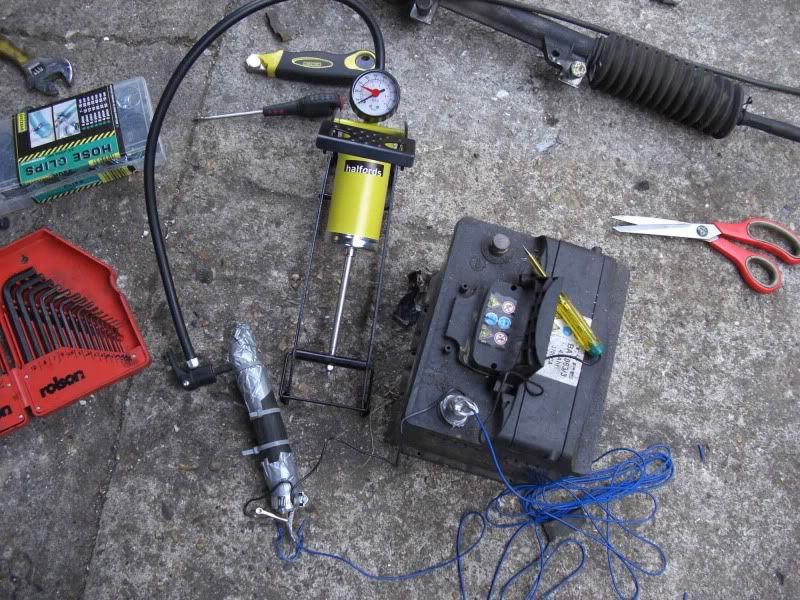


 Project thread