Post #1
After some advice please guys 
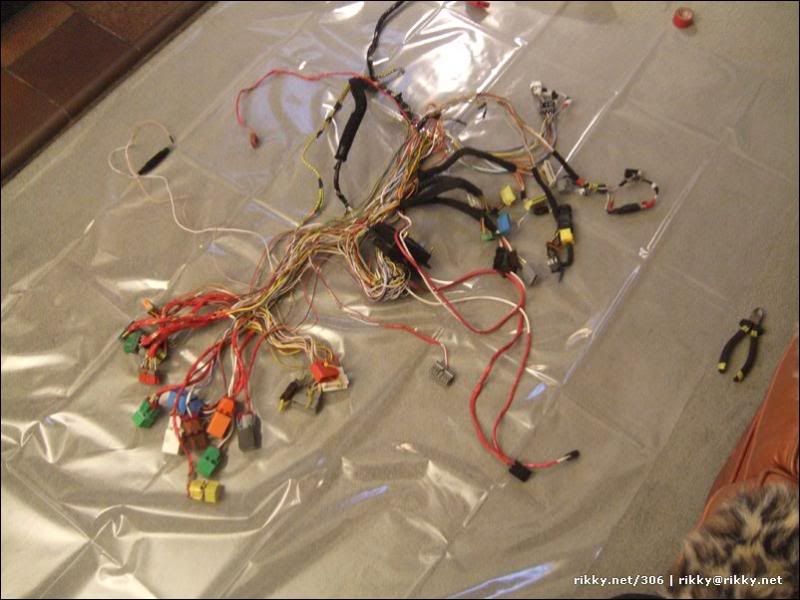
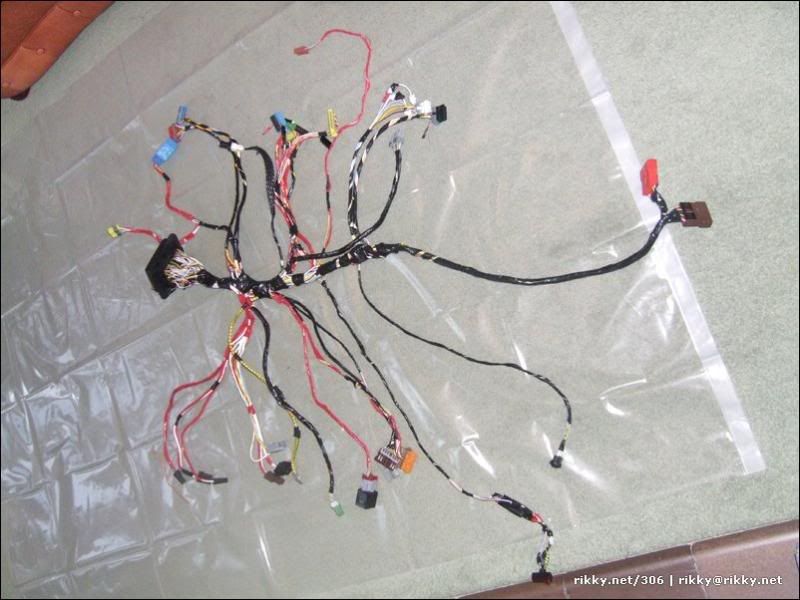
Stripping the car out for track use and wanted a few pointers on which wires can be removed.
All im wanting is to be able to open the doors with the key and start the engine, don't want to take something out and not be able to start the car!
1.
This lot is from the map light and a black dome thing (sensor of some sort?)...

...traced it down the pillar to this plug, can this be removed without any issues?

2.
Found this plug, whats it for and can it be removed as its hanging by a thread!

Traced it back and it goes across into the passenger footwell, its the bottom black wire in the passenger footwell

3.
Whats for what here!?!
Iv taken the airbag box out and traced the wires from that to the seat airbags. Theres still some orange wires there, are these for the seatbelt tensioners? Can these be removed? Needs to be able to pass an MOT.
What else can come out? I assume in this lot theres fuelpump, rear lights, rear abs sensors?

4.
In the A-pillars theres a sensor (assume for alarm/immobiliser sysytem) can these be removed?
Behind the rear view mirror theres a black box with wiring that runs down the passenger side A-pillar, whats this for? along with an earthng wire which earths on the shell behind the map light housing, can these both be removed?
Sorry if these are all silly questions but wiring isn't my cup of tea

Thanks in advance

________________________________________
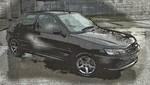
306 GTI 6 Track Car in the making....Evo 5 GSR 360bhp....for now