Post #238
So, before I get into the guts of an update, I feel the need to apologise for the lack of updates (nagging wife + bathroom, / not much spare time or £££ = zero Rallye progress) and then explain that normally, I'm a non violent, rational, calm, big soft human being. The reason for that point will become painfully clear very soon!
So finally, after being in my new job for 6 months, I've managed to wangle a long weekend off and in an effort to try and switch off, I decided to play Rallye. As per the latest PG Tips advert with Vegas and the monkey, everything starts with tea. I can't and won't argue that point and today did!
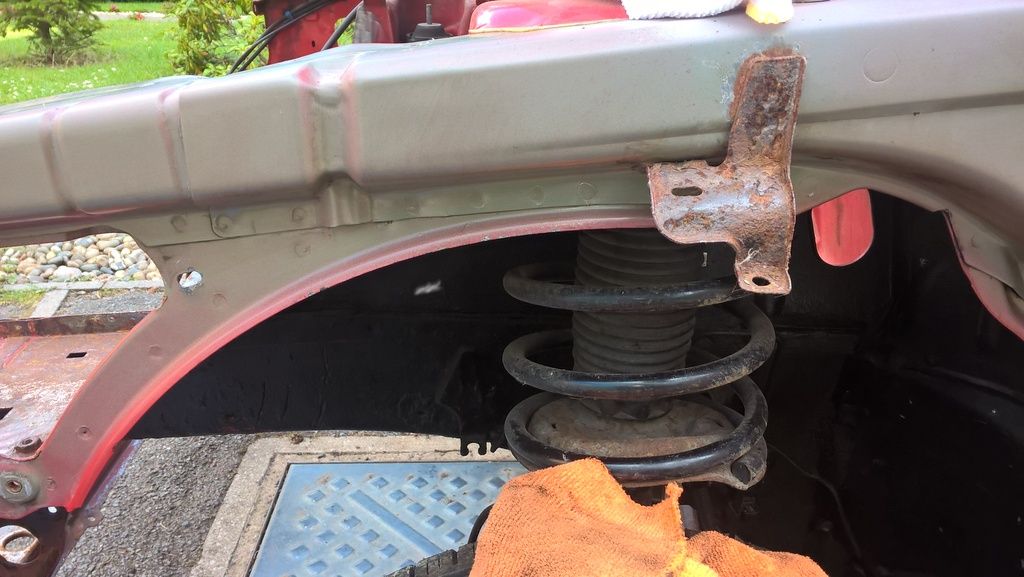
I rolled the Rallye forward on the drive into the sunlight and began to contemplate how to approach the inner front arches. If you've read the whole thread, you'll know what I'm faced with. If you haven't, every single inch and half the components are covered in this god awful, tar based underseal ****e, and, in reference to my point above about being a normally sane, non violent human, is just about where I loose it big time. Think Michael Douglas in Falling Down.
I would quite happily shoot those who either make this bloody stupid or worse still, use it and slap it all over a Rallye! However, unlike removing this bloody stuff, shooting someone would be a bit too quick and easy. I would quite happily force feed this to those people, whilst delivering a near lethal electric shock to various body parts. They should then be experiencing just about what I'm going through...then repeat a number of times over to ensure the lesson is learnt.....
Anyways, back out of Jekyll and Hyde mode to normal hooman being. Now when I did the underside, it was much easier as it's a large flat expanse. Inner arches are a different ball game. Too many tight angles etc. I'd been told several times a decent tar remover would do the job. Given I've 2/3rds of a gallon tin of Tardis is the garage, I figured game on.
I started with the outer edge of the inner arch. Apologies but I didn't take any before photos on this bit. A spray or two of tardis and then a wipe with the cloth. Bugger me, it does workģ.(yes, I know,those rusty bracketsģ.they are doing my head in too!!!)
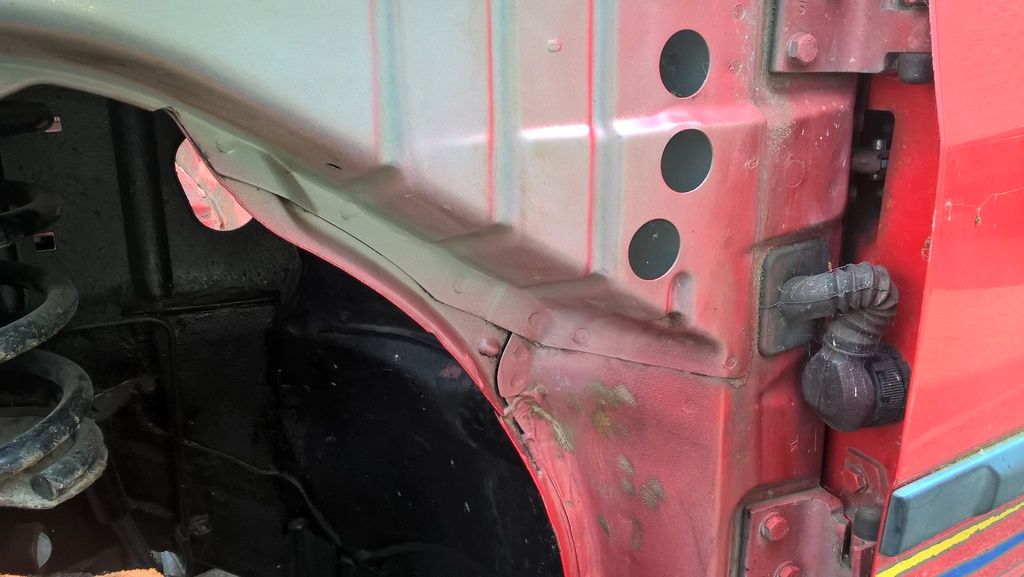
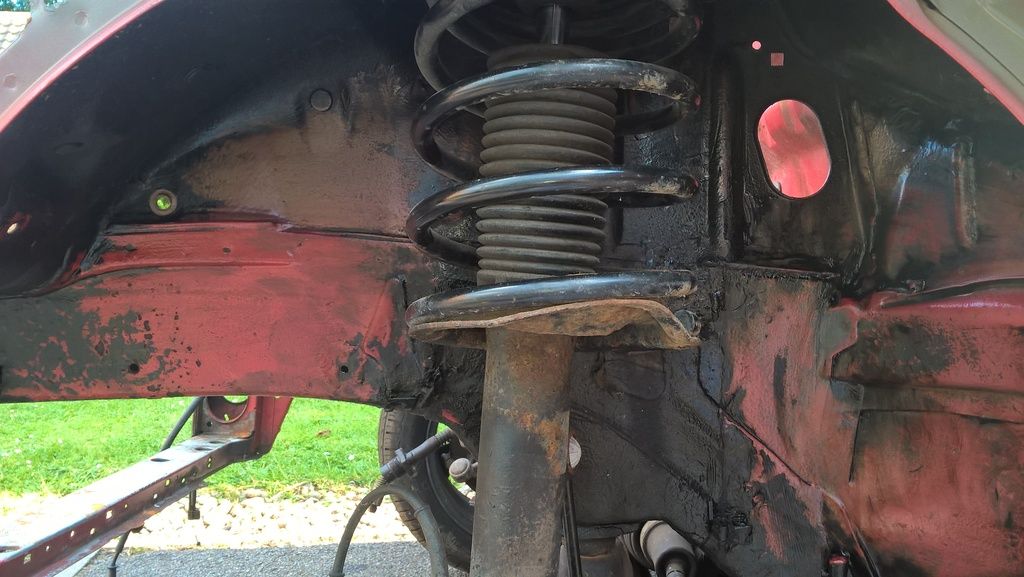
So, happy with that and a proven result, I attacked the arches. Except the stuff here felt like inches thickģ..far thicker than the bits I'd done. The tardis was clearly softening it but when attempting to wipe off with the cloth, it wasn't doing much.
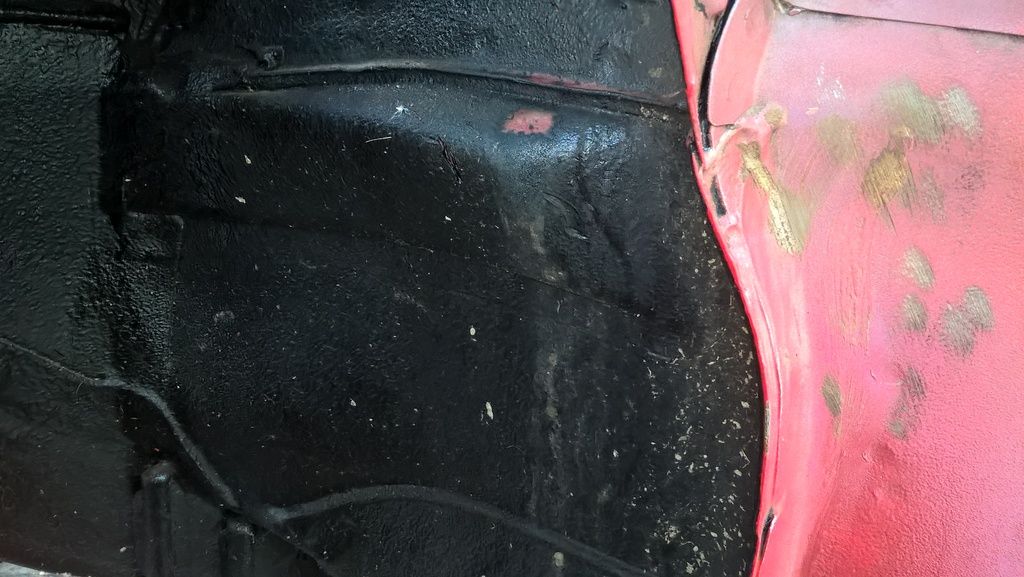
Out came the paint scraperģ.results improvedģ.you can see from this pic just how much there is under thereģ
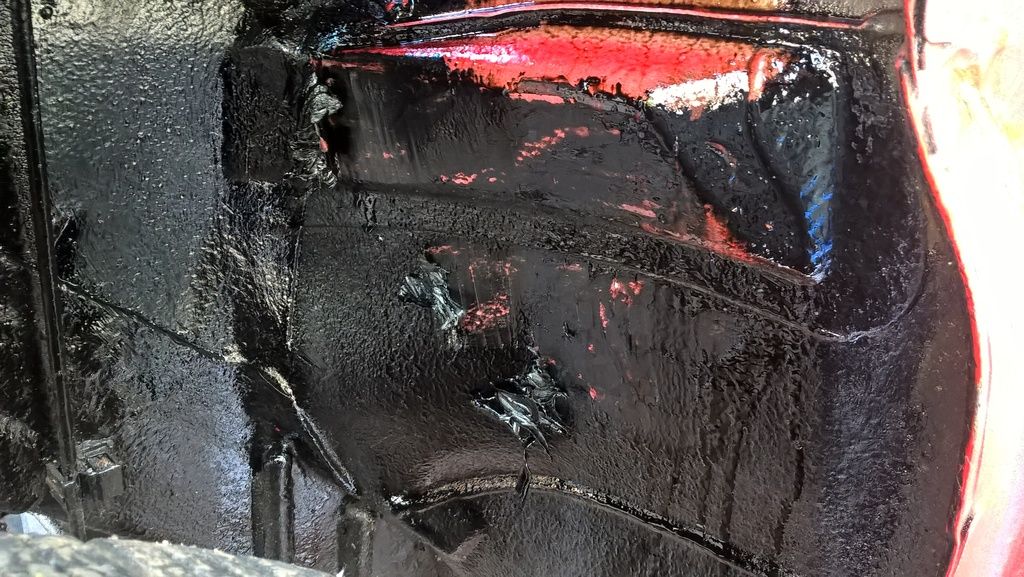
Several hours work later and we are at this point, just on one arch!
The more I think about it, the more I think sand blasting wont work. The media will just stick to the underseal stuff. I'm going to contact a couple of places as I wonder if vapour blasting might shift itģ..
Anyhow, I've discovered a new cider. Chaplain and Corks vintage reserve. 8.2%. Have three in the freezer that I'm off to inhaleģ.
Update shortly on a load of NOS parts I've got coming
________________________________________
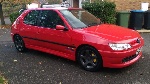
Cherry Red Rallye .... On going OEM spec resto
China Blue GTi6 .... Weekend toy
Black 208 GTi .... Wife's car now
Silver BMW 550i.... The executive missile