displaying posts 26 to 43 of 43

Pages (2): 1 [2]

Author Subject: Project 205 8v, To Gti6
djinuk

Regular

Location: swadlincote

Registered: 11 Dec 2008

Posts: 104

Status: Offline

Post #26
somes pics of the engien bay second time round.

Opinions welcome.

seam sealer spec brush


guide coat after high build ready to flat


And just to show , i havnt got massive funds, nor have i got a garage (not one for my car to go in anyway, the weather was bad so we improvised.


Posted 11th Apr 2009 at 01:28
berger

Seasoned Pro

Location: Bathurst

Registered: 26 Oct 2008

Posts: 1,068

Status: Offline

Post #27
Looks good, especially considering your just working on the drive!

________________________________________

Bang'in 7 gram rocks!
I have one gear, GO!
Posted 11th Apr 2009 at 01:43
720puggti

Seasoned Pro

Location: West London

Registered: 18 Jan 2009

Posts: 1,069

Status: Offline

Post #28
that is looking good dude... hope i can get mine that clean!

________________________________________

Deepak Gohil


Posted 11th Apr 2009 at 18:04
djinuk

Regular

Location: swadlincote

Registered: 11 Dec 2008

Posts: 104

Status: Offline

Post #29
Turned attention today towards the engine, stripped it down and gave the main block and oil cooler a lick of engine paint, its halfords gloss black stuff and i must say hats off , fast drying easy to apply and great coverage, spot on for
Posted 12th Apr 2009 at 04:27
djinuk

Regular

Location: swadlincote

Registered: 11 Dec 2008

Posts: 104

Status: Offline

Post #30
Well i attacked the brake servo and master cylinder with hammerite spray paint , first thing i will say is this stuff is a nightmare to paint and goes on like p*ss, seams the lightest coat ever is needed to give the paint something to stick to once its gone tacky, anyway here are a few pics.


quick pic of first coat on the master cylinder *just shows how thin the paint is*


then gave my gearbox a lick of paint to tidy it up.
Posted 14th Apr 2009 at 01:16
RichardE

Seasoned Pro

Location: In a computer

Registered: 20 Feb 2006

Posts: 3,936

Status: Offline

Post #31
Looks good mate, bet your mrs and neighbours love you LOL Thumbs up

________________________________________

Volvo XC60 SE Lux Premium AWD + Appearance Packs + Various Options
  • K&N Panel Filter
  • Polestar Tuning Chip
  • All Weather Tyres
  • (355BHP & 507NM Torque)

    Posted 14th Apr 2009 at 03:12
    matt_gti

    Senior User

    Location: Leafy Surrey

    Registered: 08 Sep 2008

    Posts: 667

    Status: Offline

    Post #32
    Good job!, keep the pics coming. I always use plasti-kote rather than hamerite as I always thought it was to thin as well.

    ________________________________________

    306 GTI-6
    205 GTI-6 Project
    205 1.6 GTI - RIP
    205 1.9 TT - RIP
    E39 535i - Daily driver
    *Newest edition* E60 M5 5l v10 - The weekend car Smile
    Posted 16th Apr 2009 at 00:44
    captaink

    Senior User

    Location: Exeter

    Registered: 18 Jul 2008

    Posts: 579

    Status: Offline

    Post #33
    Good job mate, except on a personal note I don't know why people paint their engines black. I mean thats not helpful for spotting any oil leaks. :S

    Mine was painted black during its re-build, and I find it a little annoying. Silver would have been better. LOL:

    ________________________________________

    When I got home last night, my G/F demanded that I take her somewhere expensive - so, I took her to a petrol station.

    1993 L reg 205 with GTi6 engine and GTi6 brakes
    1995 M reg FTO GPX manual
    Posted 16th Apr 2009 at 18:21
    djinuk

    Regular

    Location: swadlincote

    Registered: 11 Dec 2008

    Posts: 104

    Status: Offline

    Post #34
    bit of an update, firstly i brought and fitted a 1.9 mi16 push clutch to the gti6 engine and bolted on the gearbox.


    Then i reseamsealed the eghaust tunnel where the heat had caused the o/e stuff to all crack of.


    shutzz the front arches


    Gave the driving light cases a lick of paint as they were battered after only 4 months of use (denji/bad quality)


    Then fitted Various brackets, subframe and brake servo back into the engine bay.


    along with a pair of new pug arb bushes
    Posted 21st Apr 2009 at 12:24
    daviewonder

    Regular

    Location: West sussex

    Registered: 01 May 2009

    Posts: 307

    Status: Offline

    Post #35
    its coming on really nice mate, looking forward to more updates.

    Thumbs up Thumbs up Thumbs up

    also like the rear spoiler what one is it?

    ________________________________________

    Why is it that shoe repairers are so good at cutting keys? - Harry Hill.
    Posted 4th May 2009 at 06:33
    djinuk

    Regular

    Location: swadlincote

    Registered: 11 Dec 2008

    Posts: 104

    Status: Offline

    Post #36
    theres been a delay in updates as the things ive been doing include

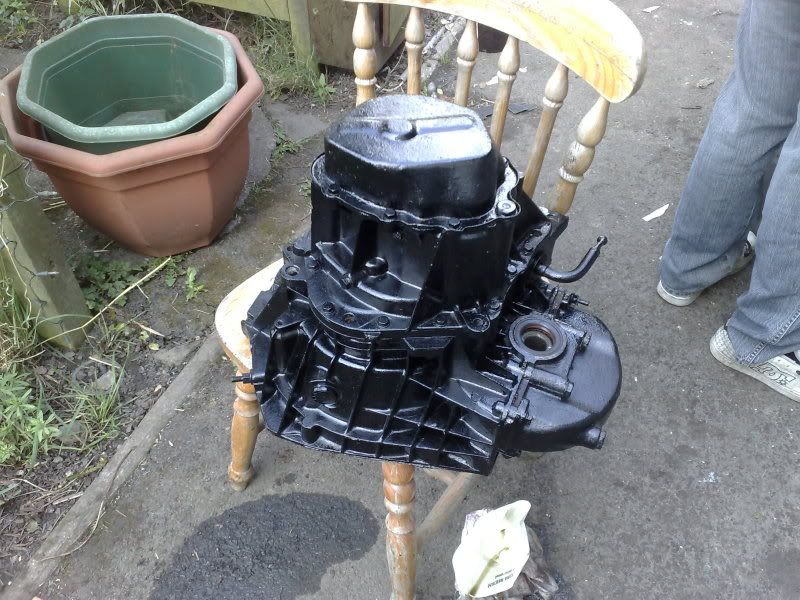
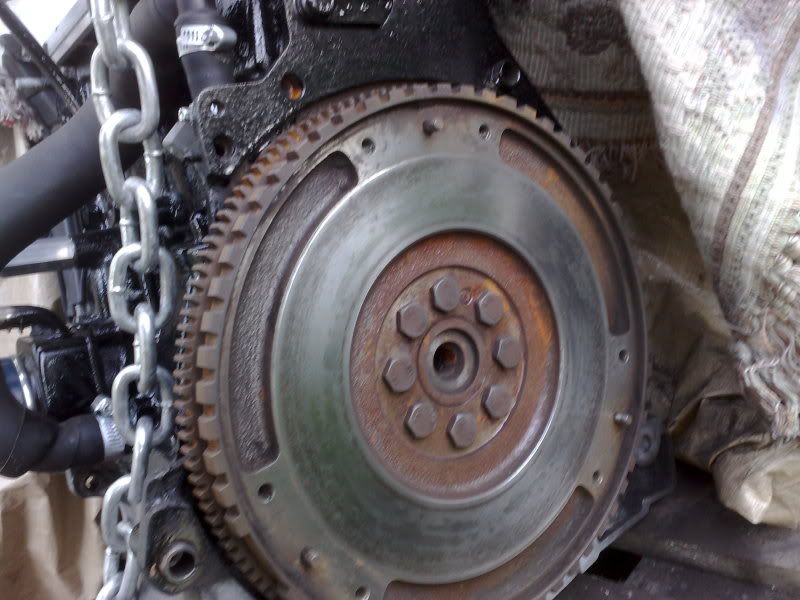
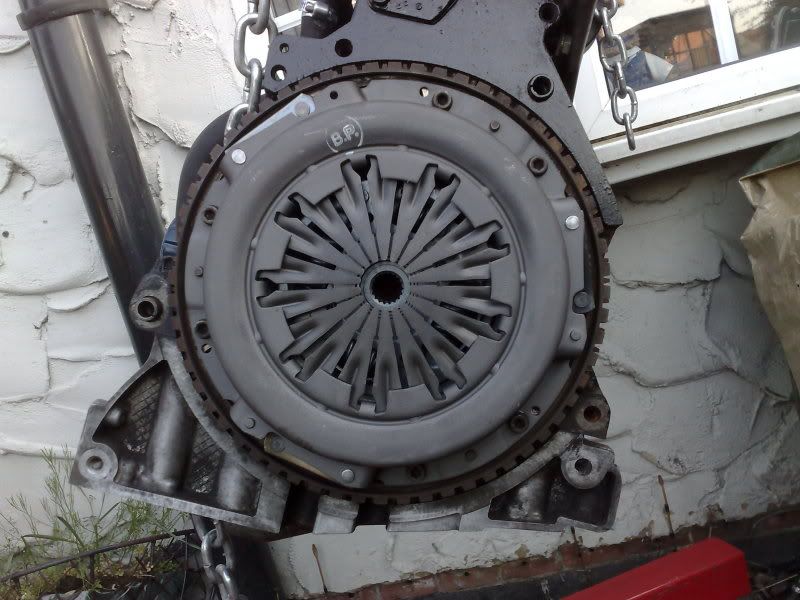
    fitting genuine cambelt kit
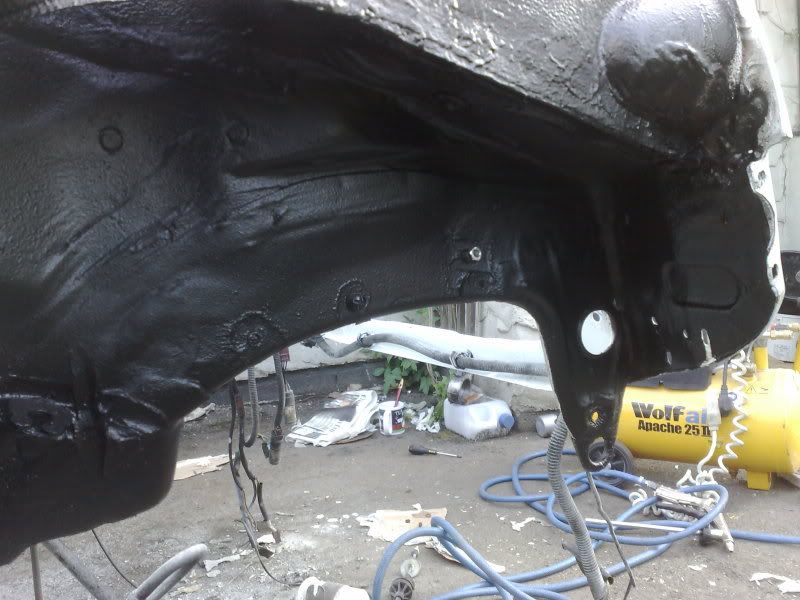
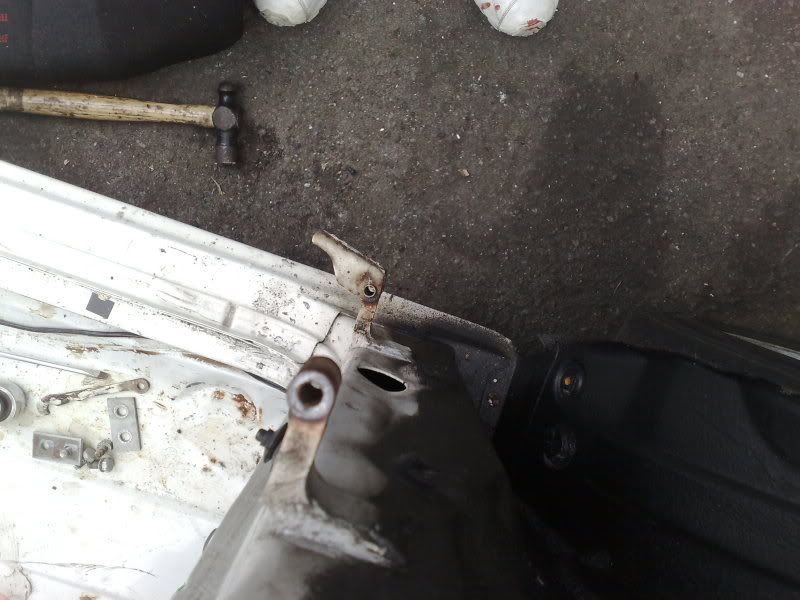
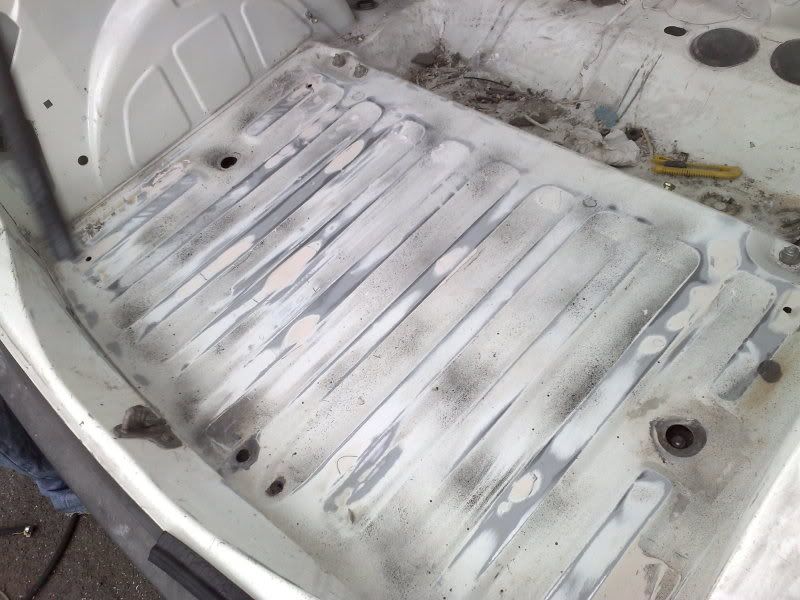
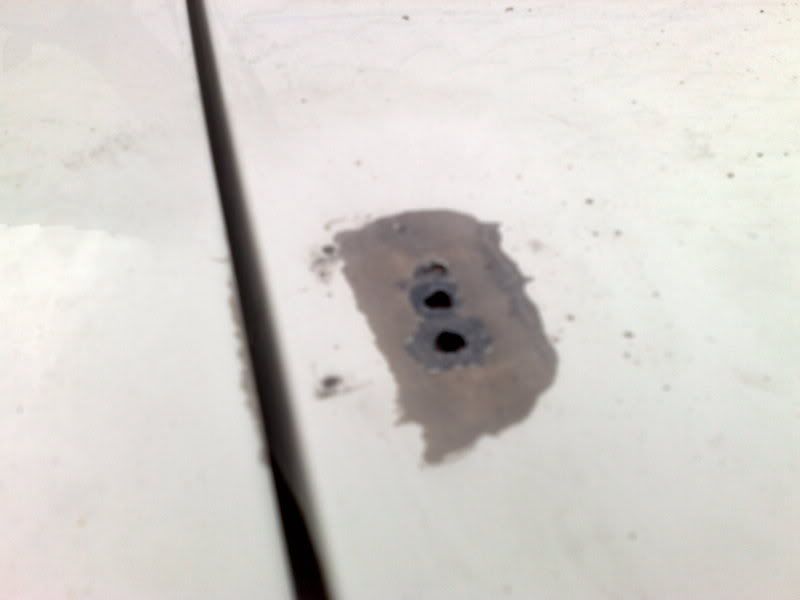
    replacing nuts and bolts from the subframe,
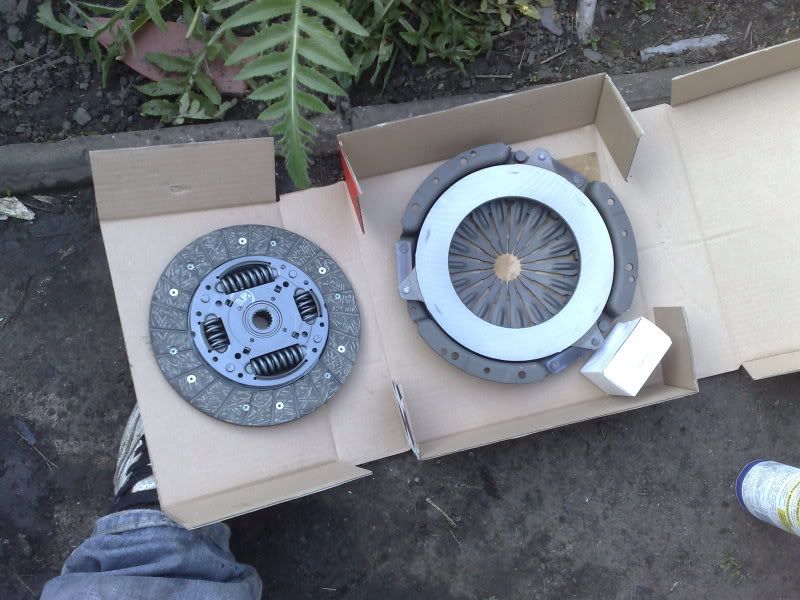
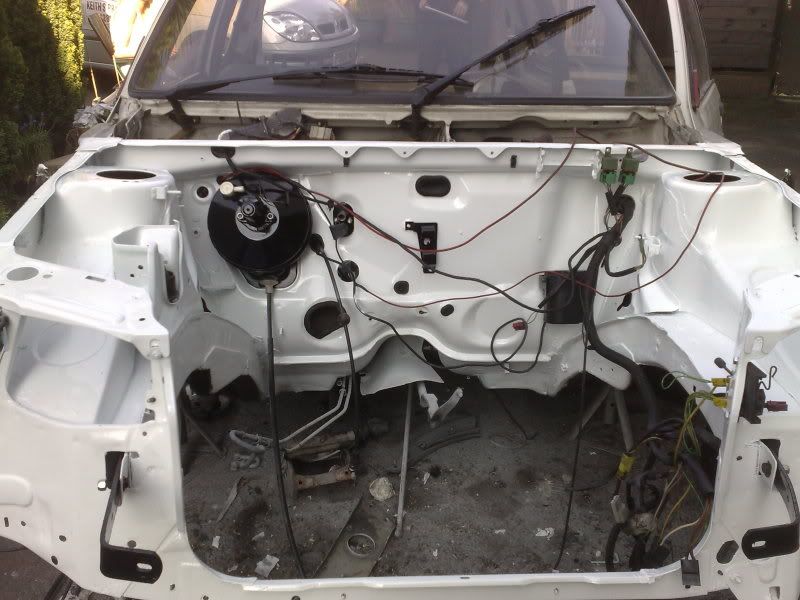
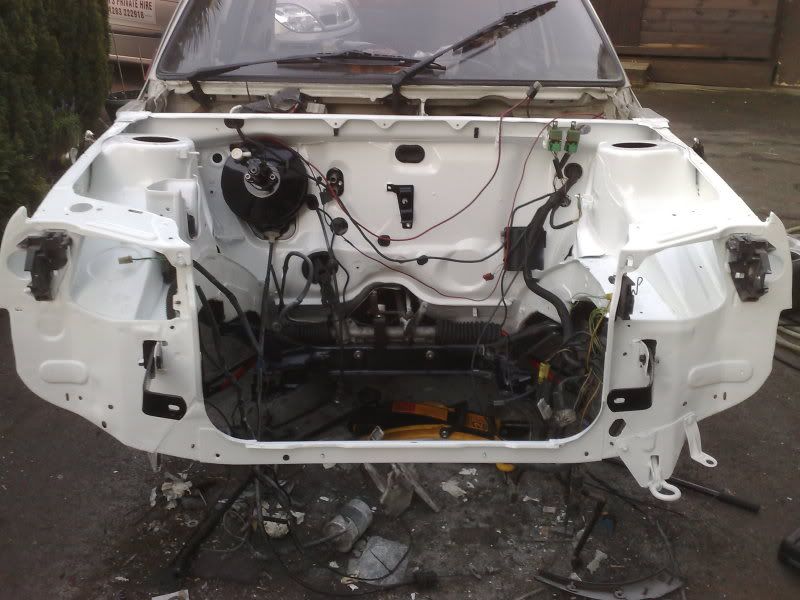
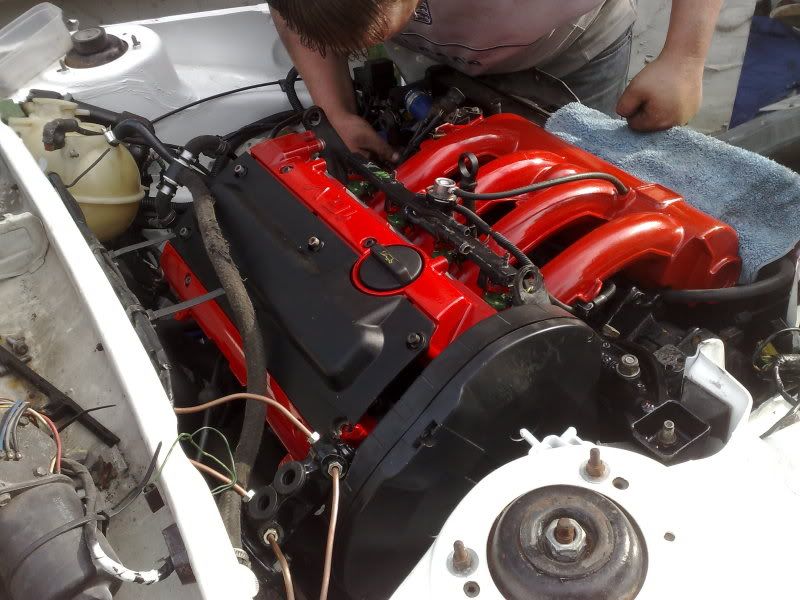
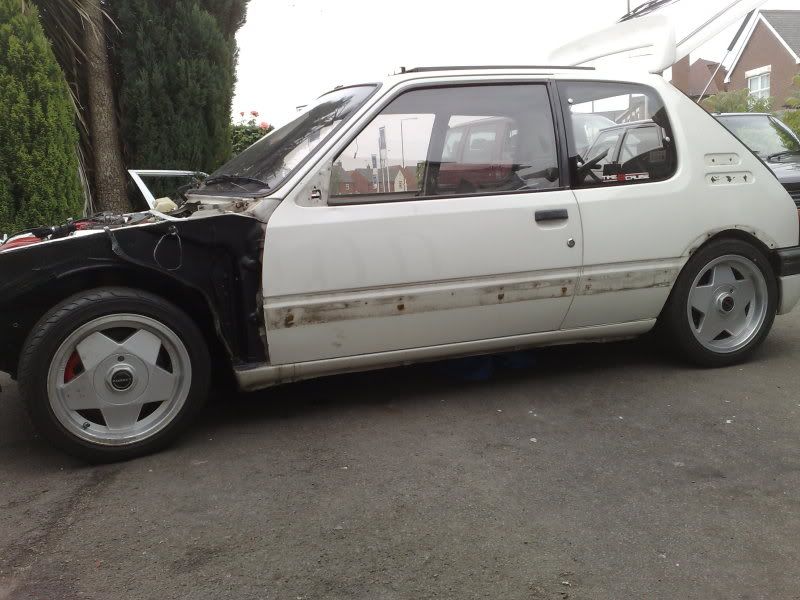
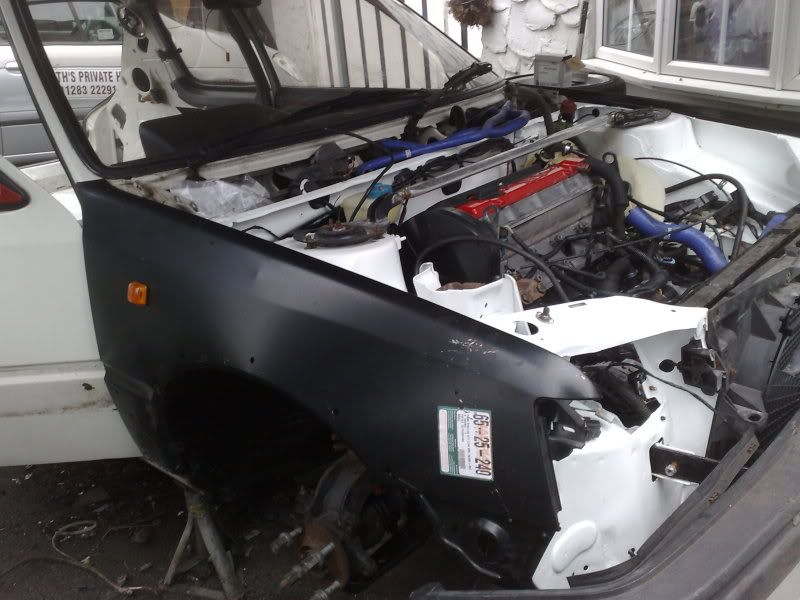
    fitted engine and loom and fired it up for the first time and it all works.
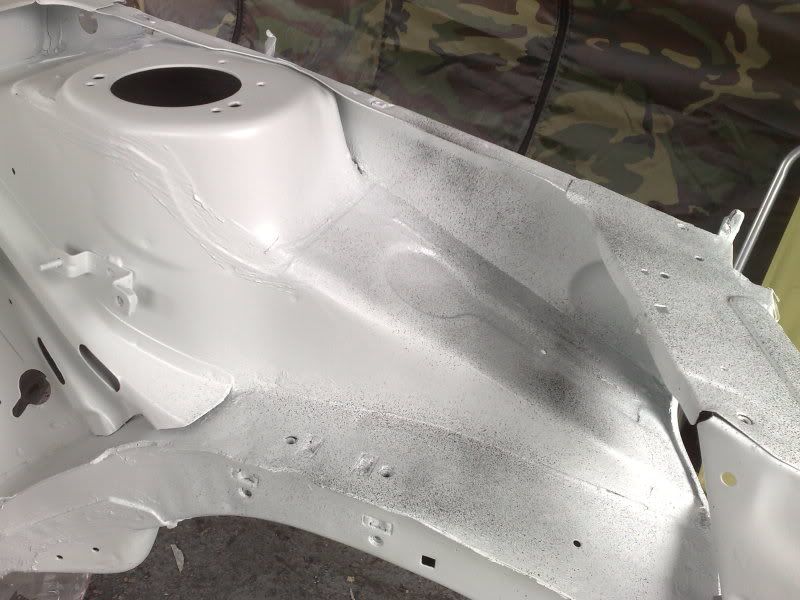
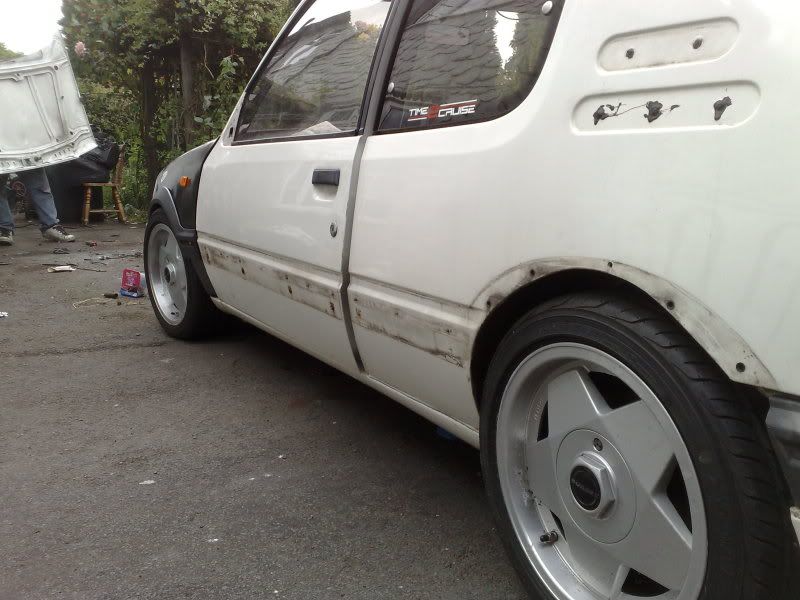
    collected a pair of new front wings

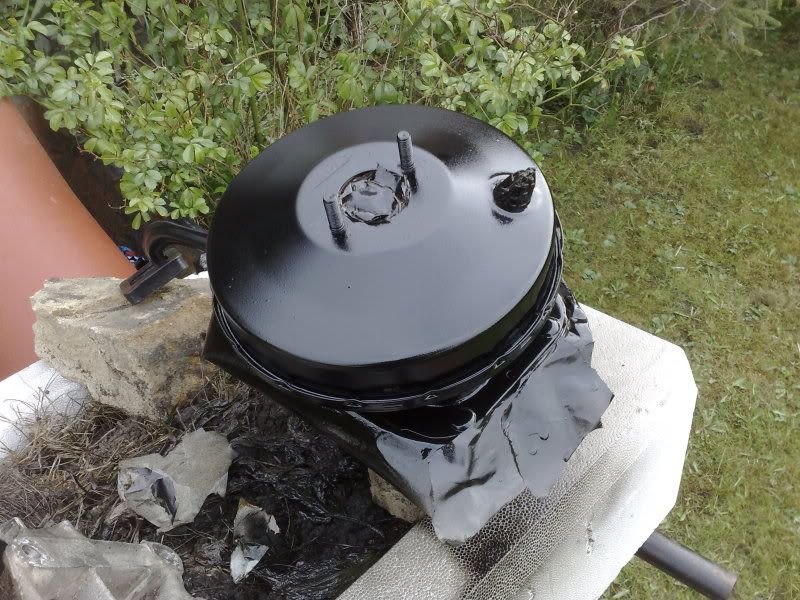
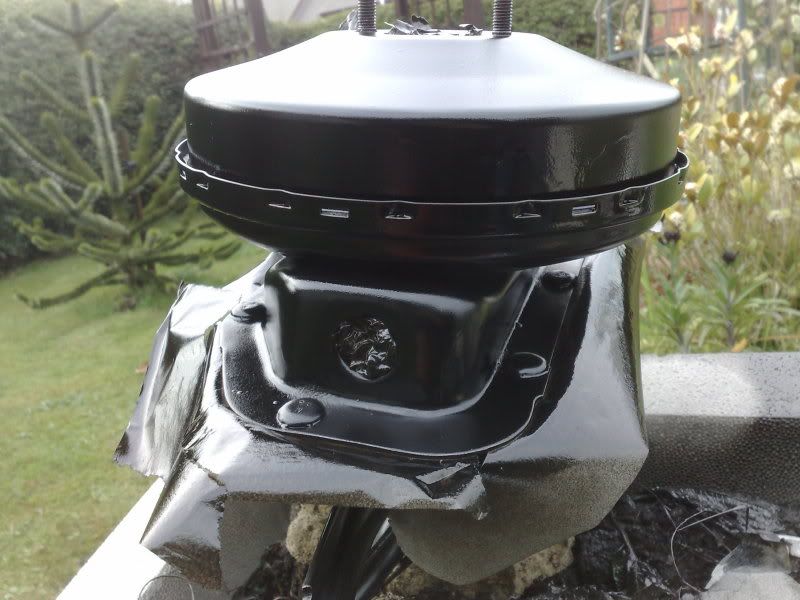
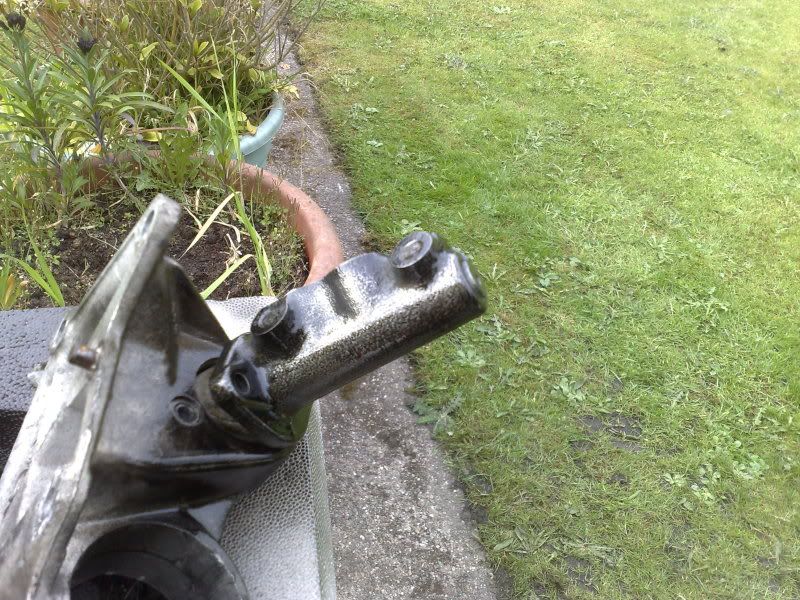
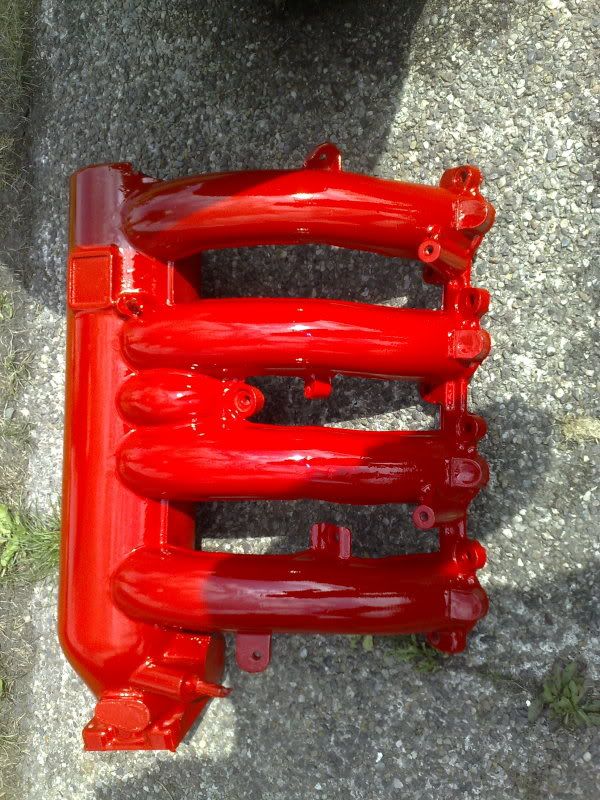
    and now ive just stripped the manifold back down for paint and im working out the route to take with regards to plumbing the engine in.


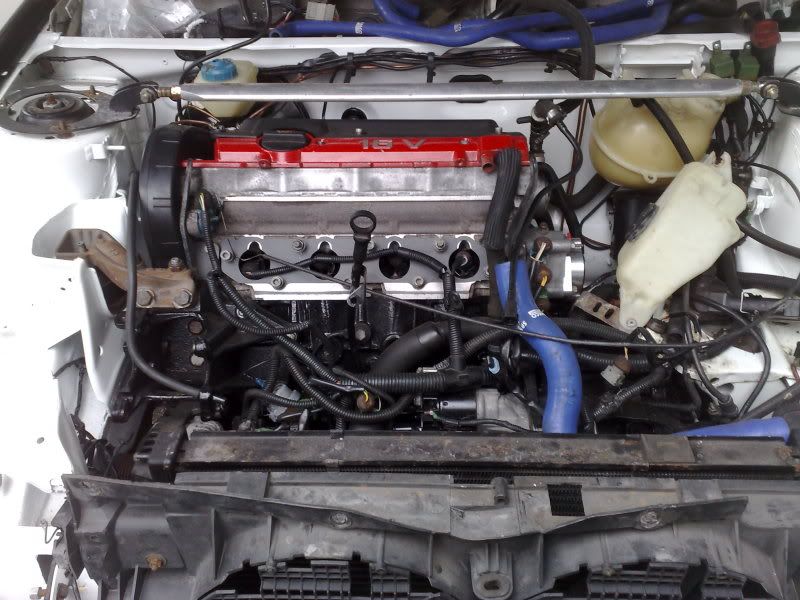
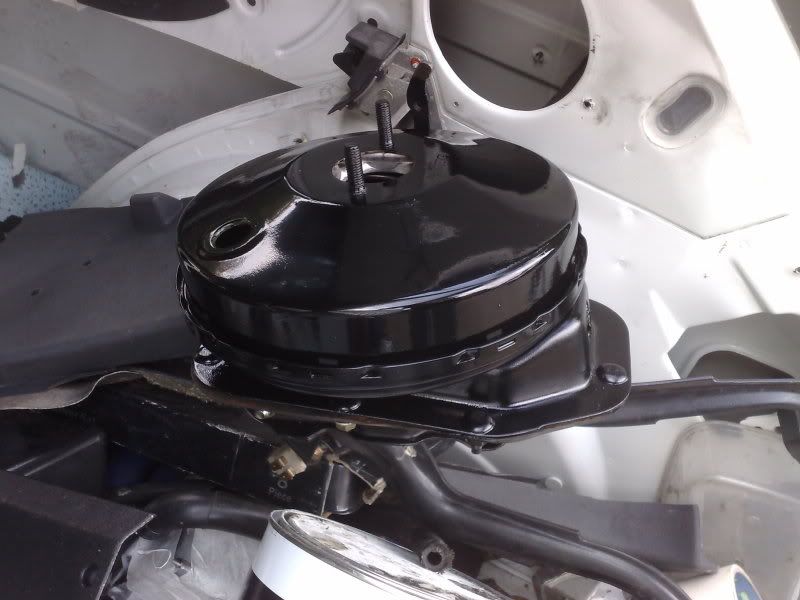
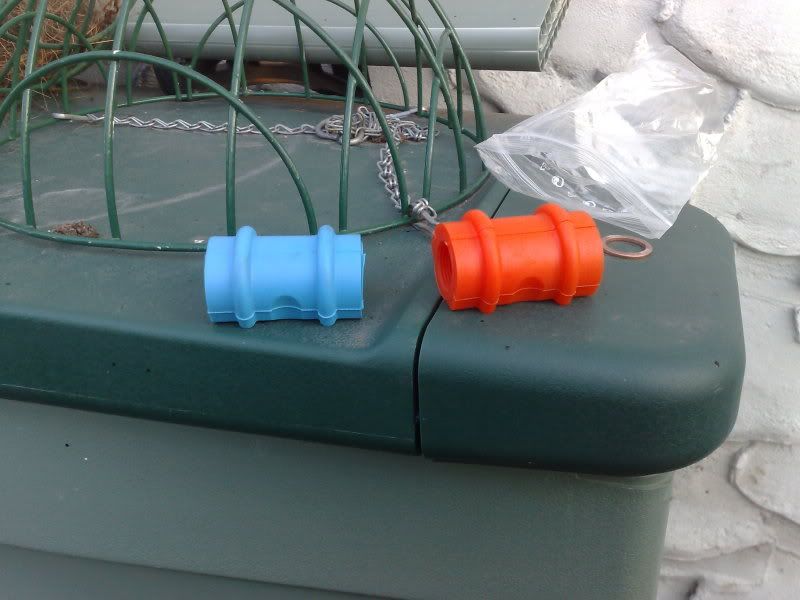
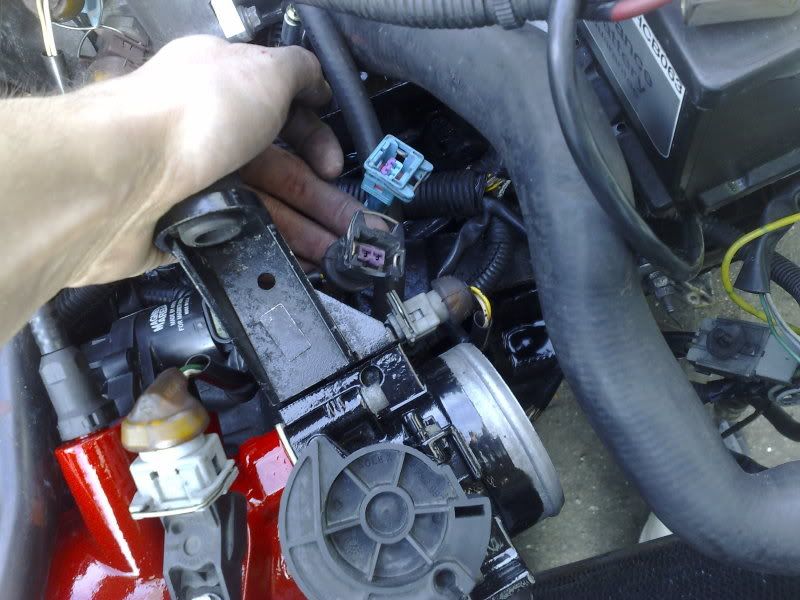
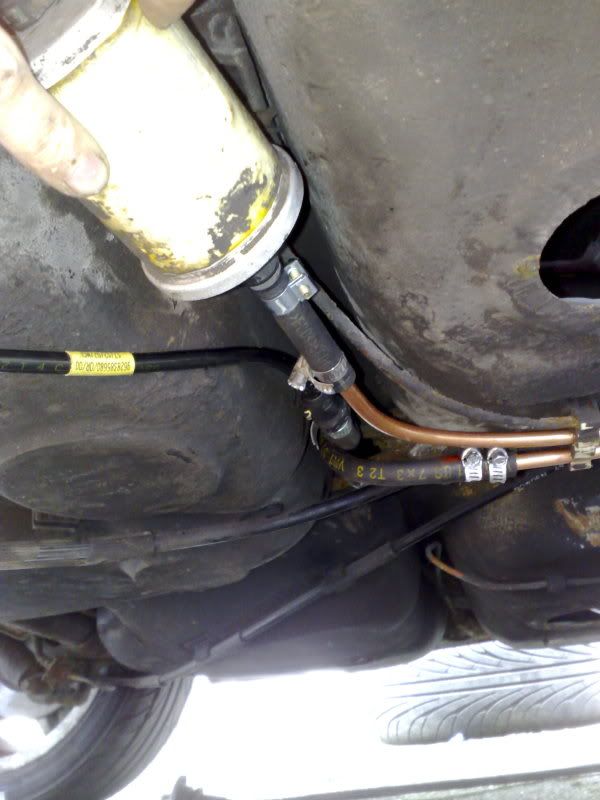
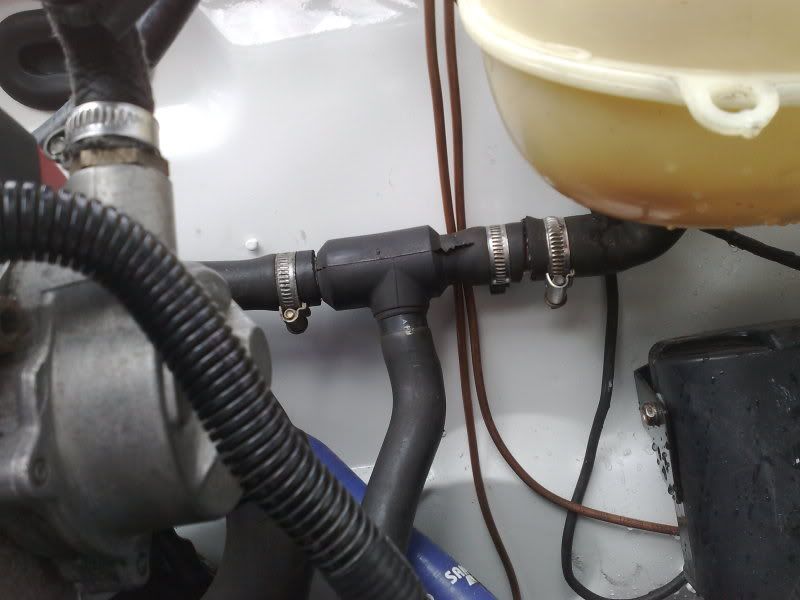
    Ive also been plumbing in the gti6 using some of the 8v hosing aswell as the thermostat adapter (curtoisy of baker bm) and some random hosing from scrapyards.


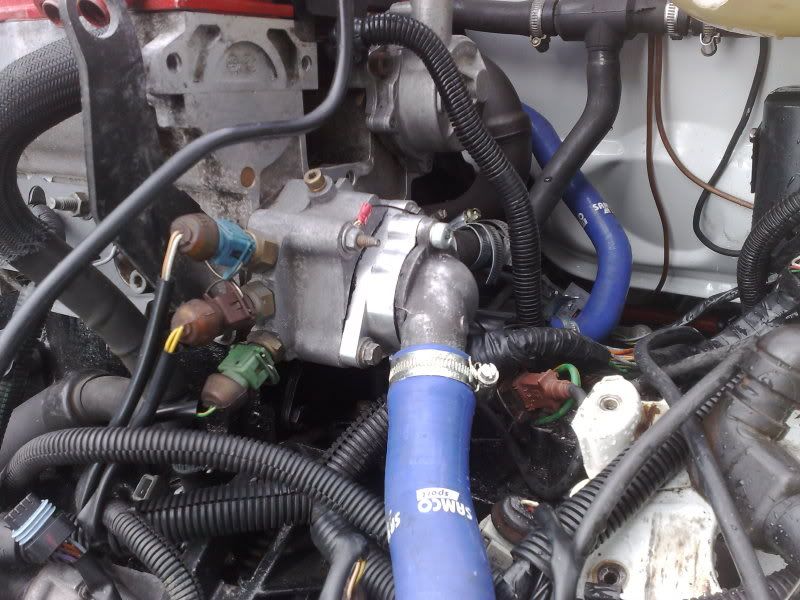
    Ive not plumbed up the oil cooler housing as im going to get a remote oil cooler (mocal or similar)

    Only thing ive realised now is the only bleeding point i have is the one on the thermostat, any ideas if i will manage to bleed the system ok.
    Posted 19th Jun 2009 at 03:29
    djinuk

    Regular

    Location: swadlincote

    Registered: 11 Dec 2008

    Posts: 104

    Status: Offline

    Post #37
    well, i gave the inlet and cam covers a pruce up with some fresh paint, after scothing and panel wipe, they came up ok so thats all back on now.. Also i found a carvan shop that does 8mm fuel line and all the ends i need so on wednesday night ill be fitting new fuel lines to the car throughout and a 106 gti fuel filter underneath the car.


    Also i took a video of the car running up to temp. (no manifold)
    http://www.youtube.com/watch?v=Pk8kYBSFHPM

    and the section i needed to cut for clearance


    Also i have two redundant plugs hanging about the throttle body area.. do i need them ?
    Posted 22nd Jun 2009 at 13:02
    306andy

    Senior User

    Location: Derby

    Registered: 01 Dec 2007

    Posts: 631

    Status: Offline

    Post #38
    Blue Plug looks to be off the Coolant Temp Sensor (Warning Lamp/Gauge) but if you've already plugged something in there thats Blue then i'm stumped.

    The Black Plug is off the MAP Sensor Wiring Loom and I think its spare, although I have no answer as to why its spare.

    ________________________________________

    TEAM 205 GTi-5
    TEAM Phase 1 GTi-6

    xbox Live tag: SilverGTi6
    Posted 23rd Jun 2009 at 21:44
    djinuk

    Regular

    Location: swadlincote

    Registered: 11 Dec 2008

    Posts: 104

    Status: Offline

    Post #39
    bit of an update, cars now on 4 wheels, with new wheel bearing etc, theres clearance with the borbets on the gti6 calipers, but only just, Ive fitted new fuel lines and opted for using the 306 fuel filter and mounting it below the rear brake compensator, i used the original barbed plastic connections etc to fit the fuel filter using the original quick release fittings and all seems well.


    I guess ill soon be at a stage to look at the bodywork to some degree and get help from friends


    Posted 28th Jun 2009 at 02:08
    djinuk

    Regular

    Location: swadlincote

    Registered: 11 Dec 2008

    Posts: 104

    Status: Offline

    Post #40
    Well , as most of the engine side of things is complete i decided to take the plunge and begin attacking the bodywork..
    First i removed the dash ready as i dont want to have to dodge this around spraying,


    Then i removed the door pins which had seen better days, cant wait to get these replaced and see if it looses the play.


    Then i decided to begin preping the boot floor which has a fair few dints, im not to worried about it being perfect but i decided to fill some low spots and block it off.. Im by no means a bodywork guy but i like to learn so hey may aswell give it a go where the finish isnt a huge problem.


    One thing that has worried me is towards the back of the roof i have 3 very small holes (not sure what caused this) its solid around the holes, question is how do i attack it, i dont think it can be welded due to roof warping, i cant get underneath is as there is a stenghting bar right in the way so thats not possible.
    Advice & suggestions

    Posted 29th Jun 2009 at 02:27
    willygti

    Seasoned Pro

    Location: Exeter

    Registered: 08 Oct 2007

    Posts: 5,024

    Status: Offline

    Post #41
    wow those borbet's are mega.

    15x7"?

    ________________________________________

    Team Ducati 748
    2003 Subaru Impreza STi
    Posted 29th Jun 2009 at 02:33
    720puggti

    Seasoned Pro

    Location: West London

    Registered: 18 Jan 2009

    Posts: 1,069

    Status: Offline

    Post #42
    looks like the car's coming along nicely man. i've got to give credit where it's due - working on a drive, you certainly have a lot more patience and love for cars than i do!

    ________________________________________

    Deepak Gohil


    Posted 29th Jun 2009 at 03:55
    djinuk

    Regular

    Location: swadlincote

    Registered: 11 Dec 2008

    Posts: 104

    Status: Offline

    Post #43
    hehe, thanks man, yea drive can make some things diffciult but its not that much of a problem during this time of year really. Yea they are 15x7 matey fitted with 10mm spacers all round like, need a refurb though Razz
    Posted 29th Jun 2009 at 12:06

    Pages (2): 1 [2]

    All times are GMT. The time is now 14:03

    The Peugeot GTi-6 & Rallye Owners Club - ©2024 all rights reserved.

    Please Note: The views and opinions found herein are those of individuals, and not of The Peugeot 306 GTi-6 & Rallye Owners Club or any individuals involved.
    No responsibility is taken or assumed for any comments or statements made on, or in relation to, this website. Please see our updated privacy policy.