


Post #1
This thread, as most FAQ's are, is reasonably picture heavy. Modem'ers, (if there are any of you left) this is your warning.Also, this is only a guide following how I carried out recoiling my hub, if this isn't the generally correct method so be it, but it worked for me. Basically if you cock it up, dont blame me.
This Guide / FAQ has come about from me carrying out a pad and disk change on the car and finding that one of the bolts that held the front caliper to the hub had stripped the thread from inside the hub and wouldn't grip.
I was faced with 3 methods of attack;
Get a new hub.
Drill and tap the hole out larger and source a new bolt.
Recoil the existing hub.
After looking into the recoiling, I decided that it didn't look that hard, and appeared the easiest and cheapest of the options, so ordered a kit for the correct size. (M12 * 1.5 for the front caliper to hub bolts for reference)
The principal behind this can be used for anything you need to recoil, not just a hub, but as that's what I did, the thread is based around that.
You will need:
recoil / helicoil kit for the correct size
A selection of HSS drill bits
A drill
Long nose pliers
Jack + axle stands
cutting compound or WD40
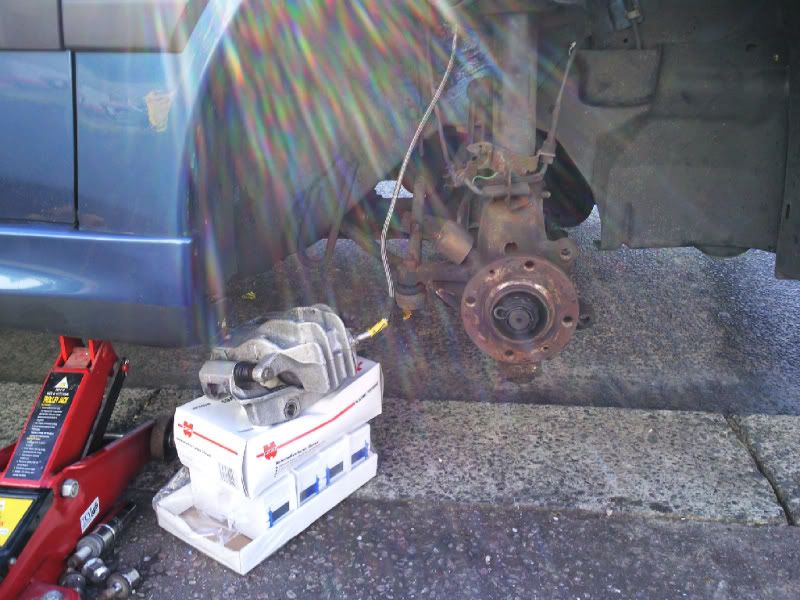
Firstly, get the car up in the air, on axle stands and with the wheel off on the offending side.
Then you need to get the whole caliper + carrier off the hub and suspend it in some way or take the weight off the hose.
Then remove the disk. That brings you to this:
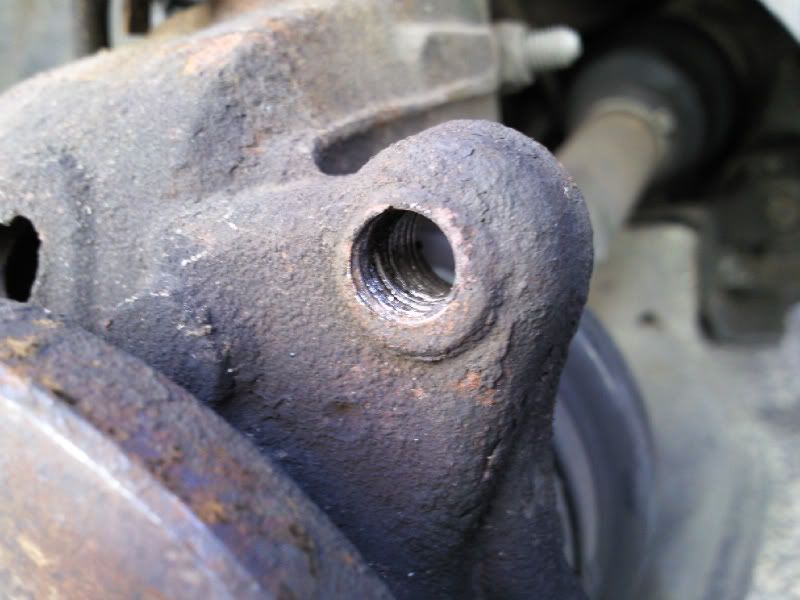
The offending fixing hole is the lower one of the two. This is what an ok one should look like:
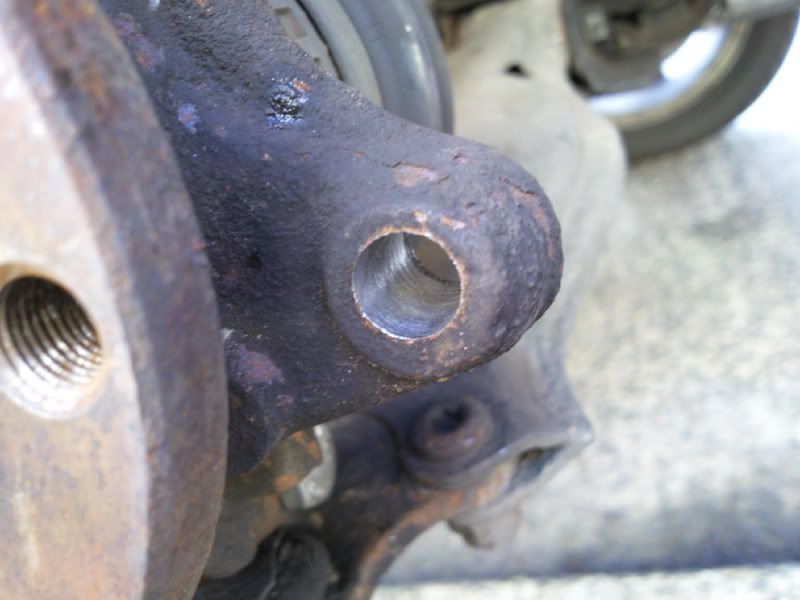
Now, starting with the smallest drill bit that's too big for the hole, drill out the foobard fixing thread.
Progress up though your drill bit sizes (I had 0.5mm increments) until you get to the size drill bit that the recoil set tells you to drill the hole out to. If you need an odd size, obviously don't drill out over that size; stay under if in doubt.
I needed a 12.25mm hole for my kit, but I only had 12 and 12.5mm, so I just went up to 12mm.
The reason we start small and go up in small increments is so that the new thread ends up in line with the old one as best as possible and not off on the wonk.
Drilled out:
Take one recoil kit:
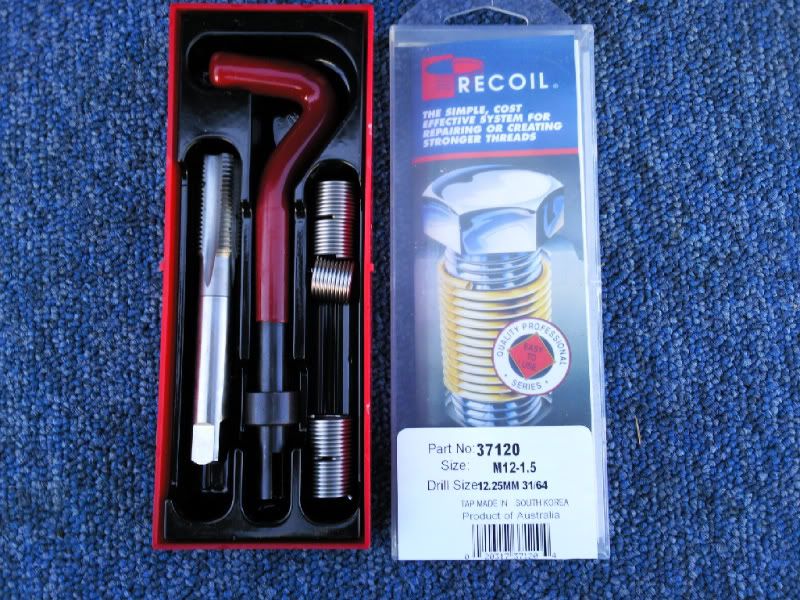
And you want the tap:
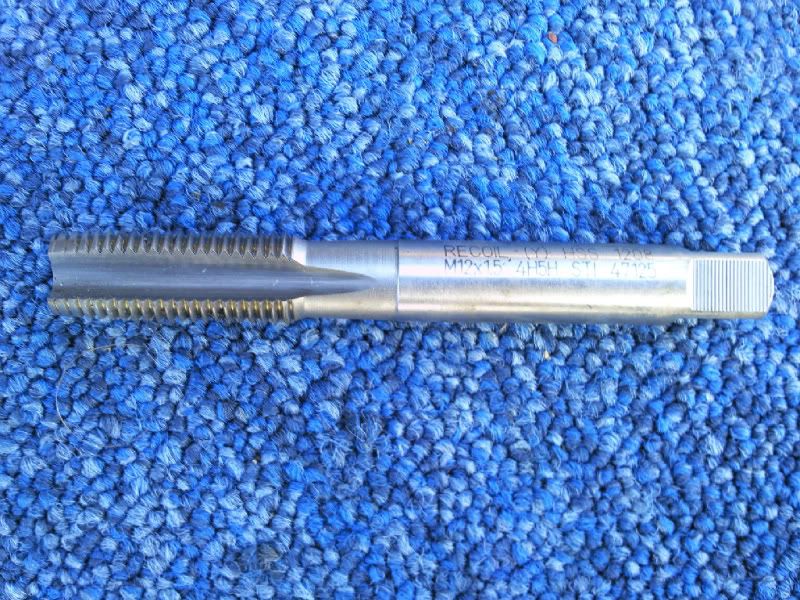
Now, as I am a cheating sod, I used my drill on a low speed / High torque setting to tap out the thread required, rather then using a stocks.
You will also notice that I am tapping out this thread from the opposite side of the hub to where the bolt enters. Thats purely for ease here, the thread runs the same direction regardless of what side you run the tap in from, but do double check on anything you tap out yourself.
Make sure you clean out the hole thoroughly before you start, and put some cutting compound in the hole, or spray it with WD40.
Line the tap up squarely:
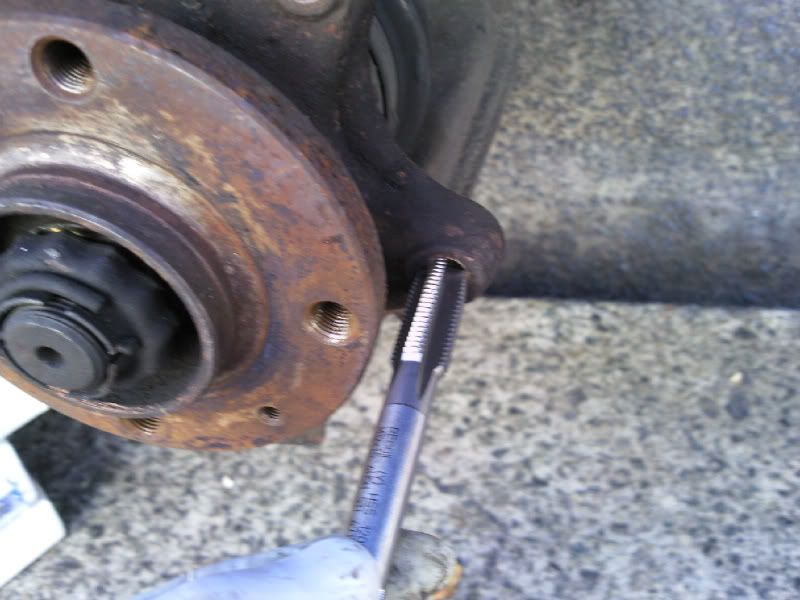
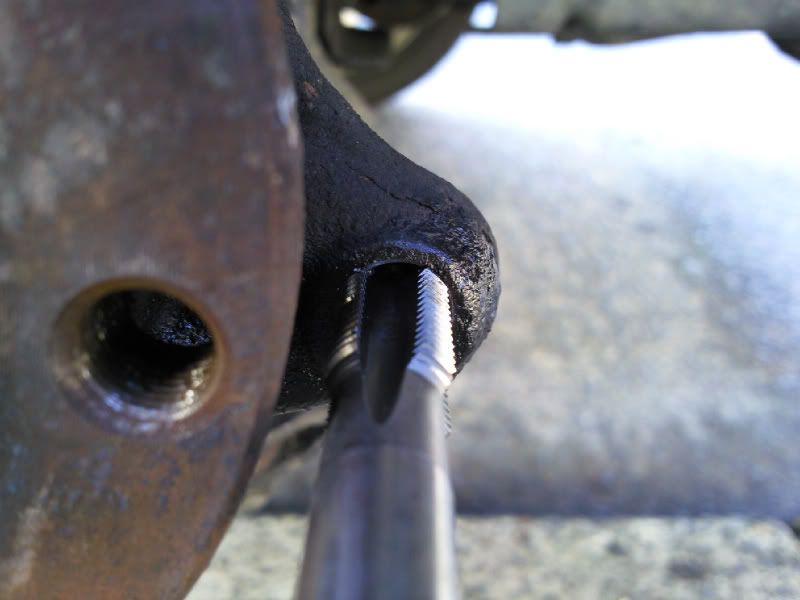
And start cutting the thread out SLOWLY, putting pressure onto the drill to start the tap off.
IMPORTANT Make sure you keep the tap and hole well lubed up with cutting compound or WD40 else your job will become very hard indeed. For every 1 full turn of the tap forward while cutting, you need to reverse
________________________________________
Long live the Sigma 6
Team Phase 1 supercharged
XBL ID: farmer uk1
