Post #1
As requested by Gazzerdman here is a guide I wrote for another 306 Forum, it is by no means a finished article, but I'm no graphic designer 
The main thing to remember here is that its exactly how the factory does it, and how its detailed in the Haynes manual for the ZX and 205.
This article can be used for reference when rebuilding or adjusting the height the rear beams of the 205 309 zx xsara and 306.
To adjust the height simply skip Steps 12 to 15.
Tools Required;
Dummy Shock absorber (I made one myself ;D )
Tape measure/600mm metal rule
Socket set (13, 18, 19, 21 and 32mm sockets)
Breaker bar
Torque wrench
Combination spanners (12 and 13mm)
Torx bits (T45)
M12x1.5 threaded Bolt
M8 threaded bolt, Nut and large washer.
Feeler gauges.
Slide hammer.
Sledge hammer.
Rubber Mallett.
and lastly, a Hydraulic press (only required if the arm shafts need replacing) ;D
You'll also need some Grease, moly grease is good for the bearings and seals, and some anti-seize compound of some sort.
step 1 loosen wheelnuts then raise and support the rear end of the car, not by the beam tube though!!
a well padded trolley jack each side is best
step 2 remove wheels
step 3 use a wire brush and small screwdriver to clean all bolt heads and exposed threads, then spray penetrating oil on the aforementioned areas, as well as the inner ends of the torsion bars.
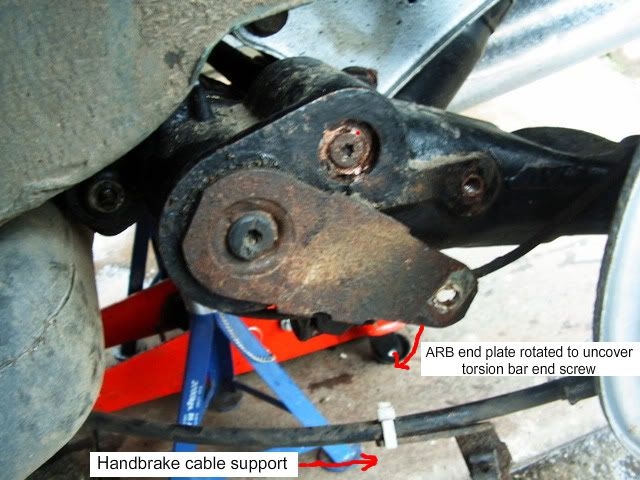
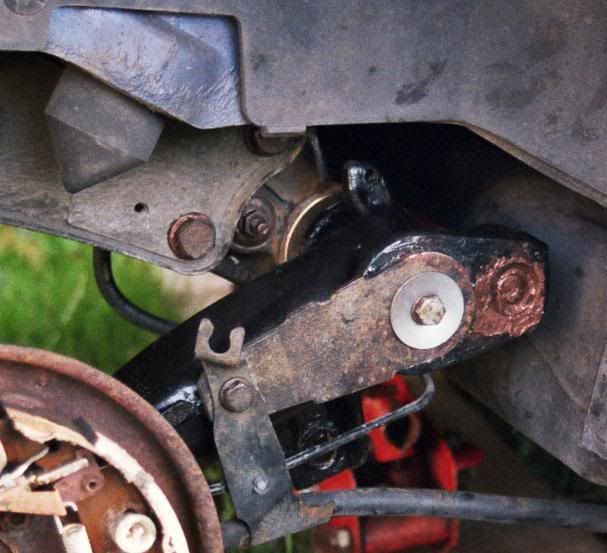
Step 4 Unbolt the handbrake cable bracket on one side (proceed to step 5 if refurbishing), if lowering unbolt the other side and turn the ARB end plate as shown -
step 5 (when lowering skip to step 7) remove brake drum and brake back plate/brake OR calipers and associated brackets (both sides), including the one held on by the lower shock absorber mounting bolt/nut and carefully position the assembly out of the way.
step 6 remove the Anti roll bar end plate plug on the right hand side, and insert a well greased M12x1.5 threaded bolt and wind it in to withdraw the end plate from the Anti roll bar.
Remove the handbrake cable bracket on the other side and withdraw the ARB.
Discard the yellow seal and black bush.
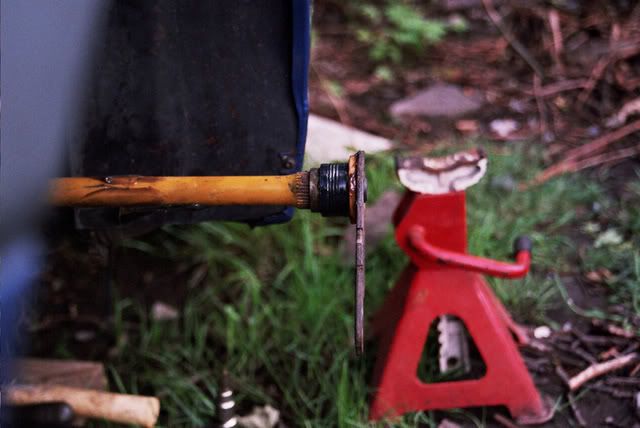
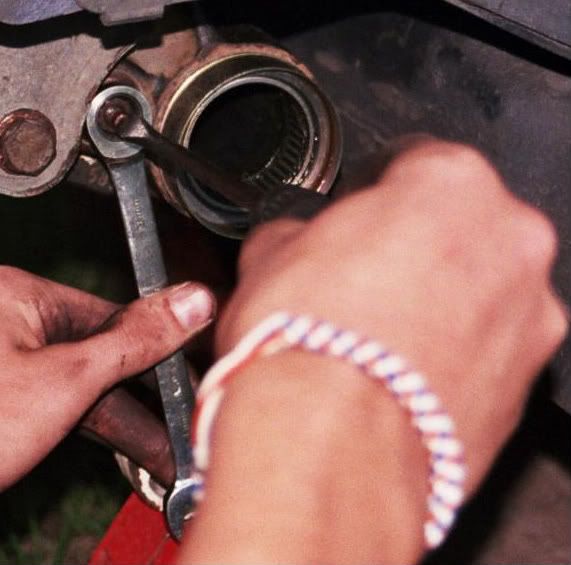
Step 7 on one end of each torsion bar there is a slotted stud and 13mm Nut, clean and lube the threads of the stud, then place a ring spanner on the nut and hold the stud in place with a large flat bladed screwdriver, undo the nut!
Repeat on the other side.
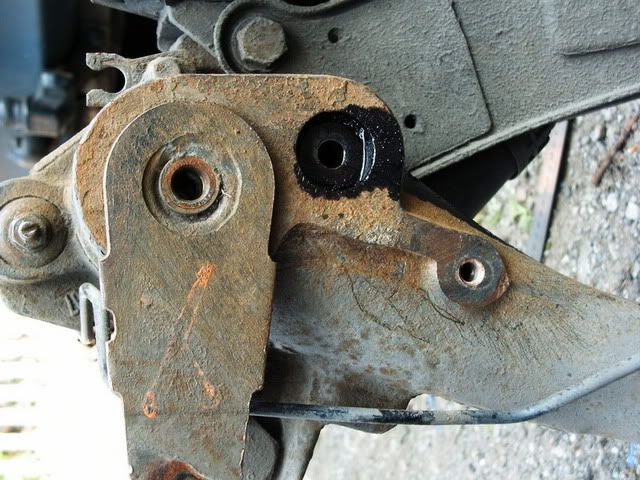
Step 8 remove T45 torx bolt from opposite end of the torsion bar, and impact driver is handy here.
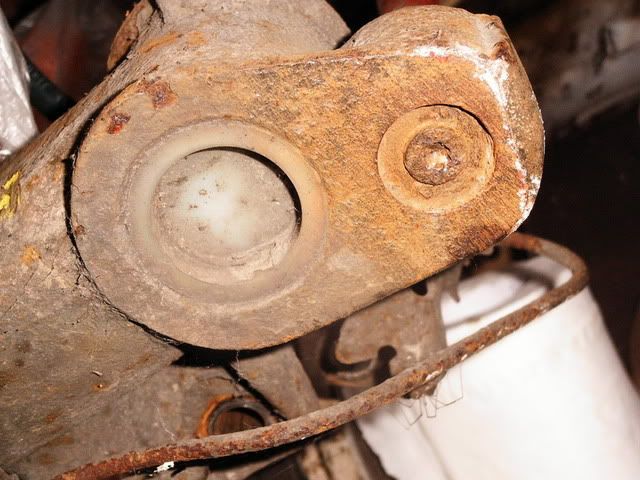
Scrape away any corrosion and dirt from around the offset washer then tap it to the middle of the hole and remove it, when the end of the torsion bar is exposed spray some more penetrating oil in there.
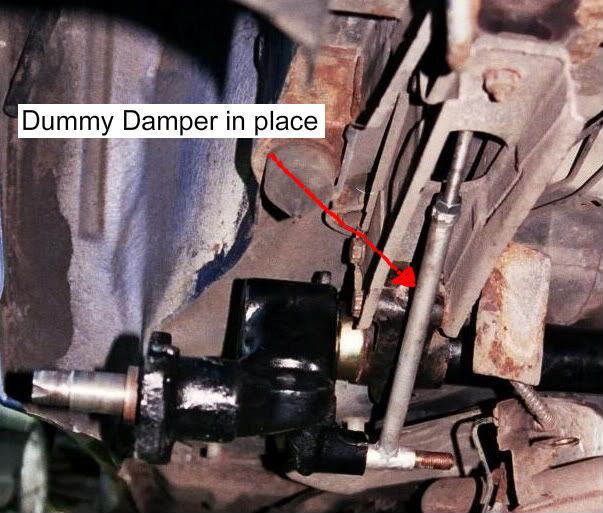
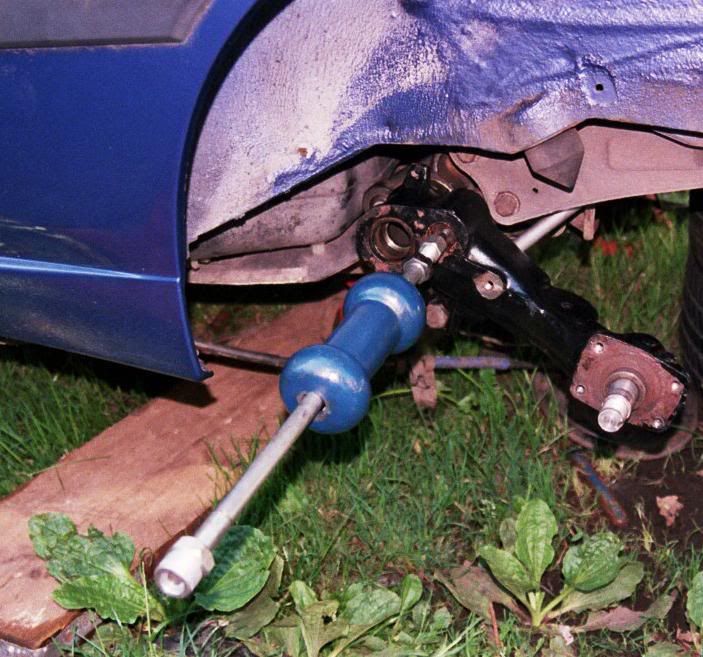
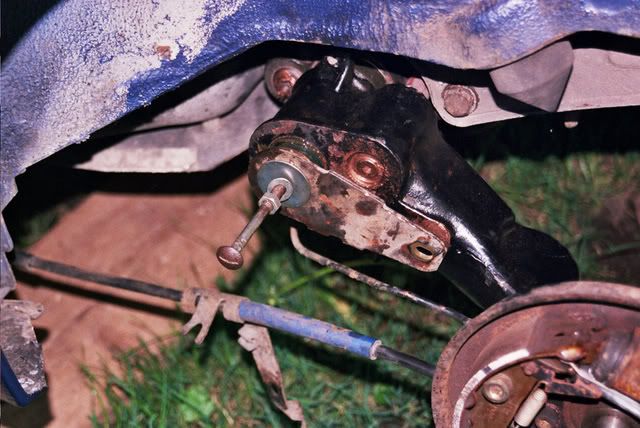
Step 9 remove the shock absorber, then measure the shock bolt centres on the trailing arm with its weight supported (place a trolley jack underneath, and lift it about 5mm or so) the std measurement is Circa 330mm, fit the dummy shock absorber at this setting (this makes it easier to withdraw the torsion bar as its not under any tension)
Step 10 mark the visible end of the torsion bar with a punch/scribe/tippex and mark the side of the hole as a reference.
step 11 attach a slide hammer to the end of a torsion bar with an M8 bolt (preferably a High tensile steel one) and withdraw the torsion bar.
(if adjusting ride height skip to step 16)
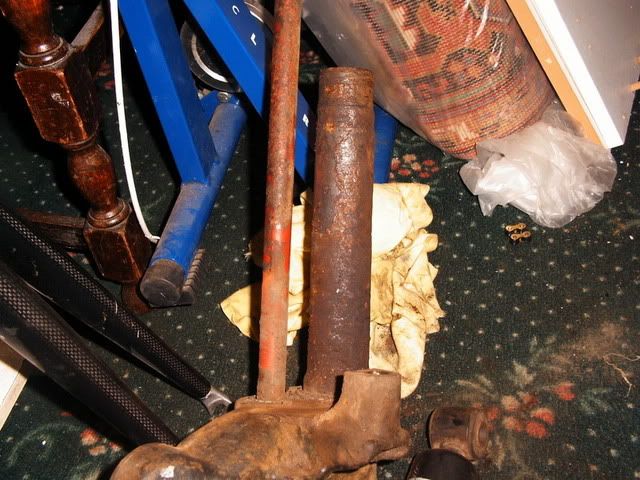
step 12 remove both trailing arms from the crossmember and inspect the arm shafts, replace if necessary (this is where you would use the Hydraulic press)
bad -
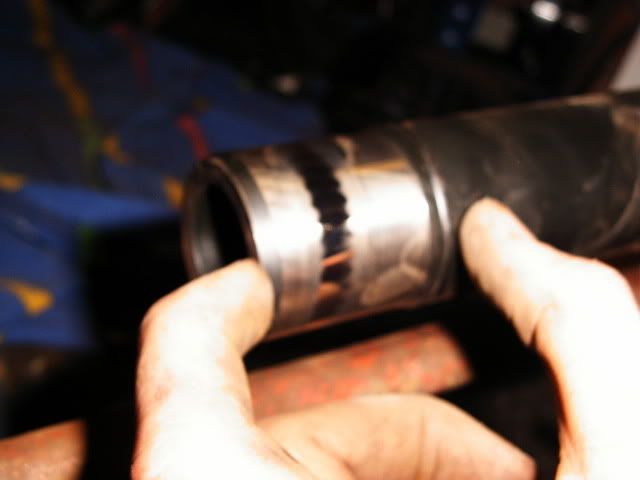
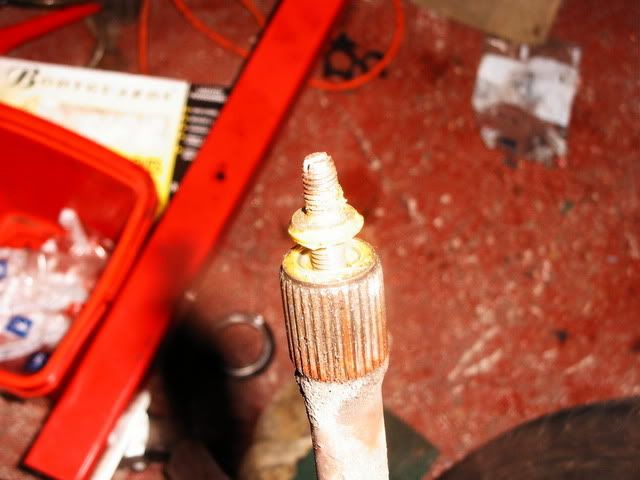
good! -

Foobar'd shaft! -
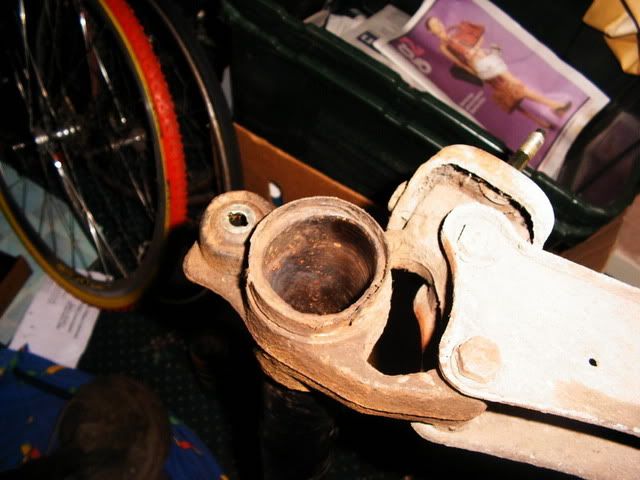
dead crossmember tube -
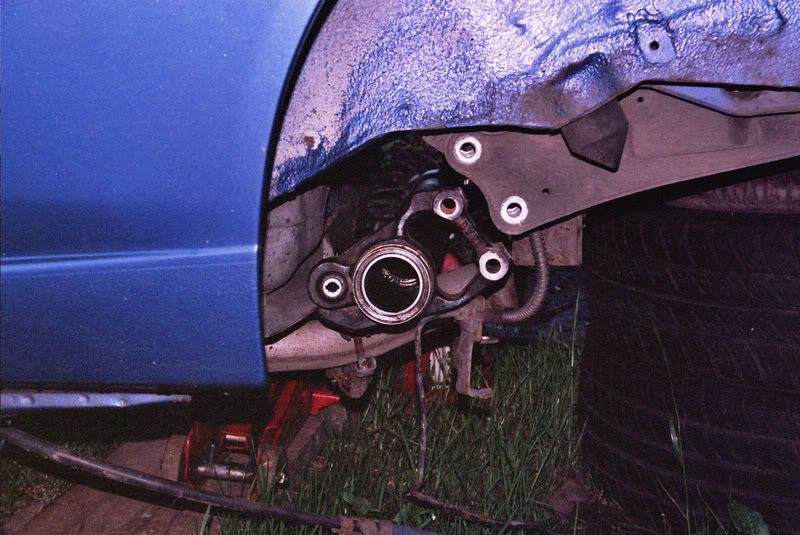
step 13 remove and discard the crossmember seal, then remove the old bearings (you may find it easier to remove the tube from the car, to do this remove the 2 bolts each side that hold the tube to the brackets and front mounting)
Use your imagination here, they are simply pressed in I.E smash the FCUK out of them

A scaffold tube or a torsion bar do the trick, with the inner ones I smack them to the middle then mash them up and they fall out.
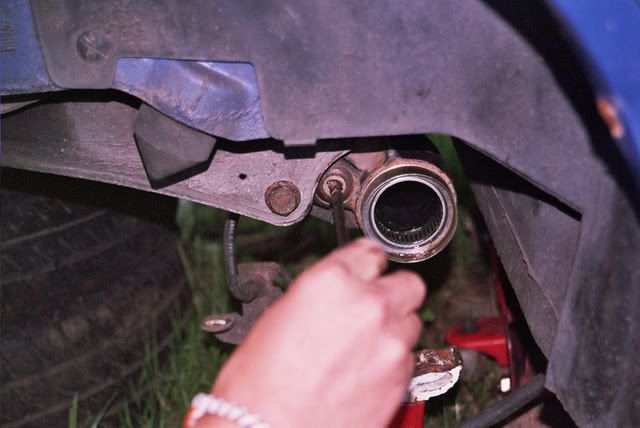
step 14 grease then fit the new bearings with the writing around the edge to the outside, the inner bearing needs to be pushed in to a depth of 200mm to its outer edge, and the outer bearing should be set in about 0.5mm.
step 15 grease the new seals then fit them to the carrier on the end of the beam, if these carriers are worse for wear replace them, they should have a gap of 2mm to the shoulder.
step 16 refit trailing arms and set to desired height with the dummy shock absorber. (every 3mm change in ride height is a 2mm difference in shock bolt centres) refit brake components if removed.
step 17 screw the threaded studs fully into the end of the torsion bar (not tightly, they are quite fragile) then insert a well lubricated torsion bar into its place (both torsion bars have identifying marks, the right bar having one coloured ring painted and the Left one having two rings painted on)
The torsion bar may not slide fully into place so you need to rotate the bar one spline and try again until it slides into place, drive the torsion bar into place.
step 18 fit the offset washer, then pull the torsion bar back against the washer with the slide hammer then refit the Torx bolt.
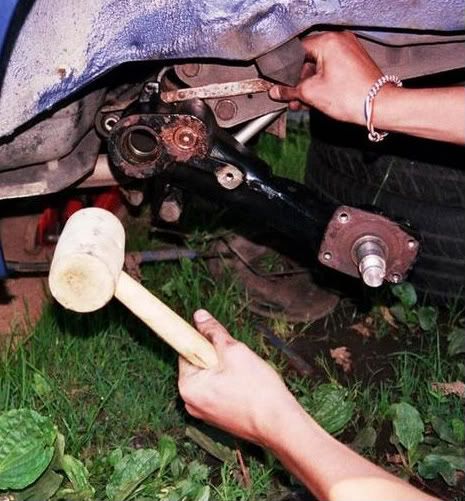
step 19 insert a 0.05 feeler gauge between the trailing arm and the crossmember seal and push the trailing arm against it, you may need to use a wooden/rubber mallet to strike the trialing arm.
Once in place unscrew the shouldered stud in the end of the torsion bar untill it contacts the cup (do not force the stud), refit the washedr and 13mm nut, holding the stud in place while doing so.
Repeat for the opposite side.
step 20 fit new seals and bushes to the ARB end plates and apply moly grease, insert ARB from left hand side and bolt the handbrake cable braket back up, insert an M8 bolt to the left hand end of the ARB to hold the plate in place
Place ARB plate onto opposite end, making sute that the bolt hole lines up with the hole on the trailing arm.
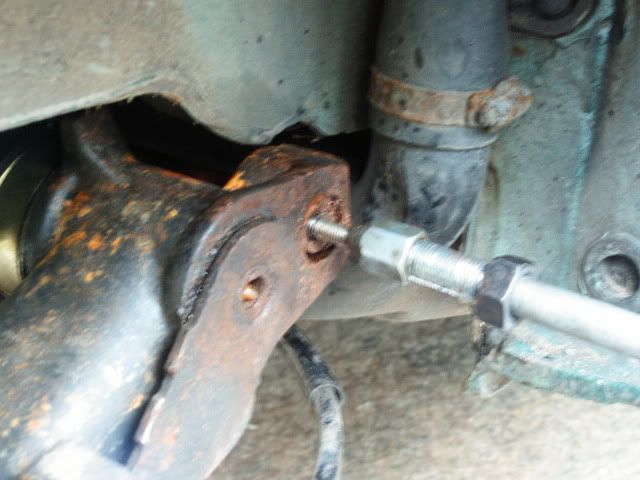
Insert an M8 threaded rod/bolt with a nut and washer on it as pictured and draw the end plate onto the anti roll bar untill there is 1mm between the trailing arm and the plate, then refit the handbrake cable bracket, remove M8 bolts/rod from the ARB and refit the plastic blanking plugs.
step 21 refit shock absorbers and wheels.
step 22 lower car to ground and check the ride height is equal to within 10mm.
________________________________________
need a part number? get on here - http://public.servicebox.peugeot.comBring on the Trumpets.


 Diablo red like the devil himself!�