Post #1
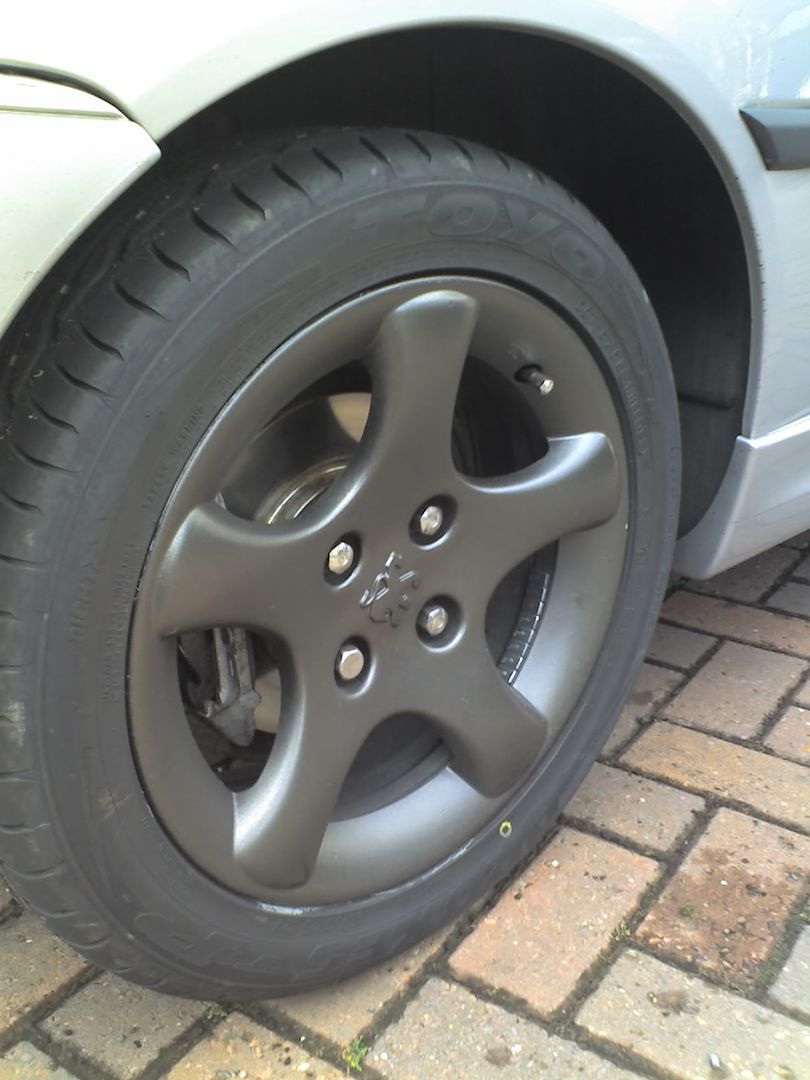
I'll be adding to this when i do mine and i'll throw some piccies in.Thanks to ScouseMonkey from Pug306.net for this guide....
Firstly, Use nitromors - it is the only way to get the PU (polyurethane) lacquer off.
The trick with nitromors is dont rush it and buy a big tin. It works via chemical reaction so you need to apply it with a stiff brush (stab it on). Then leave it. Then scrap off the bubbled off lacquer. Then reapply if you want to get all the paint off. Keep doing this until it is all gone.
If you get tough areas like in the spoke radii then use nitromors on some wire wool and wear very thick nitrile gloves - the kind you woudl wear if putting your hand down a sewer.
An alternative would be to get the final paint layers sandblasted off. This would also be the route to take if you have lots of curb damage to help get rid of it but if the wheels are in good nick then just nitromors it. YOu dont have to get all pait off but do make sure anything loose is off and give the wheels a good prep with wet and dry (dry and rough then smooth and wet). Dont bother with soap unless you are planning to just lacquer the bare alloy - this does look cool on S16/XSI alloys but I have not yet found a decent lacquer (although I am designing some that will never get damaged
 - but I cant let you guys habve any
  P ).
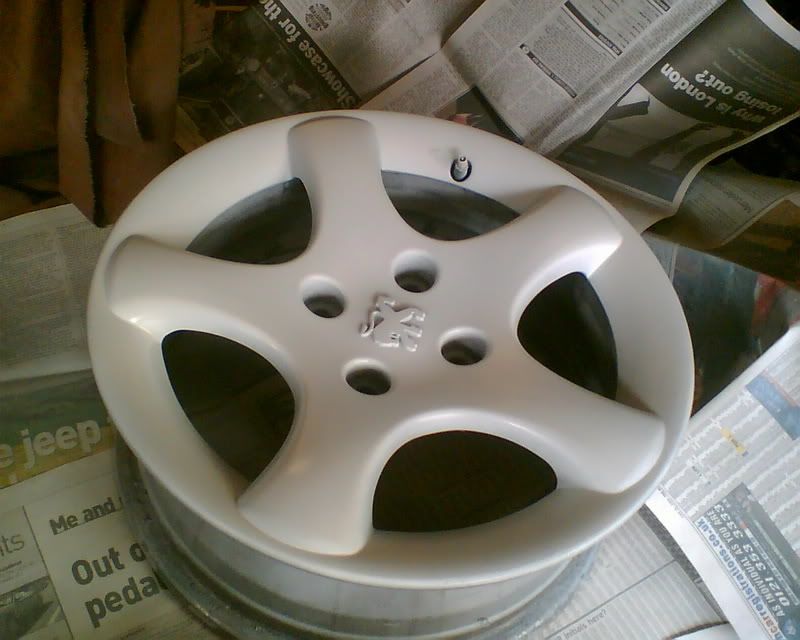
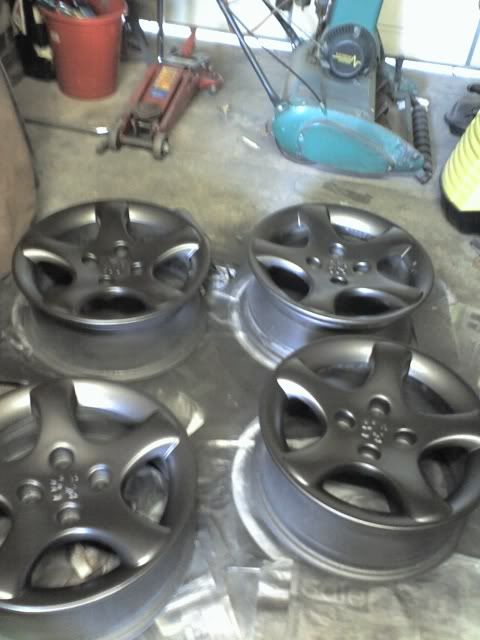
P ).Use a decent metal primer (etch is best as mentioned) and then give it a day or so to cure. Then do a few coats of silver. Then a few days to harden. Then do the lacquer and give this a good week to harden in a warm place.
Do a lot of lacquer coats.
Spraying Tips:
Primer is perfect for honing your spraying technique. It is mat and quite viscous so wont run. I gently and at a moderate stroke speed follow any internal features such as the inside of the s16 spokes, doing it in one stroke. Then when i have done all the insides I do the front of the wheel. Do this by starting the spray past the edge of the wheel and then moving over, following the contours of the spokes. It is nice to go on one spoke and off the other but 5 spokes make this hard so I do 2 light coats in one sitting (ie arc passes). When you get to the middle where there is cross over make sure you speed up a bit or pull back to avaid coating the inside too much. The s16's dont have this problem as you take the centre cap off and do thay separately (needs different prep as it is plastic anyway)
The Trick Is:
Do it in a warm place,shake the can to wake the paint,do not hold the can upside down,do not try and squeeze the last bit of pait out as it will cause spatter
If you get areas with too mcuh paint or splatters just ignore them and DO NOT TRY AN FIX IT IMMEDIATELY (see below)
Do nice controlled strokes in repeatable manners.Dont go too fast or too slow
Wait a good 30 minutes between coats.
Do not let hairs or dust get on the wheels (see below) Do not hold the can too close
Fixing Mistakes:
Too much paint/you held the can still/too close over a bit giving a flower pattern: leave the paint for about 5-10 minutes then give a gentle re-coat. The thinner in the new coat will re-wet the still damn paint and spread it out. Just do a very gentle single pass. If it doest work 1st time repeat again in 5 minutes or do the seanding trick - next.
Far too much paint/dried splatter/bubbles/hairs: let the wheel dry for an hour or so to allow you to gentlly sand the area and a bit surrounding with fine whet and dry. Then clean the area (3rd reason it has to be dry - not just to stop you making a huge mess and/or clogging the wet and dry). Then do a few light passes on that area, allowing the usual drying time in between unti you are ready to paint the rest of the wheel.
Always give at least 2 more full coats after any remedial work.
MAKE SURE YOU GIVE IT PLENTY OF TIME TO HARDEN!
________________________________________
Cress87 wrote:
This place is getting beyond a joke. There's been an enormous influx of bellends signing up recently
Team 205 1.9 GTi ™
Team: Hmm™


 !
!