Post #1
A mate wanted to see how I refurbed my wheels and the old thread had been deleted but I managed to find an old backup of it so thought I would post it back up here for him to see.Back when I did the wheels I took the car off the road for a few weeks so there was no rush to get them done, I was also doing various other bits to the car so I didnĺt spend all the time on the wheels.
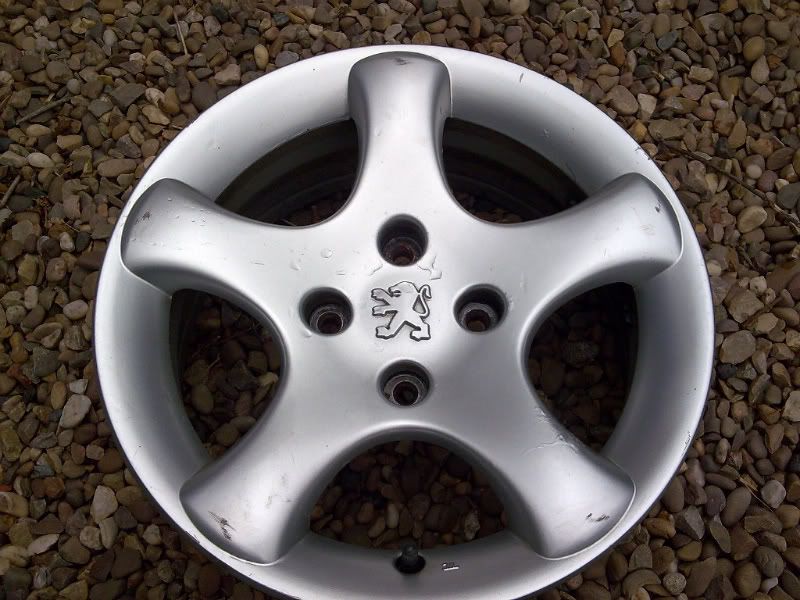
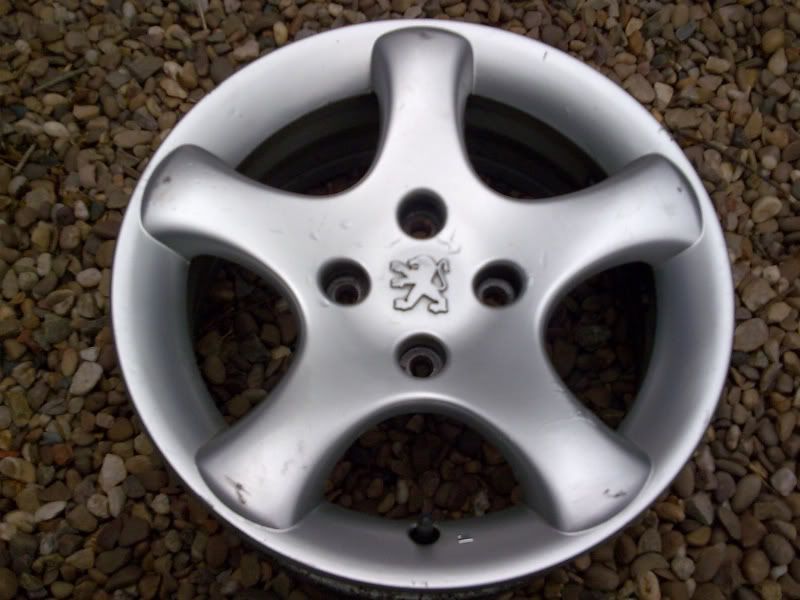
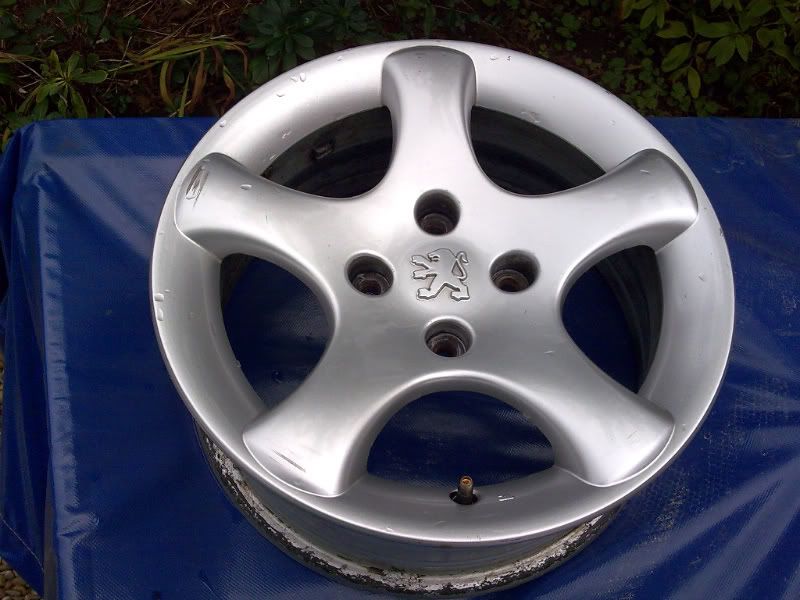
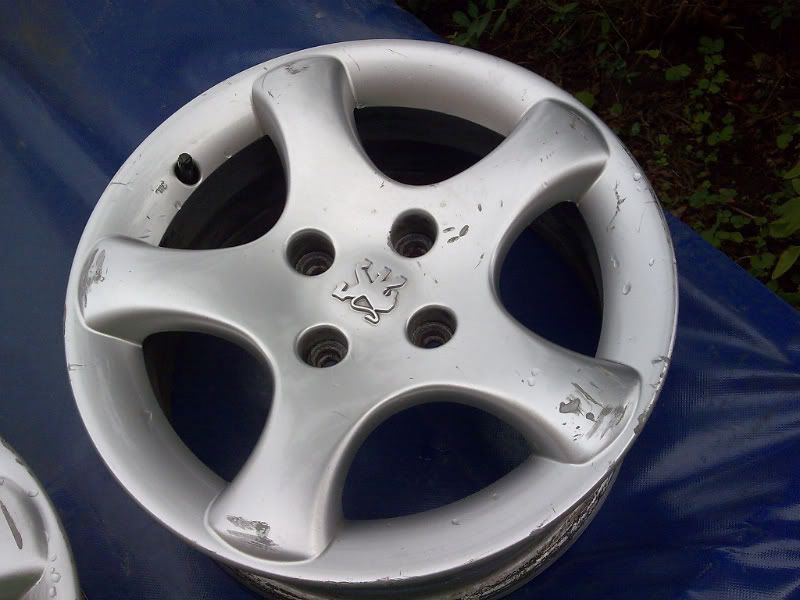
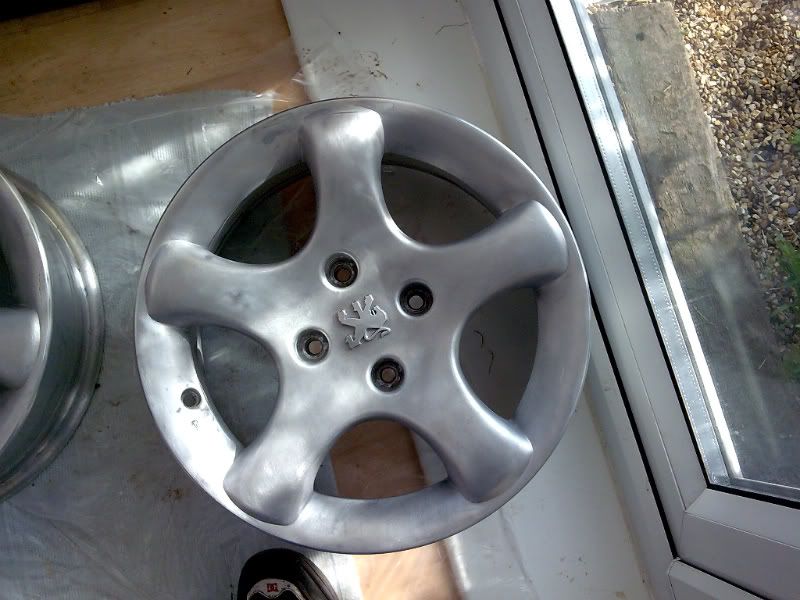
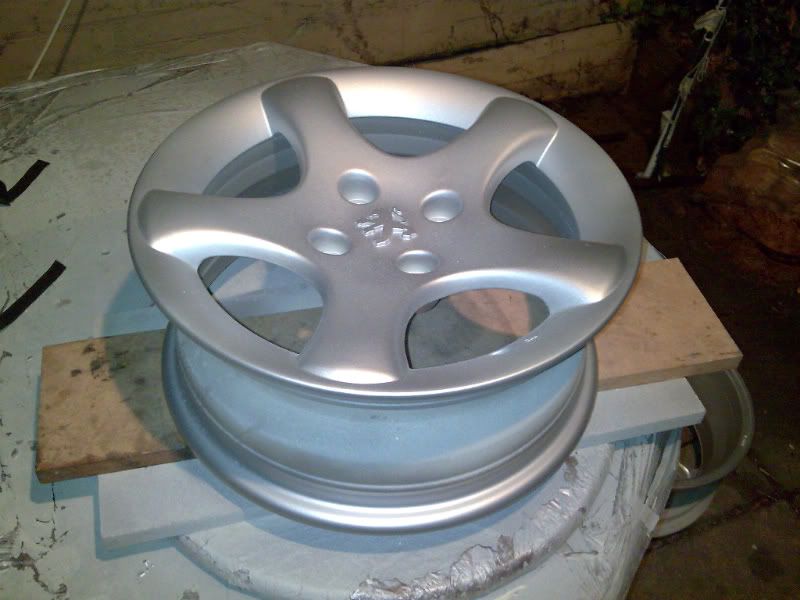
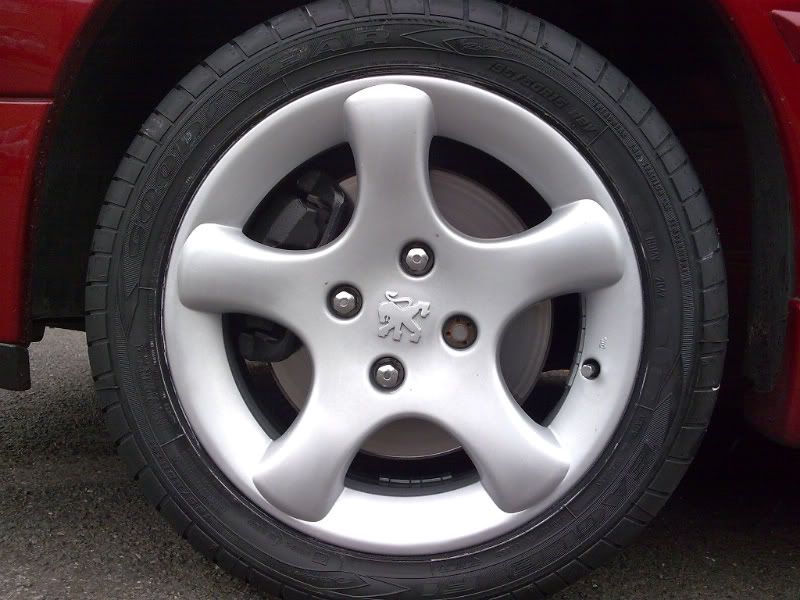
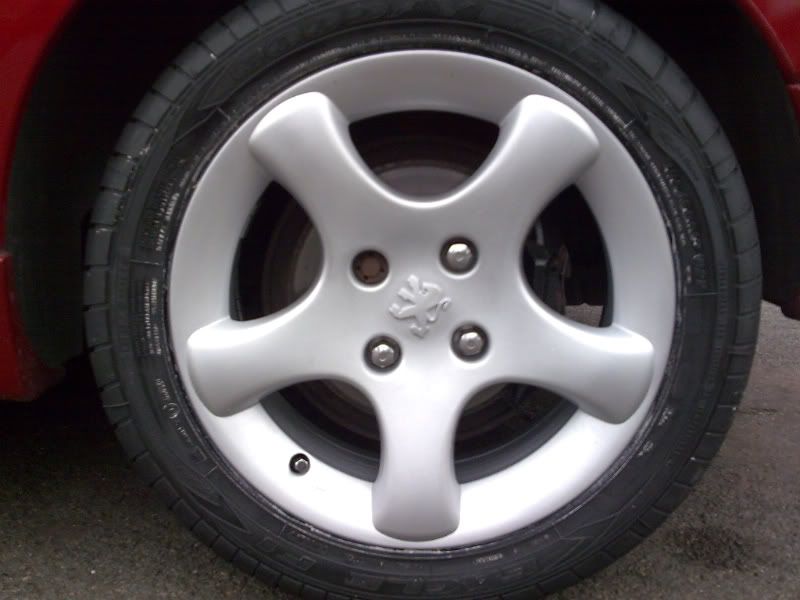
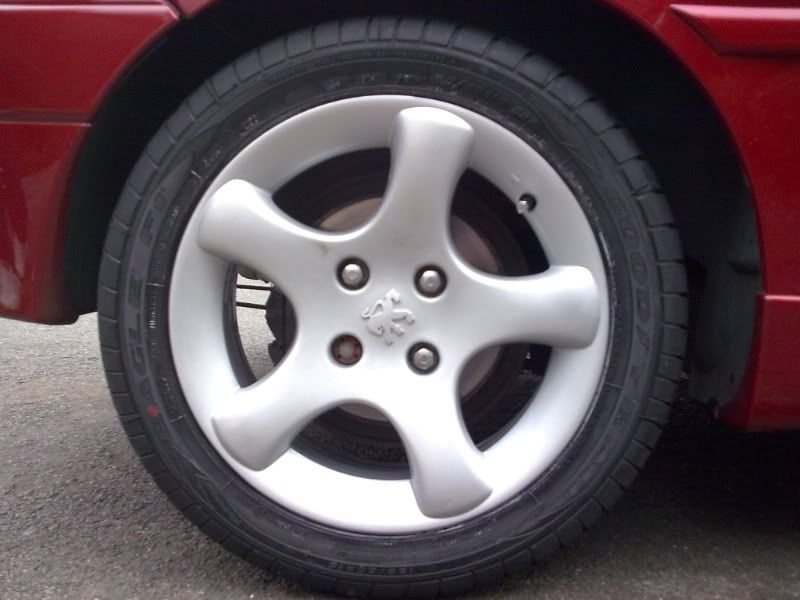
Here are the wheels before the refurb:


I decided to strip the wheels back to the bare alloy rather than sand back to primer, for this i used nitro-mors. This was not a fast process and took me a couple of weeks (fitting it around other arrangements), here is a pic of a small area of a wheel stripped.
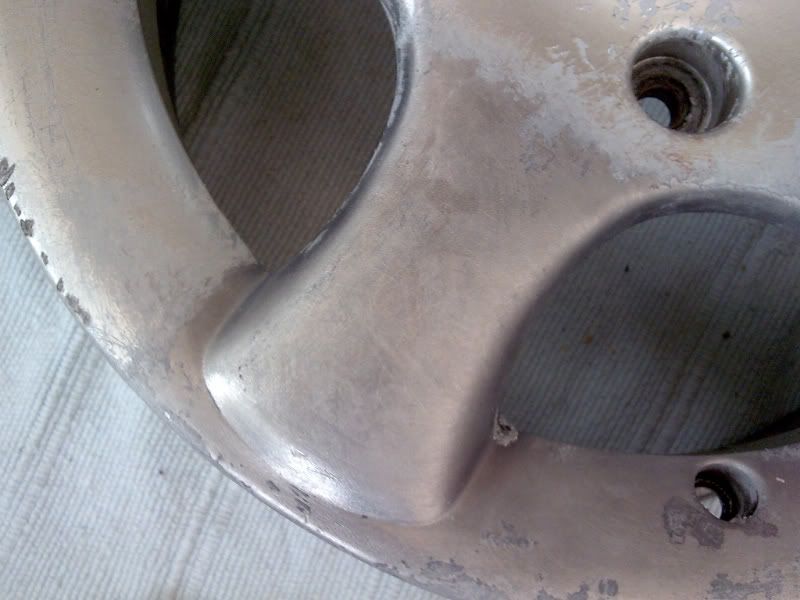
Instead of using a scraper to remove the old paint, lacquer and primer i used small wire brushes (similar size to a toothbrush) and removed every last bit of paint from the main faces, rims and entire insides of the wheels.
Next i used some UltraSmart 2K Fibrofil filler to fill in all the scratches and kerb marks, even the small dints on the inside of the wheels. Left it to set for around 24 hours and sanded it back with some 320 - 400 grit wet and dry. I used washing up liquid with the water to help prevent it getting clogged up so fast. Patience was the key here, if you take too much off then re-fill it and start again. As the filler started to take shape i moved the sandpaper up to some 600 grip wet and dry for a finer finish.
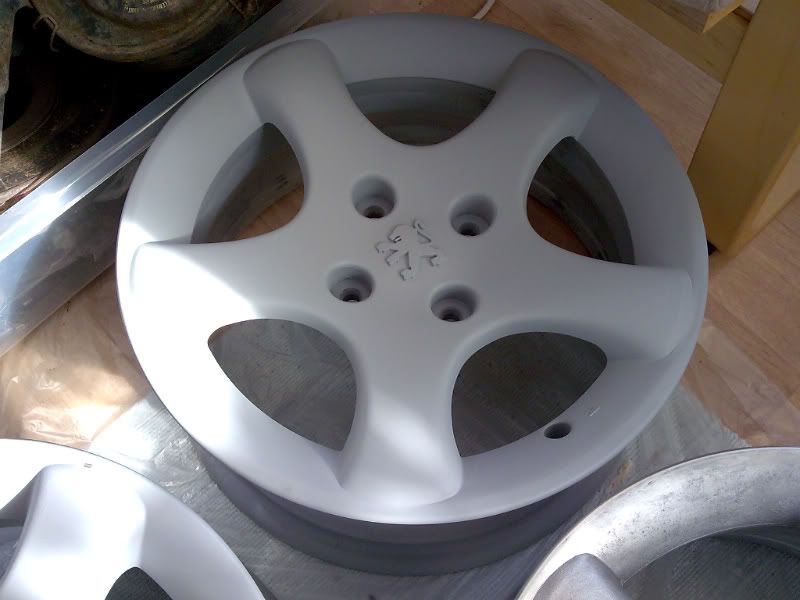
When all the wheels were back to bare alloy and the filler was sanded back smooth i sprayed the wheels with a couple of layers of Etching primer filler. It is important to use etching primer filler on aluminium as it contains acid and helps the primer 'bite' into the metal for a stronger adhesion. I used a spray can on one and a half of the wheels which cost £14 (500ml can), after that i decided to just buy a litre in liquid form as i had borrowed a compressor, spray gun, air line and mask to make a proper job of everything.
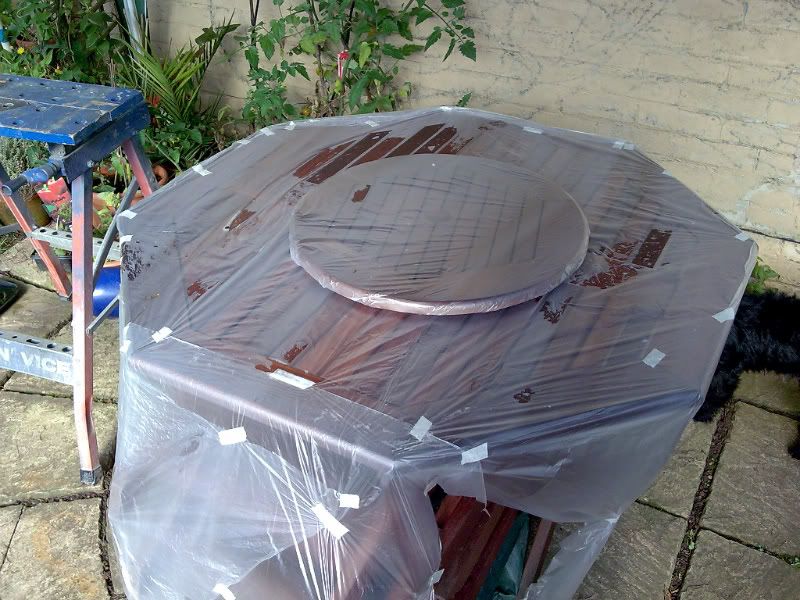
Because of the typical fantastic british weather, and the fact that i didnt have anywhere indoors to do the spraying i decided to pinch the family gazeebo and turn it into my own 'spray booth', all i needed was some plastic sheeting which i got from wilkinsons for a couple of quid and a roll of masking tape.

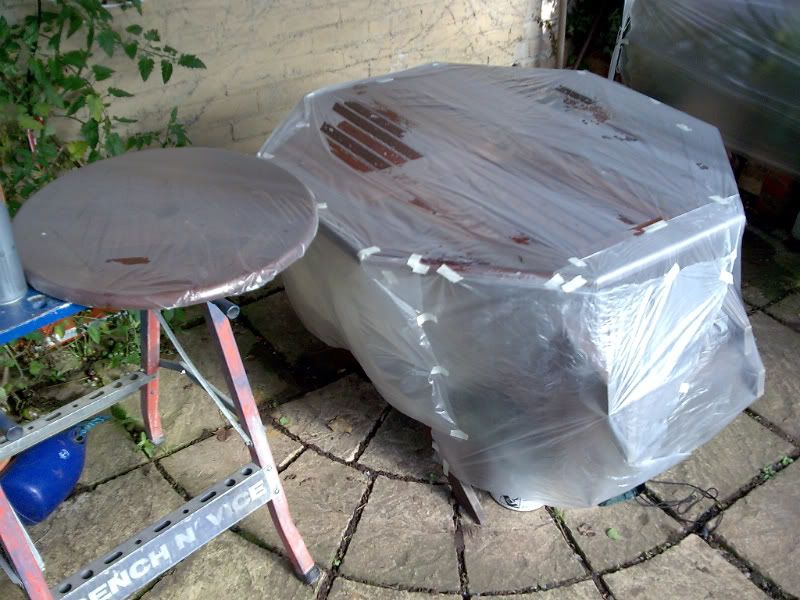
The little 'lazy suzan' thing was a life saver (the round thing which spins round)
After the four wheels were primed i gave them all a quick rub down with some 800 grit wet and dry with washing up liquid in the water, then gave them a good wash and left them to dry.
The conservatory was transformed into an oven thanks to a little oil heated radiator, and was used to keep the wheels nice and warm over night between coats.
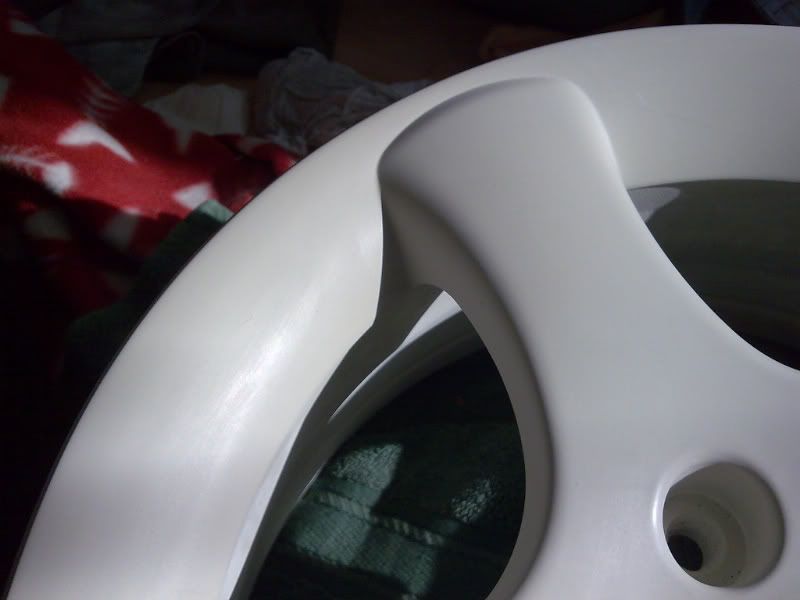
Next i used some primer filler on the wheels, once again i bought a litre of the stuff in liquid form, i gave the insides of the wheels one coat and the faces a couple of coats. Once it had been left to dry for a day i flatted it back with some 1500 wet and dry with washing up liquid in the water. I spent a good 2 hours on each wheel leaving them in a near glass finish. I was very proud of myself


Once again i gave the wheels a good wash and left them to dry in the conservatory for 24 hours.
Now it was time for the silver coat. I bought a litre of silver in liquid form and asked the guy at the paint shop to add extra metallic bits in so they would sparkle like the original cyclone paint, i think he did as they do seem quite metallic now that they are finished. I did one coat on the insides of the wheels, then turned them over and did the faces, but to my horror resting them on the face as i sprayed the insides had damaged the perfect primer filler

I sprayed them regardless with the intention of sanding the damaged areas back and re-going over with silver.
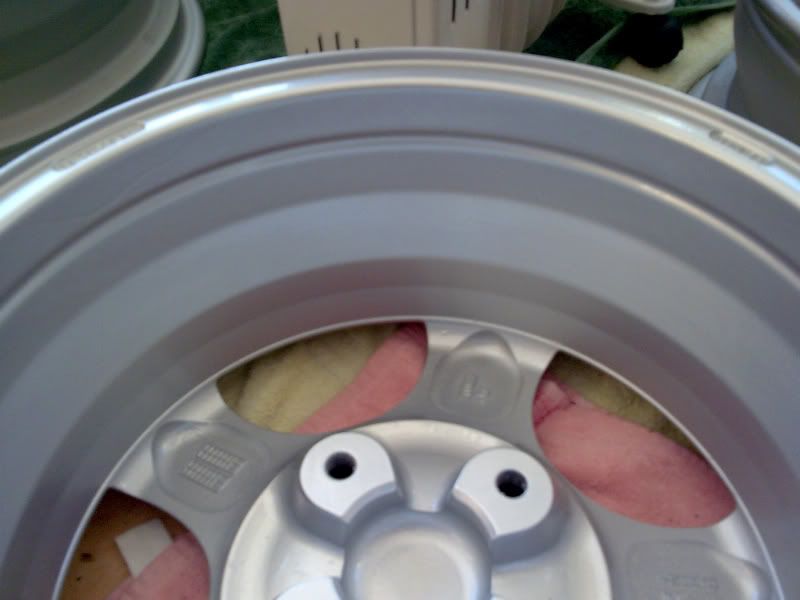
Unfortunately the silver spray on the faces had small bits in it, i have since found out that it sometimes happens if the spray gun has been used for different paints in the past, such as 2-pack then back to cellulose based. As far as im aware my paint until now has all been cellulose based as i had mixed them in a 2:1 ratio with my thinners.
Here is one of the wheels with some of the hard bits visible:

I left the wheels to dry for a day then went over them with some 1500 wet and dry to remove the hard bits and touch up the damaged areas. I then washed the wheels and left them to dry for another day, and during this wait i took the spray gun to bits and left it all soaking in thinners.
The next day i re-assembled the spray gun and sprayed a much thinner silver coat over the wheel as the first coat had felt a bit rough in general. The finish was now much better

After the four faces had been sprayed they went back into the conservatory for a day or two to dry. The spray gun was also taken apart and soaked in thinners ready for the lacquer.

Eventually i was at the lacquering stage, the lacquer i used was 2-pack stuff, so i assembled the spray gun and blew it through for a few seconds to remove the thinners.
I mixed up the lacquer, 2 parts lacquer to 1 part activator. I got some on my hands and its like araldite, annoyingly sticky and doesnt wash off, so i just washed my hands in thinners then normally with soap.
I sprayed the insides of the wheels first, but i had learned my lesson, i was now resting the faces on a towel on some mdf on top of the lazy suzie to prevent damage.
The lacquer stayed tacky for ages so instead of risking turning the wheels over and spraying the faces i lined the conservatory floor with more towels and put the wheels back in there for a day with the little radiator turned on full.
The next day i mixed up some more lacquer and did the faces of the wheels. I was in a real rush to get ready for the York Raceway RWYB, this was the thursday before the event and i still needed the new tyres fitting, i was getting nervous to say the least.
Jib had kindly got me some Goodyear Eagle F1 GSD3's on order through a mate, they were due in friday to be fitted, and i knew i should have really left the lacquer2 to 3 days to set before i had the tyres fitted but bad weather and other commitments had prevented such fast progress, so i turned the conservatory 'oven' up a notch with an extra oil heated radiator and an electric heater fan. This raised the temp to a healthy 30*C

I left the wheels in the conservatory for 24 hours, it was now friday and i due to have the tyres fitted that afternoon.
I took the wheels to the tyre place and showed them the scenario, they were still a bit tacky and we both agreed that the tyres shouldnt be fitted that day. They were luckily open on saturdays until 12.30 so i left the cyclones there and arranged to pick them up at 12 on saturday. They told me that they would use extra tyre soap and be extra careful. It was a nervous wait for me, i left work an hour early to go and pick up the wheels.
Luck was on my side, the wheels werent damaged at all from the tyre fitting, the only damage was a couple of small scratches where the wheel bolts go from the balancing machine but these arent visible with wheel bolts in anyway.
I rushed home to fit them to my 6 and see how they looked:

At the same time as doing the wheels i painted my callipers matt black, i think they look much nicer now, they dont look too in-your-face and attract unwanted attention, but they also look cared for.

In total i spent just over £100 in paint and thinners for the wheels, around £10 on nitromors and around £10 on sandpaper and wire brushes.
________________________________________
Goldie the track car.


 Posh bugger? My spray booth got blown away one night with strong winds, at least yours had solid walls and roof.