


Post #1
Hi fellas, this might come in handy for anyone converting from a phase 1 front end to a phase 3.The wiring here shows the O/S, the N/S is exactly the same except the indicator wires are different colours and one wire on the multiplug is a different colour.
Right, here's what you need:
Phase 3 crystals (or masks, whatever your preference)
Headlight and indicator plugs from the phase 3 donor car
Four H7 bulbs for the crystals (if you have twin optics you can use one pair from the phase 1 lights)
Two sidelight bulbs (harvested from the phase 1 lights)
Two new indicator bulbs (my phase 1 bulbs only fit with bodging)
About twenty sleeve connectors, unless you're soldering. This allows for f*ck ups or dodgy wiring
A good set of crimps. Mine were loaned to me by Halfords 8 years ago, which was nice of them
Right ho, time for some explaining.
On the phase 1, the wiring consists of a three pin connector controlling the main lights (H4's on single optic, H1's and H7's on the twins), a two pin connector controlling the sidelights and a two pin connector with a three wire feed on the indicators.
On the phase 3, there is one 5 pin plug that feeds the whole unit, apart from a two pin plug feeding the indicator.
The aim? To convert the 3-pin and 2-pin plugs on the phase 1 lights to the 5-pin plug on the crystals.
Let's start with the indicators, they're easy enough. The plug is keyed differently to the later models so even though they're both 2-pin, we need to get chopping. With this plug, you'll see two live wires joining into one pin on the plug. On the phase 3 plug there are only two wires, including the earth. Chop the two live wires, splice them together and connect them to the live wire of the new plug. 2 wires > connector > one wire. The earth wire is pretty self explanatory. This leaves you with..

Wrap some heat shrink/insulation tape around it and you're done. Repeat for the other side.
Now on to the main plug. You'll see two earth wires and three live. The first bit's easy, cut one earth wire and the thinnest of the three live wires on the phase 3 plug. These feed the sidelight bulb, so connect them to the phase 1 sidelight wires (the 2-pin plug).
This leaves the dipped/main beam wires. Again, cut and shut the earth wire, that's the obvious one, and you're left with two live wires. Connect the red wire on the new plug to the white wire on the loom, and connect the yellow wire on the plug to the blue wire on the loom. Job jobbed.

The only complication is the n/s plug has two yellow wires, one for the H7's and one for the sidelight. Just make sure you spot the thinner of the two and connect that to the sidelight plug.
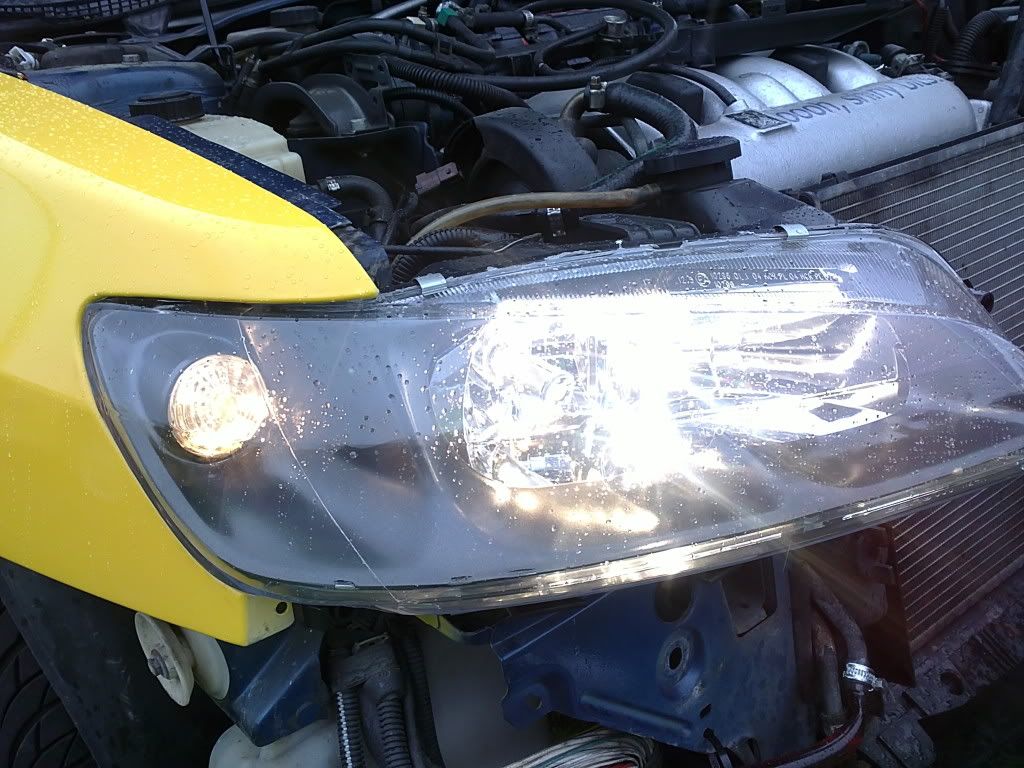
Get everything nicely insulated and test everything works, then enjoy being able to see at night!

To summarise..
Indicators
Phase 1 > Phase 3
Two live > One live
Earth > Earth
Main bulbs
Phase 1 > Phase 3
Earth > Earth
Earth > Earth
Thin wire > Thin wire
White > Red
Blue > Yellow
________________________________________
Bye bye Sundance Kid
