Post #1
Ive decided to make a guide on cyclone refurbishment with the help of other guides and people to create the only guide you will ever need to refurbish a set of alloys. Enjoy!PREP!
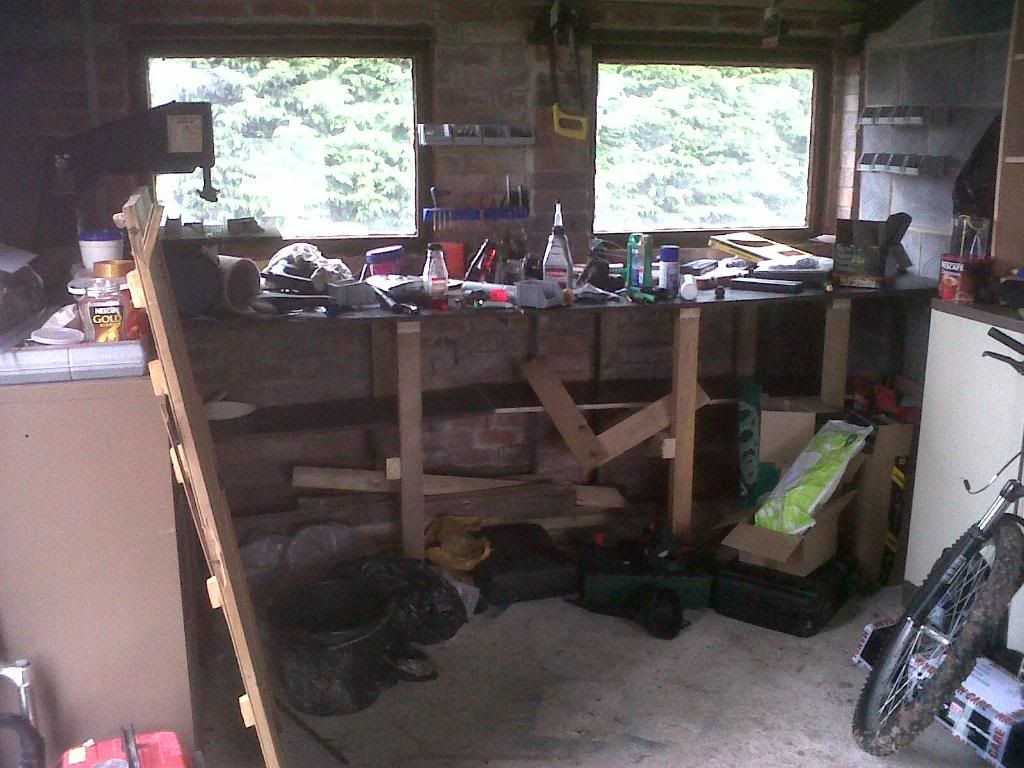
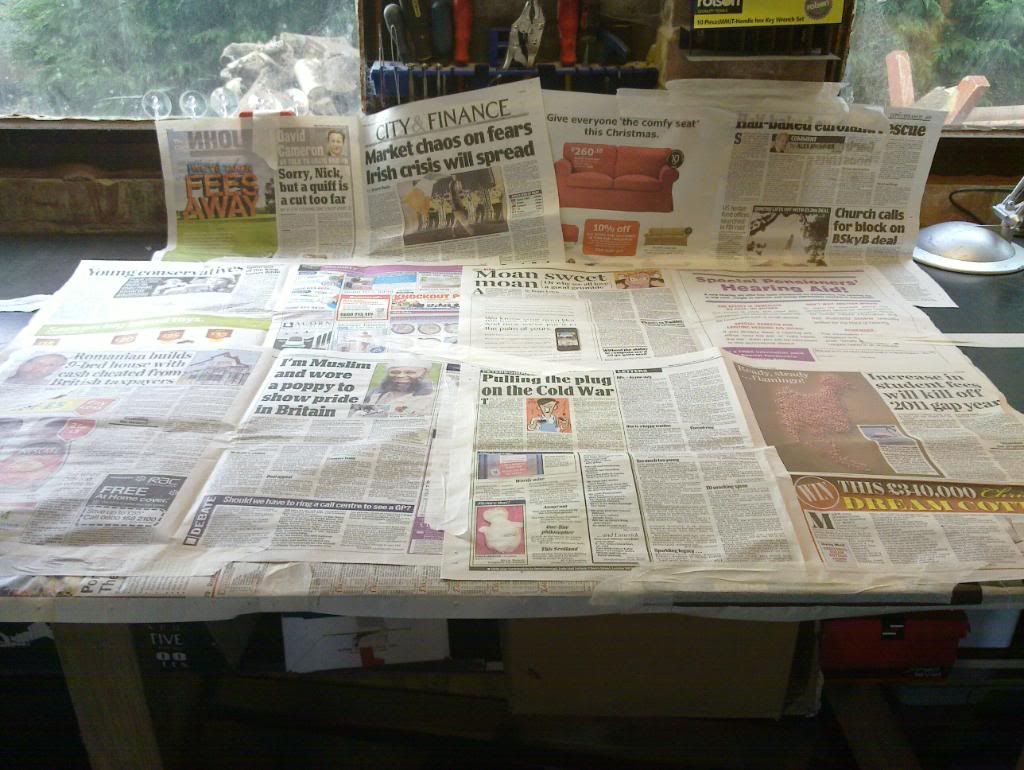
Firstly, choose a suitable workplace. Luckly, ive not long finished my workshop (no electric yet as ive not got that far up garden yet. Cleaned the workbench.
Before:
After:
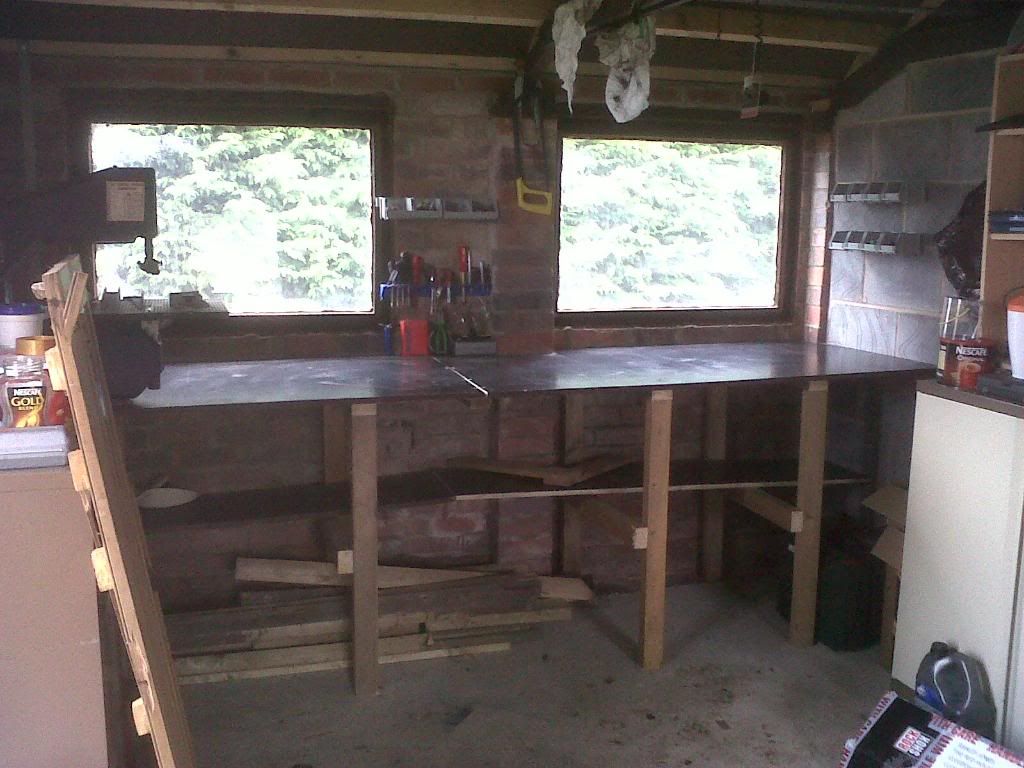
Now i have a clean and tidy workplace, we can carry on.
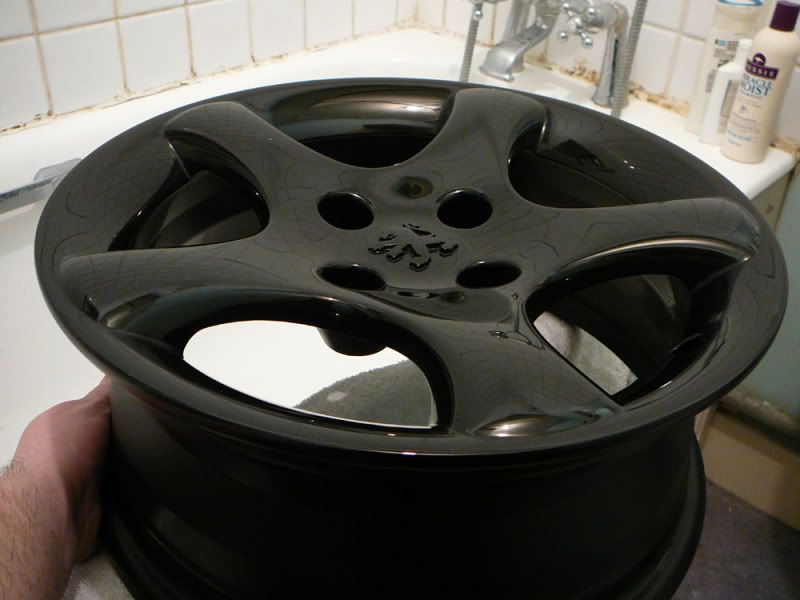
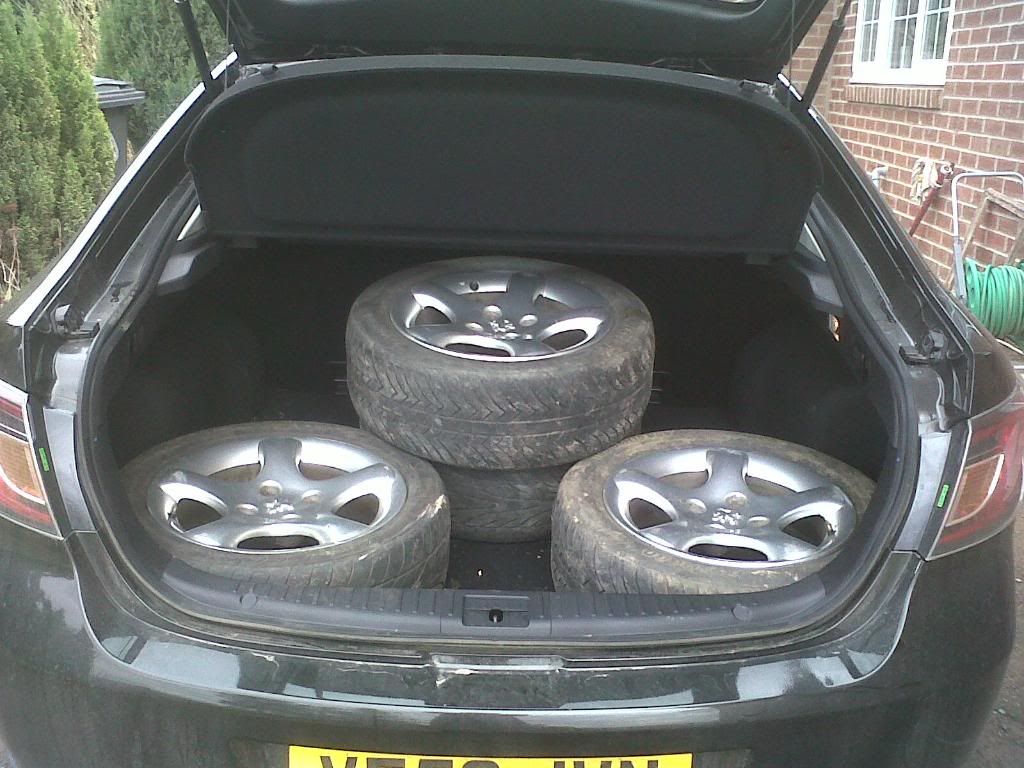
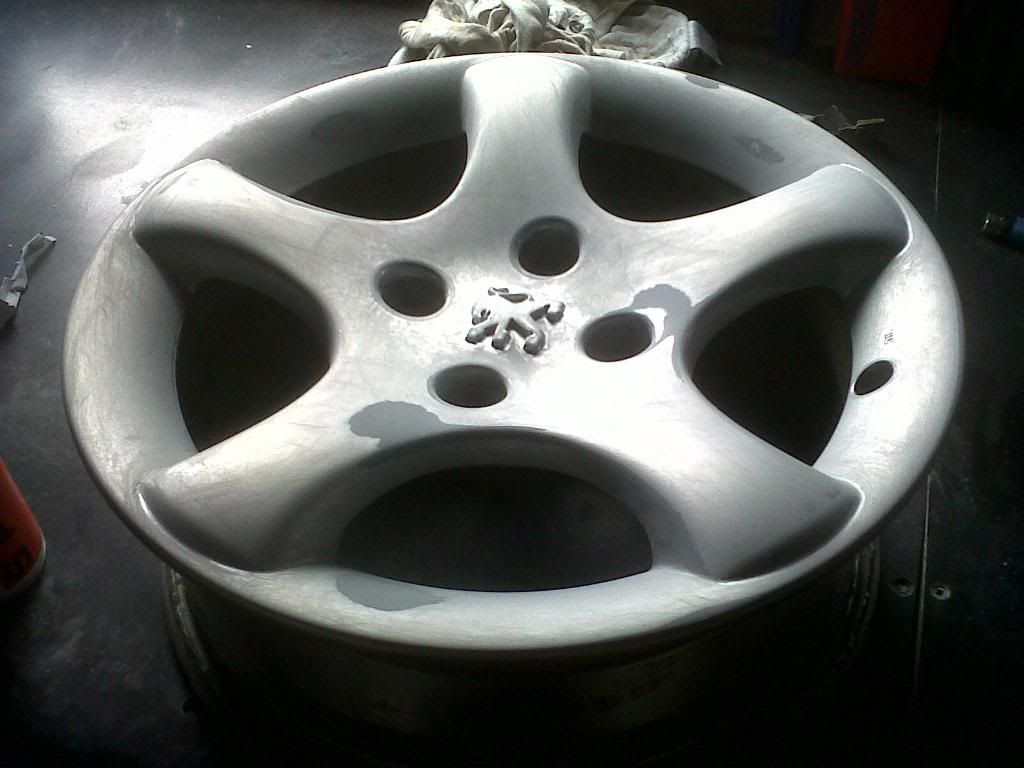
Here are the wheels when i just bought them:
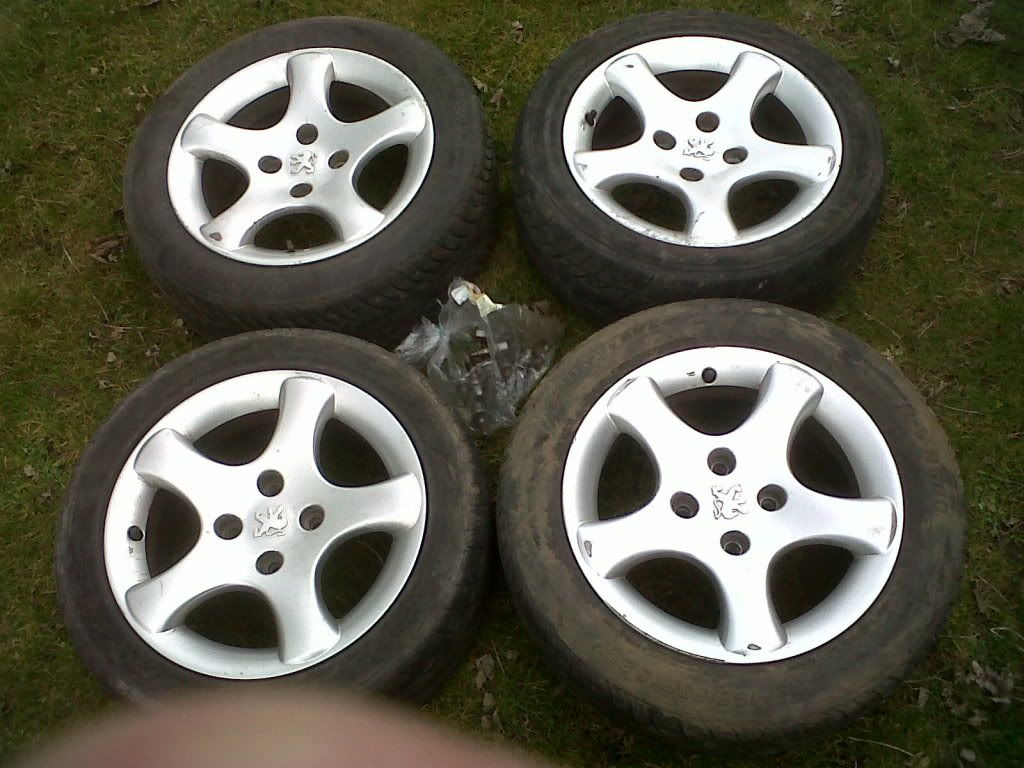
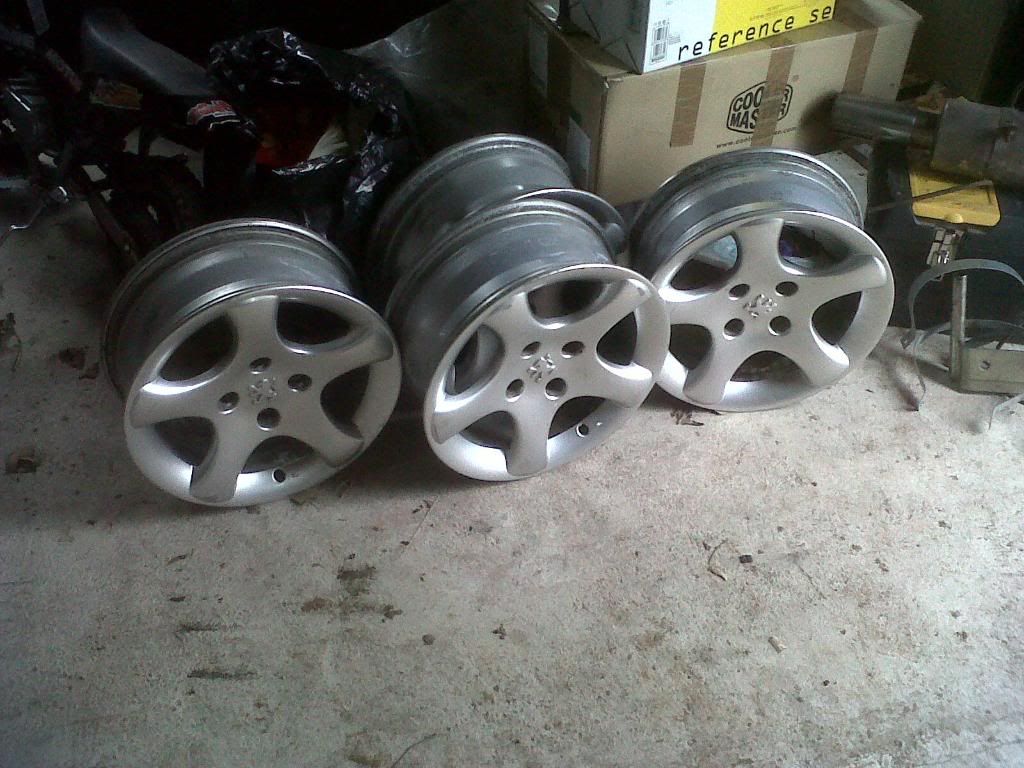
I then had tires removed (you can leave tires on, but its easier and a better job with them off). The tires wasnt that good so i had them taken off and binned. You can sometimes have this done free like i did as its a family member. Here they are waiting to be taken to garage for removal.
Tires now removed, lets get started.
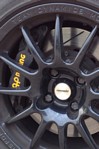
Start off with taking the balancing weights off, i had stick-on and clip-on ones. Just use a flat-blade screwdriver and carefully remove the weights and use some sticky stuff remover to remove the foam sticky pad left when stick-on weights are taken off.
Give them a good clean with soap and water to get the main dirt and oil off.
Let them air dry or wipe down with a cloth.
Now the sanding comes in.
[u][b]
RUBBING DOWN[/b][/u]
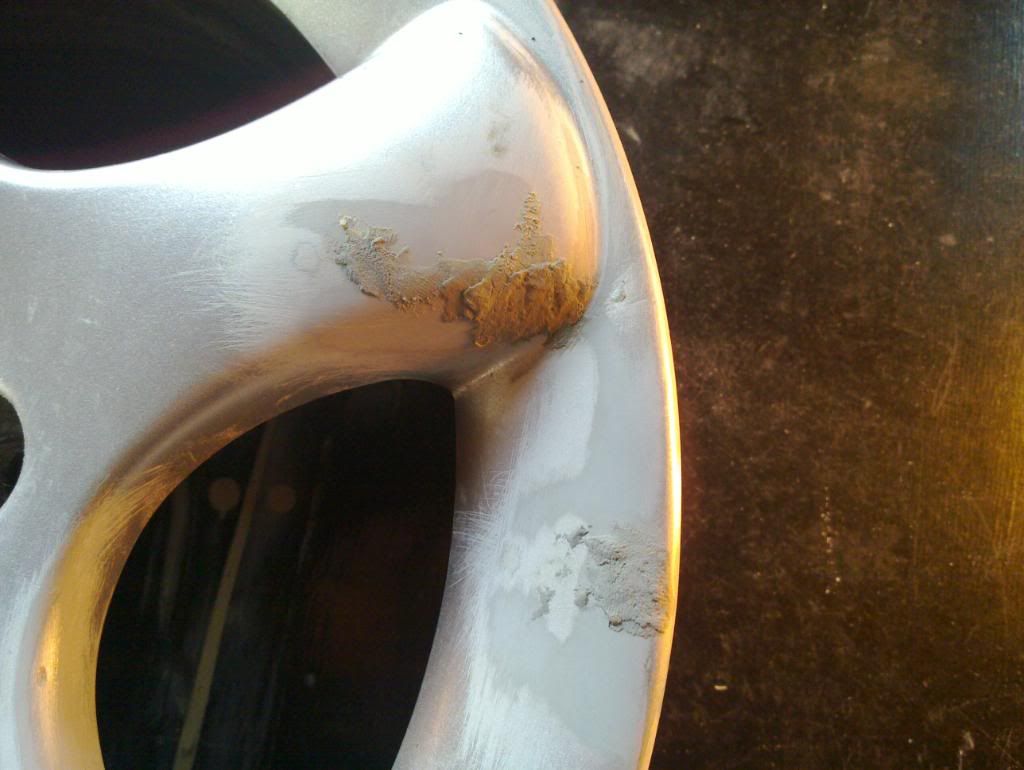
A) Using P80 grit paper, rub the bubbling and curbing out!*
A*) If there is any extremely deep kurbing use a small amount of ALLOY FILLER (filler to hardner ratio is approx 1 golf ball of filler to a pea of hardner) However, i used Alloy Wheel Putty so all you had to do is tear a bit off and knead it a little then stick to the wheel. Its brilliant stuff and when dry, its solid and sticks like s*it to a blanket. Also, ive got electric in there now.

 Using P120 grit, rub any area touched with the P80 and filler!
C) Start to feather out the wheel with P240 grit where you have sanded the bubbling and curbing away, also the filler. You will see the layers of old paint and primer, kind of like tree rings! All the old layers need to be sanded back until the rings are a decent distance apart and fade into one another otherwise you will see them through the new paint!

D) Continue to rub down with P240 grit any area you touched with the P120 grit!
E) Using P320 grit, rub any area you touched with the P240 grit!
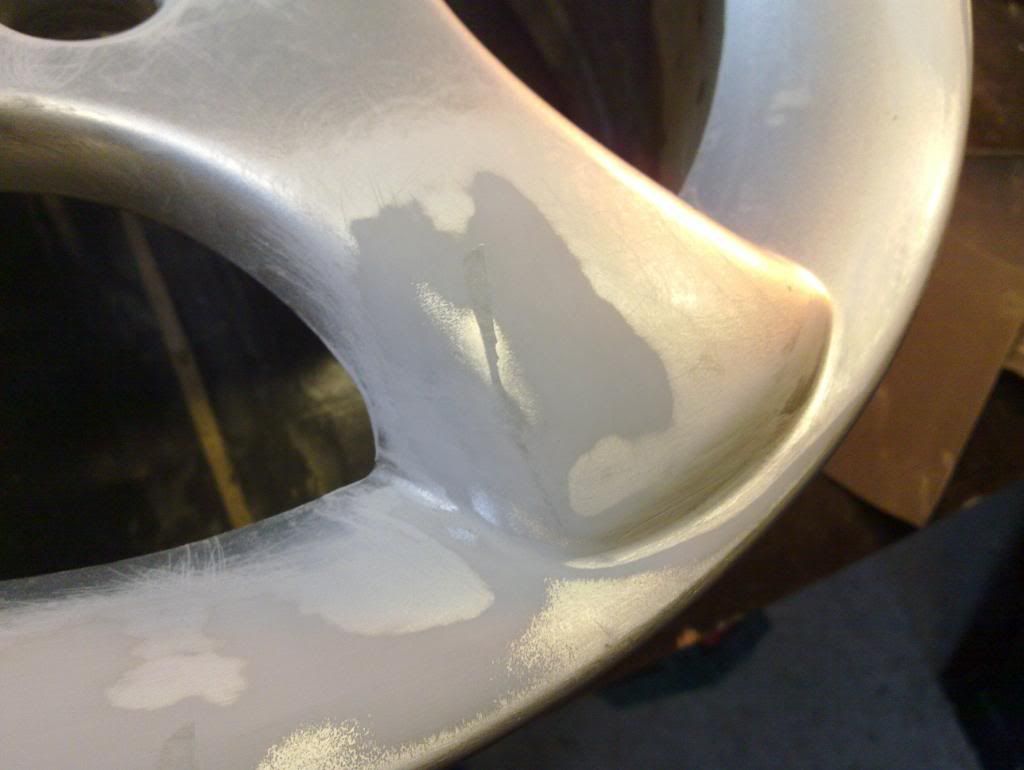
It may look like it but, no filler was used on this wheel below.

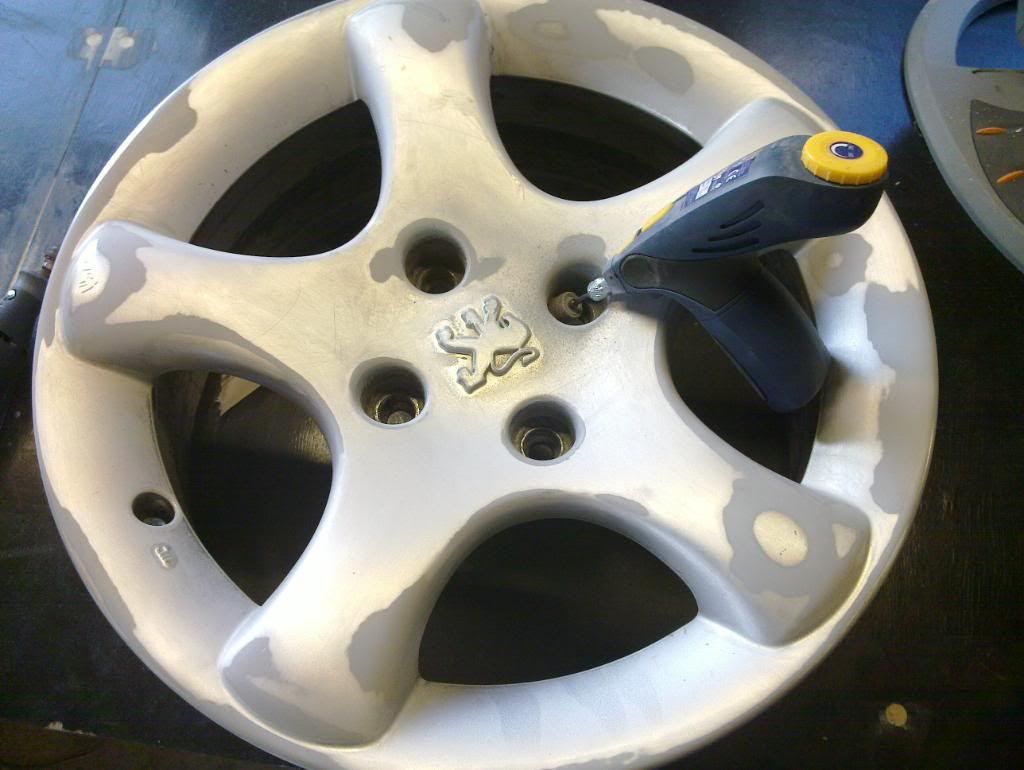
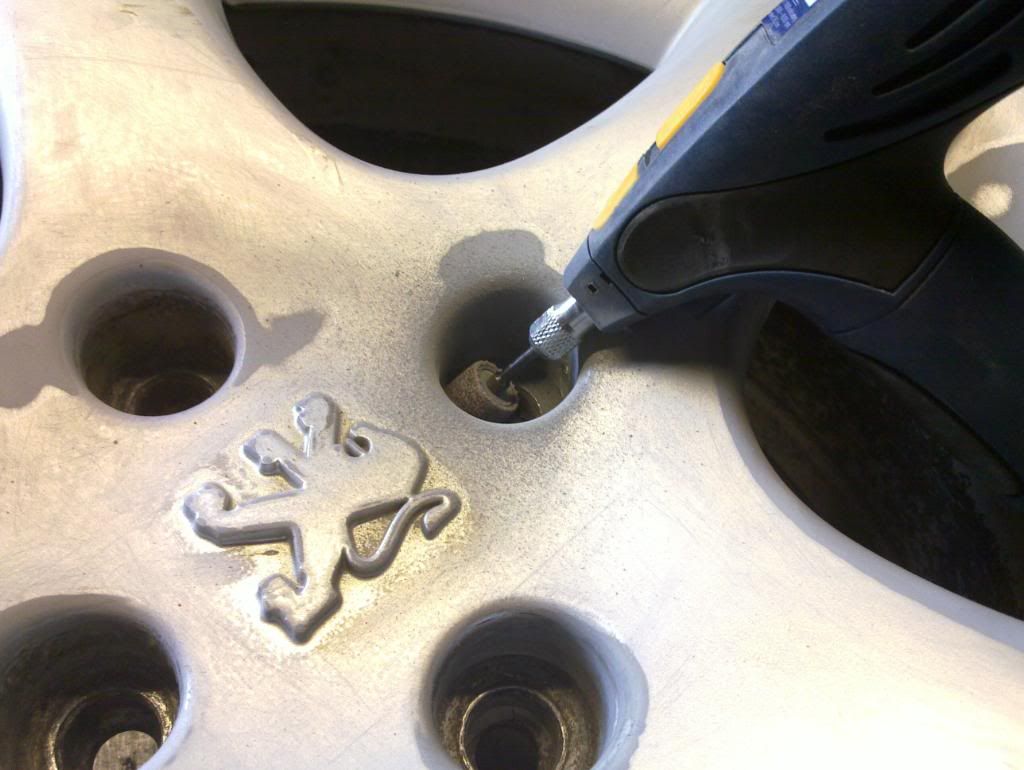
F) Using P400 grit, rub down the whole wheel including all the niggly bits like stud holes, any area touched with P320 grit, etc.....
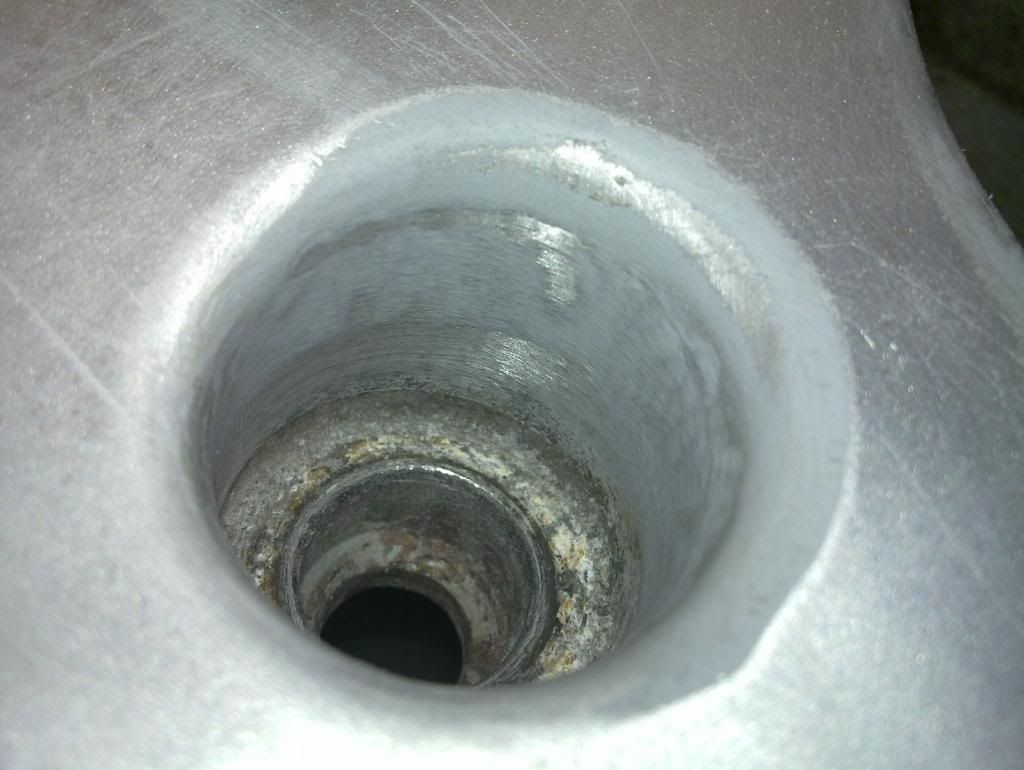
I also used a dremel with the sanding attachment to do stud hole to remove loose paint and smooth it down.
Now, wipe over the whole wheel with panel wipe to remove any dust and oil and then use a tack cloth (sticky cloth) to remove any remaining dust, also make sure you get in the stud holes with tack cloth. I wore gloves from this point so the oils from my skin didnt get on wheel and risk contaminating the new paint causing bubbling, etc.....
Clean all dust off work surface and cover it all in newspaper.
Your now ready to start spraying!
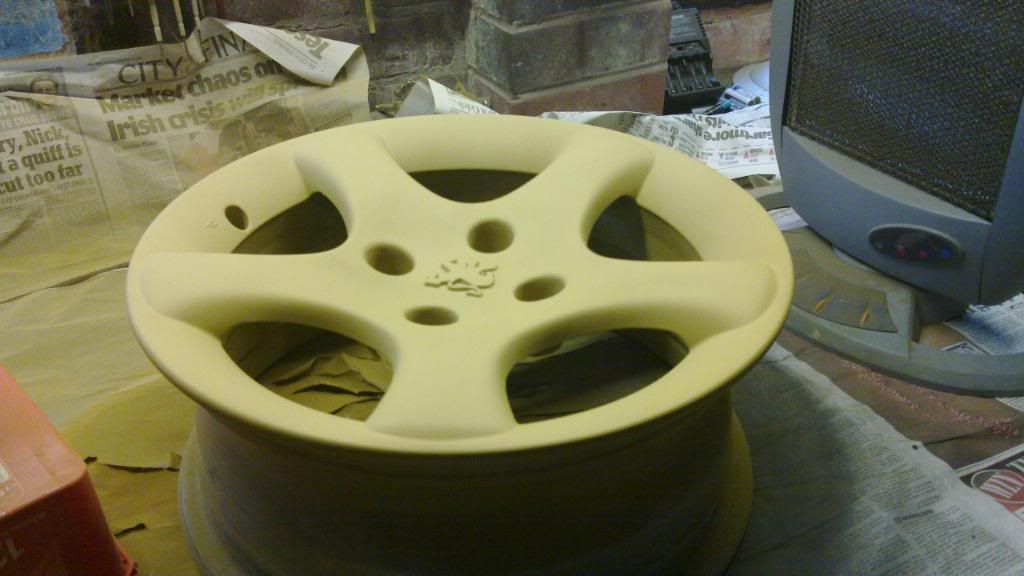
2) PRIMER
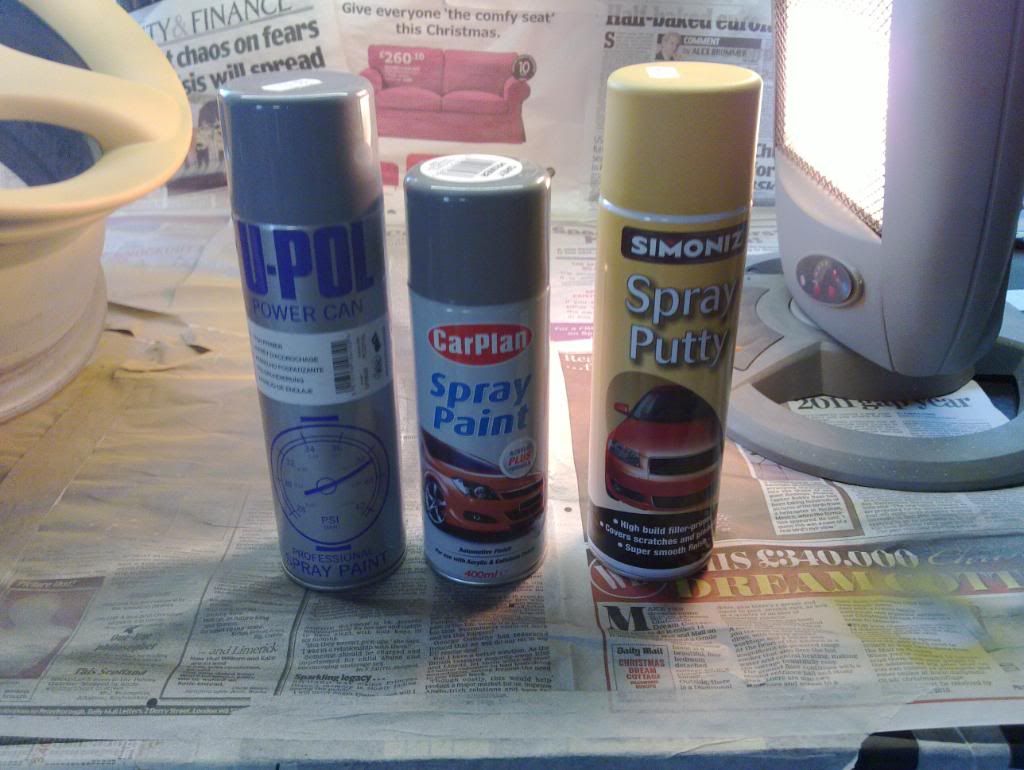
As you can see, i used 3 different primers to make sure i get good coverage. First is etch primer, this "bites" in to bare metal to make it stick good. Second is some normal primer, and the 3rd is spray putty, its primer but hi-build and fills in any little marks left behind.
A) Use etch primer to cover any bits of bare metal, i just did the whole wheel to make sure. Only do good 1 coat of this making sure you get in stud holes, etc...

Was tempted to leave it like that, looks nice lol. As you can see, i have a halogen heater to help dry paint as its quite cold in workshop.
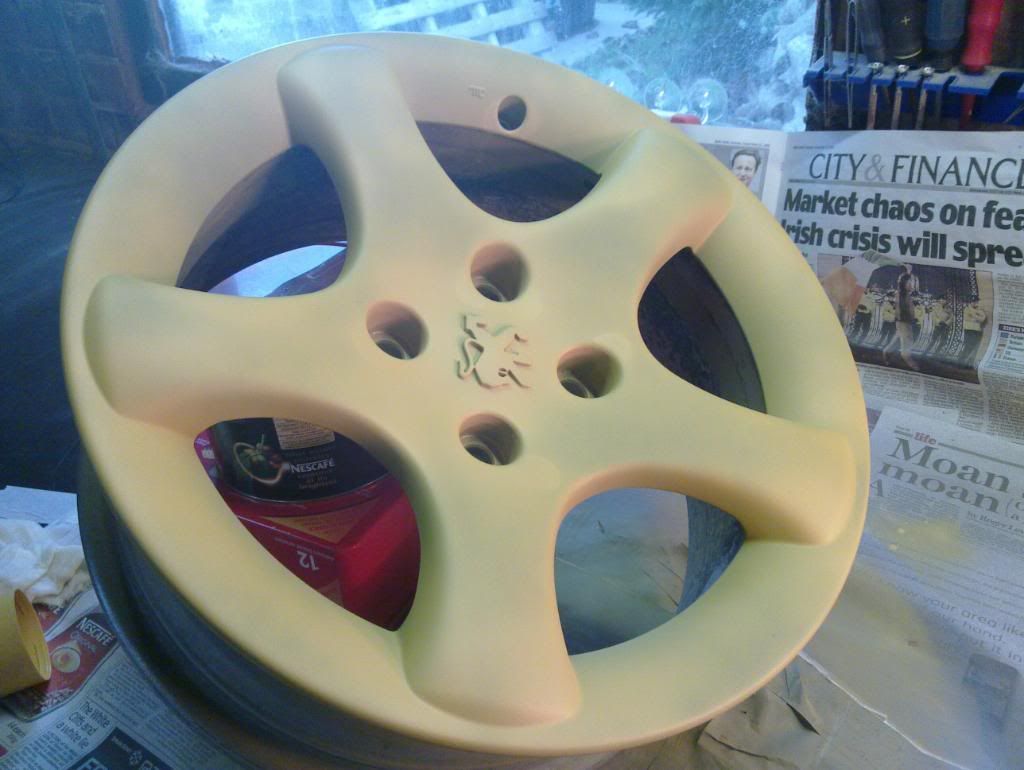
Give the wheel 3 good coats of filler/high build primer! It doesnt matter too much if you get runs in the primer as you'll be flatting it back anyway!I used 1 coat of primer and 2 coats of the spray putty.
Primer


It is acually grey primer, not white like it looks like in photos.
Spray Putty
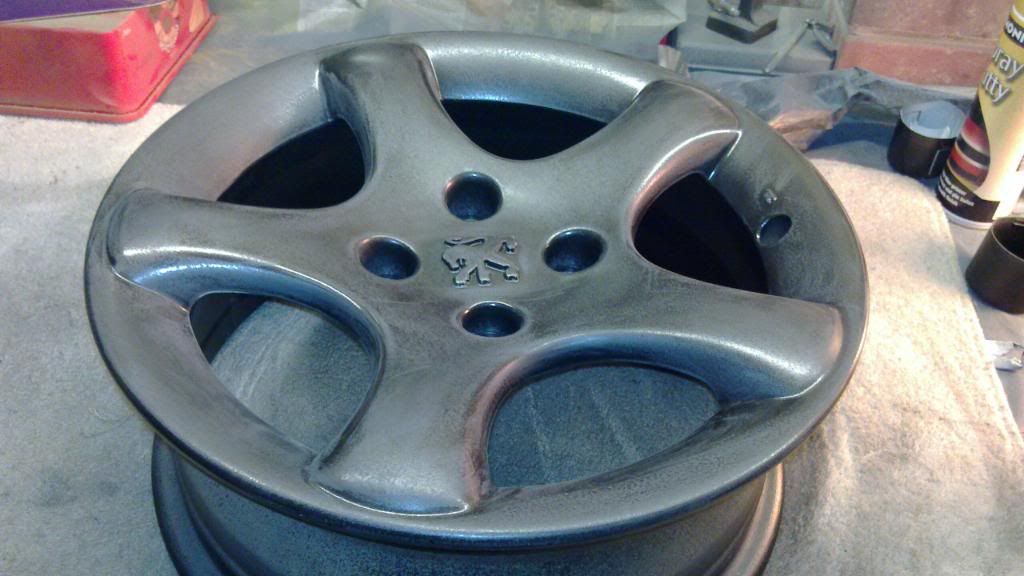
C) When the primer has dried (best to leave for 24hrs), spray on a very light dust coat of cheap black spray paint and let it dry (known as a guide coat)

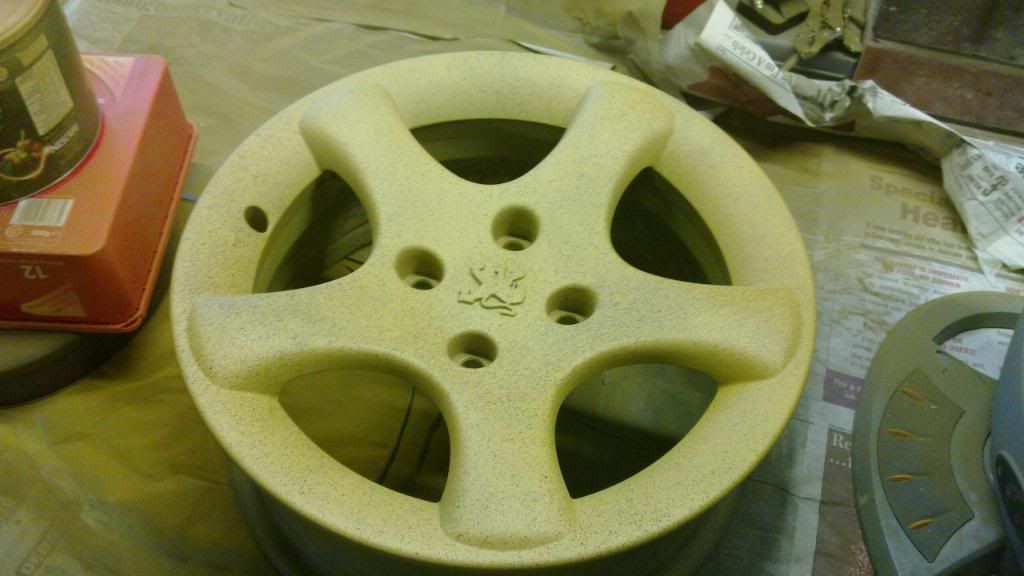
D) With P400 grit paper sand the whole wheel until all of the black has gone leaving you with smooth, flat primer!
3) PAINT
Well me and luke (pugmarshall) got one with spraying the wheels today.
A) Wipe down the whole wheel with panel wipe!
Remember its always better to spray several light coats than 1-2 heavy coats which are likely to leave runs!C) Start to spray around the rim, inside the spokes, inside stud holes first leaving the face until last!
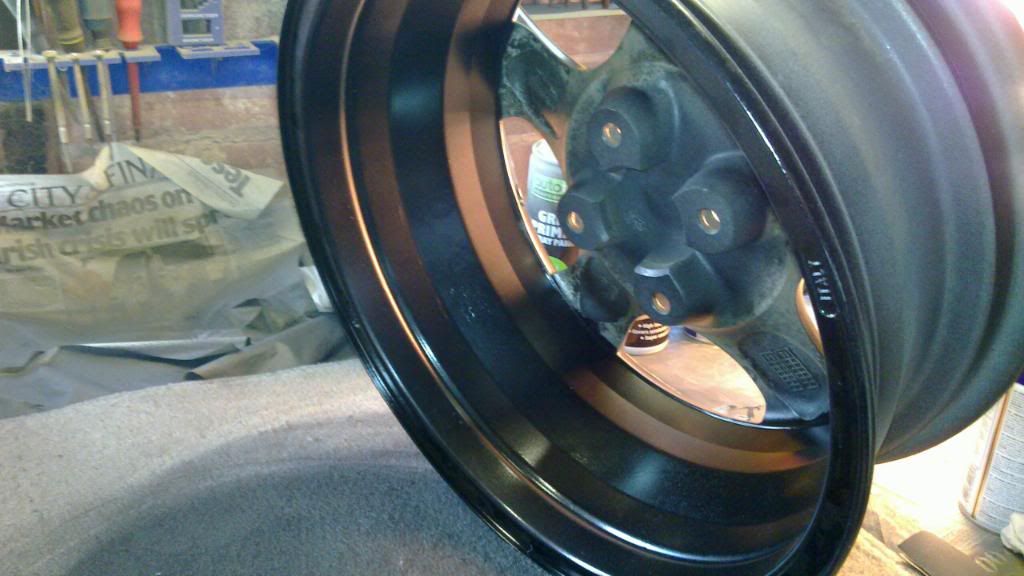
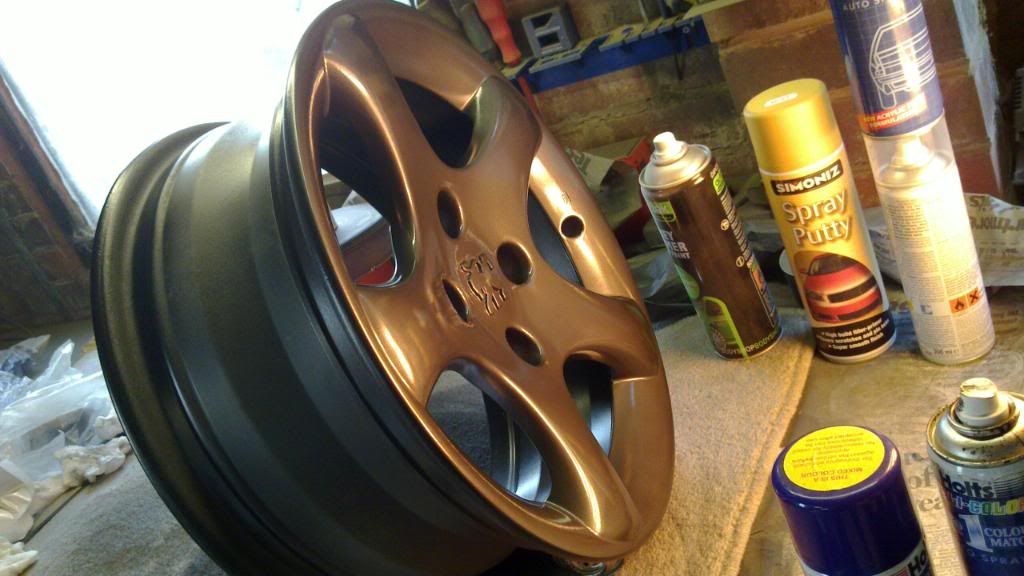
Inside

As you can see, we cut out a cardboard piece so we didnt get overspray. Just doing them with matt black inside so the silver doesnt show up. Only did 1 coat and 1 coat of lacquer.
Lacquer
D) leave the first coat for a minute or so until it is sticky to touch. DO NOT TOUCH THE PAINT! Everytime you do a coat spray some inside the wheel (where the tyre goes) and touch that to find out when its sticky.
E) Same again rim, stud holes, inside spokes THEN face last
F) Keep doing this until your happy with the paint coverage as its hard to judge how many coats to put on as it depends on the paint, how thick you put it on etc but i recommend you do at least 3 coats!
Second Coat

Third Coat
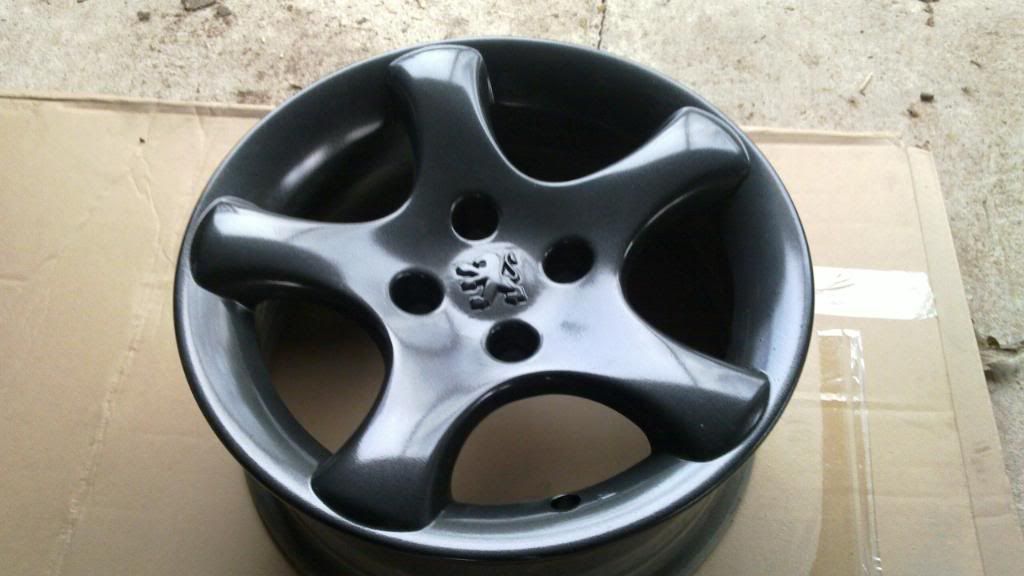

Forth and Final Coat. As you can see there a colour difference as the paint i was using first was crap as they were leaving loads of tiny dots all over the wheels and it was like water. Even the lightest coat would leave runs. They must have been old cans of paint so i brought some new fresh cans to do top coat.
I rubbed down with P400 before applying final coat to remove runs and tiny dots.
Then i panel wiped it to remove dust and went over it with a tack cloth aswell to make sure. Now, final coat.
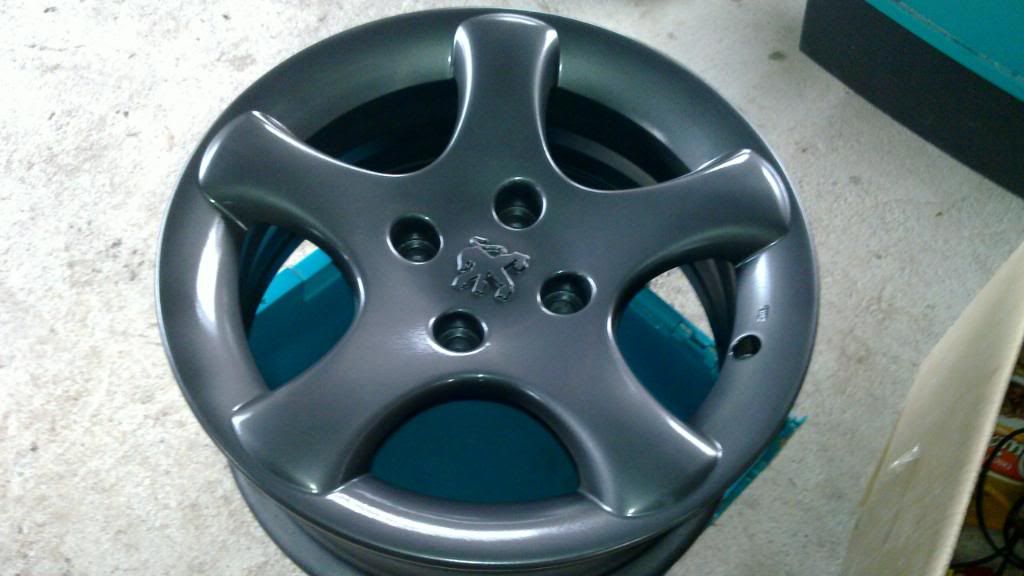
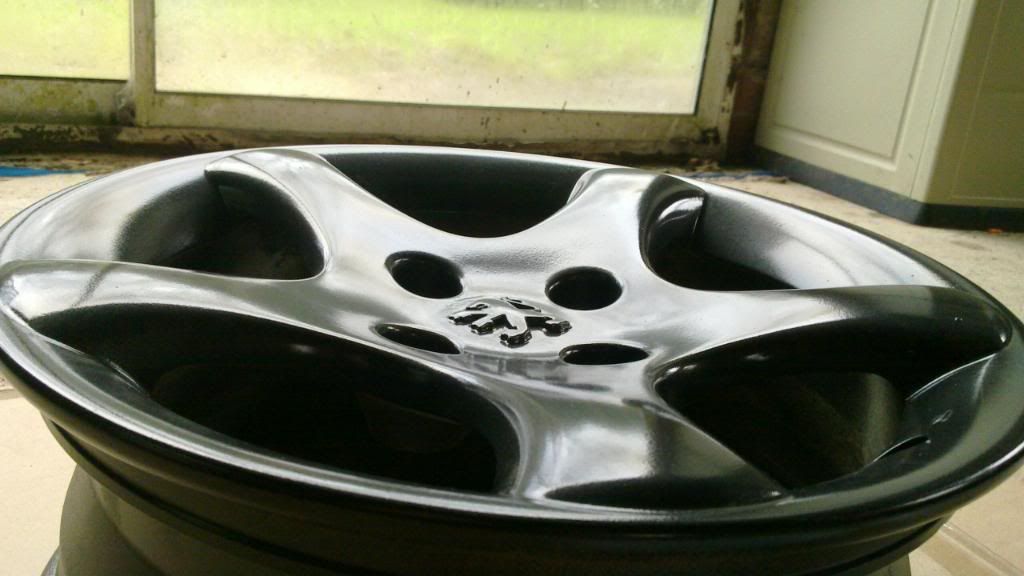
Looking good now. Now Lacquer time.
4) LACQUER
a) Do not panel wipe the wheels this time!!! and apply the lacquer about 30minutes after final coat of paint.
The first laquor coat should be VERY light as is it helps the following coats to adheer! Remember to spray the rim, stud holes etc first and leave the face until last!c) Leave until laquor is sticky to touch. Again, DO NOT TOUCH THE LACQUER! Everytime you do a coat spray some inside the wheel (where the tyre goes) and touch that to find out when its sticky.
d) Same again but put a slightly thicker coat on this time!
e) You should be putting 3-4 coats of lacquer on!
First Coat In Front Of Heater
Second Coat

Third Coat

Forth and Final Coat
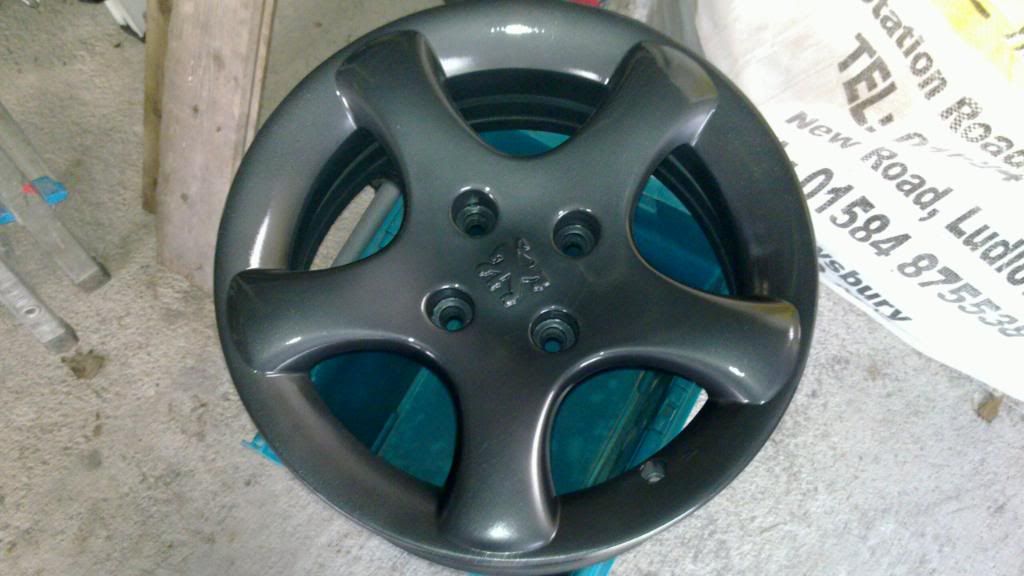
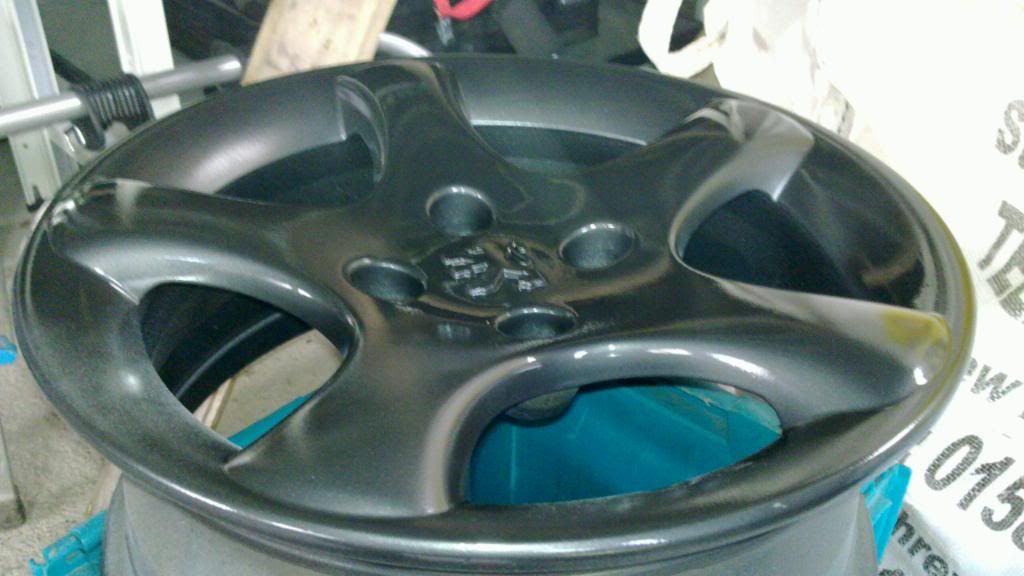

The lacquer is still wet and you need to leave them for at least a week now to harden before doing anything else to them (e.g. polish, putting tyres on)
5) FINISHING
a) You will no doubt get bits of crap in your laquor, which, unfortunately is unavoidable so...
Get some P2000 grit wet&dry and GENTLY rub away any specks in the finish remembering to keep the paper wet!! you can also smooth out small runs too but dont go crazy as you will rub through the laquor and it'll be time to start over again!c) You will now be able to see dull patches where you have been sanding!
d) Get some G3 cutting compound (from any motor factors) and polish the whole wheel with it! Remember to keep the wheel very wet whilst using the G3! never use it dry!
e) The G3 is basically t-cut but 10times as coarse! so just like t-cut you need to polish the wheels with your normal car polish to protect the paintwork!
Keep Checking Back!
________________________________________
WANTED URGENTLY: DRIVERS WING, DRIVERS HOCKEY STICK!