Post #28
[POST 8]
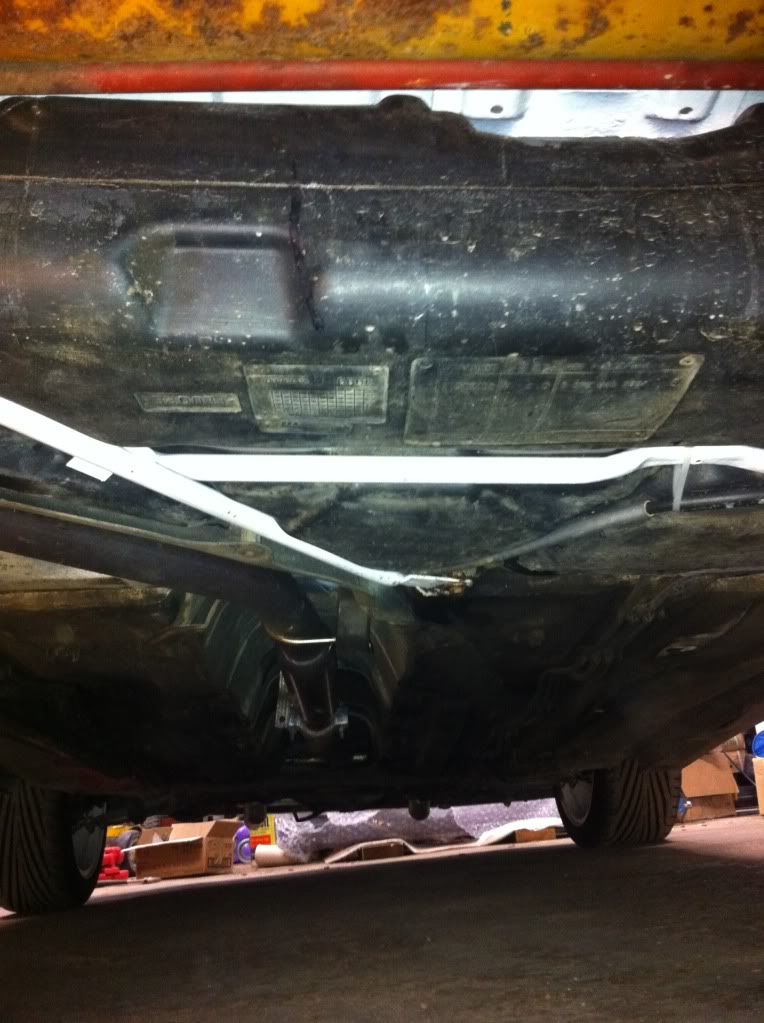
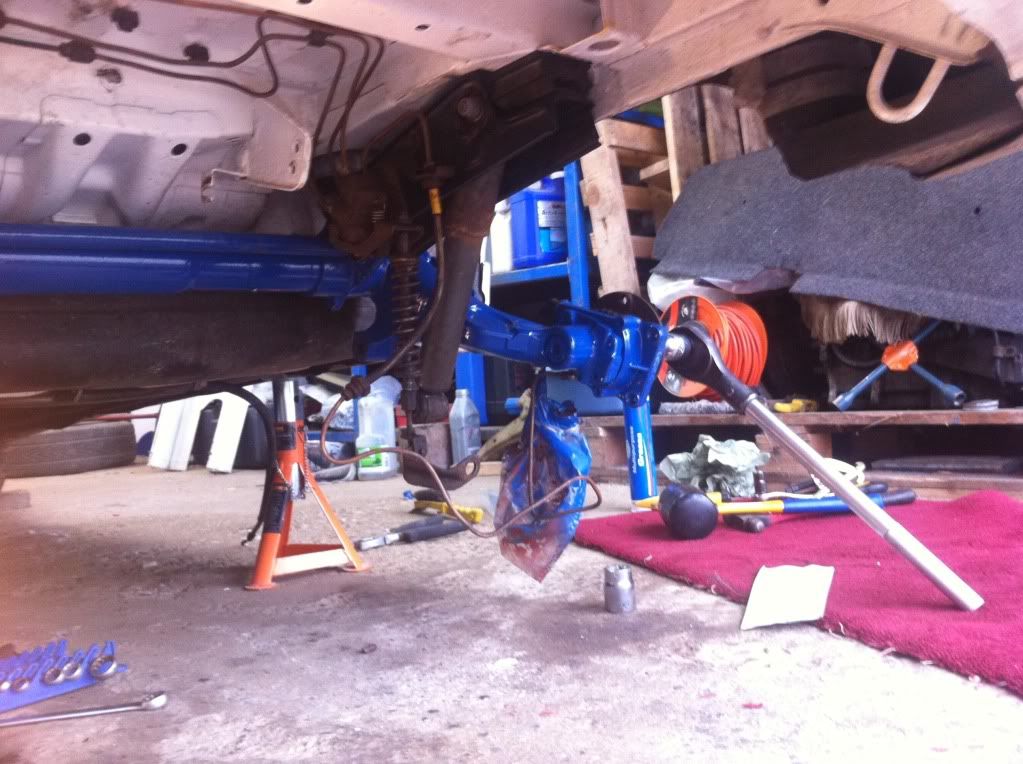
Mid January got slowly started with derusting:

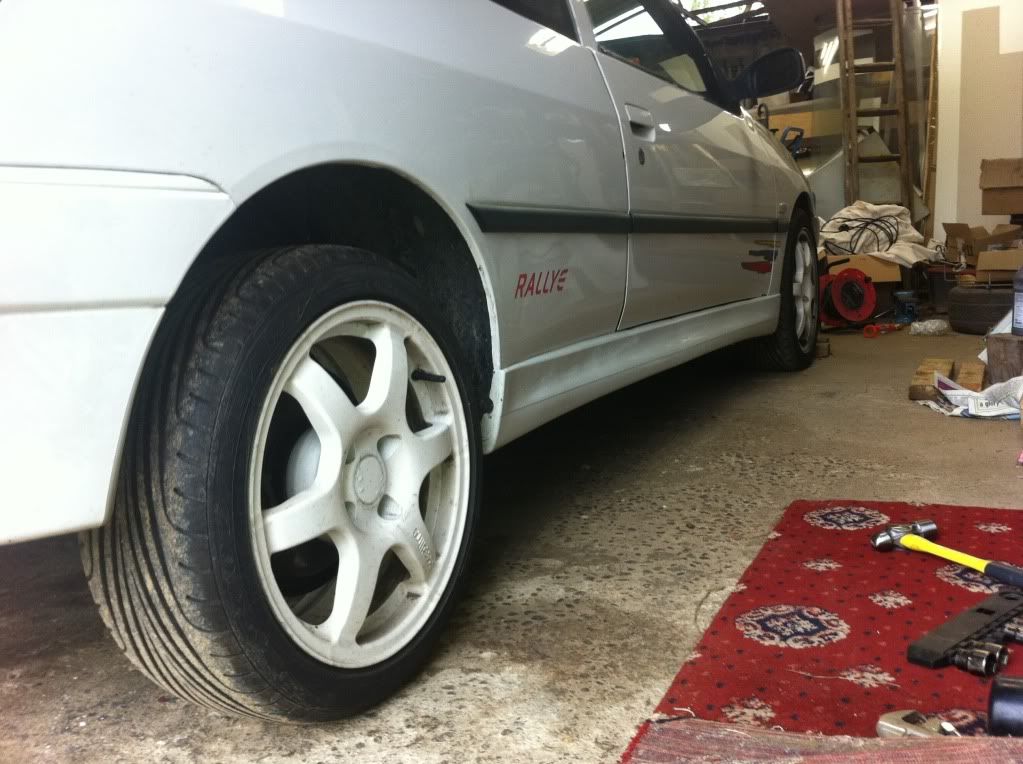
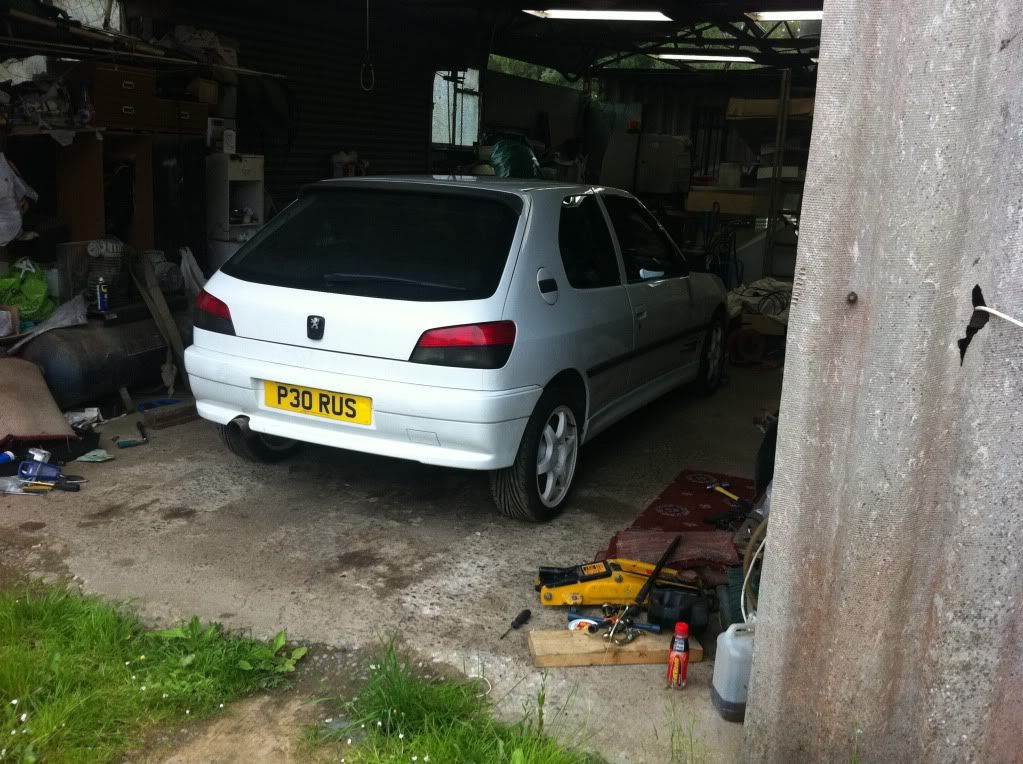
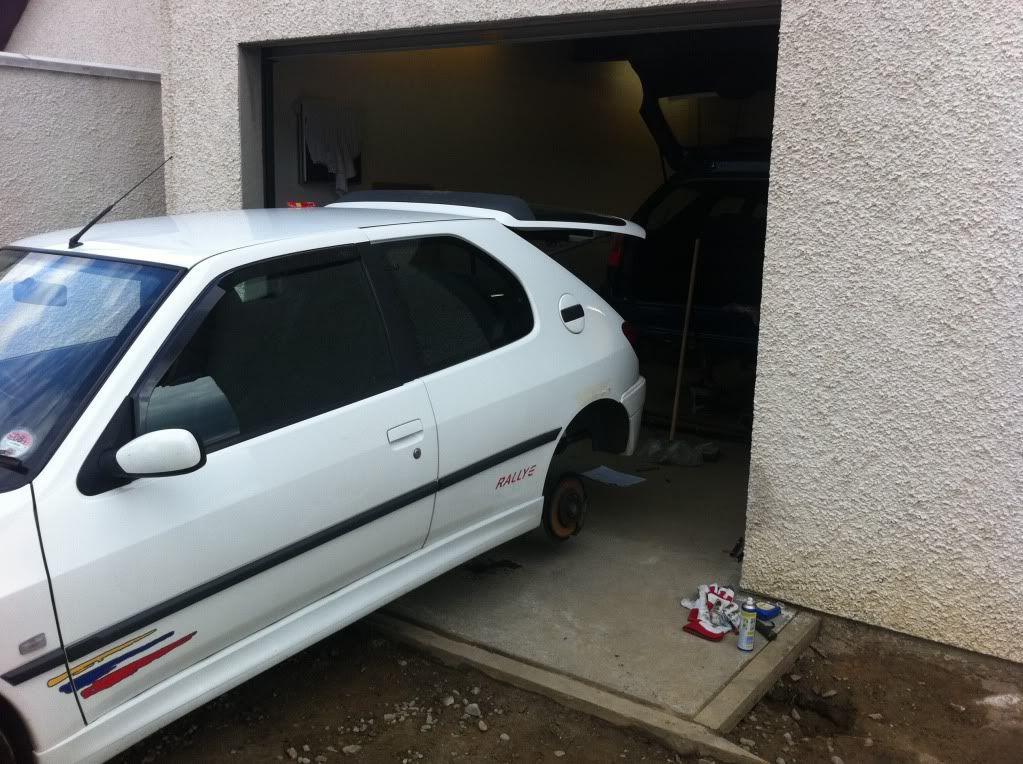
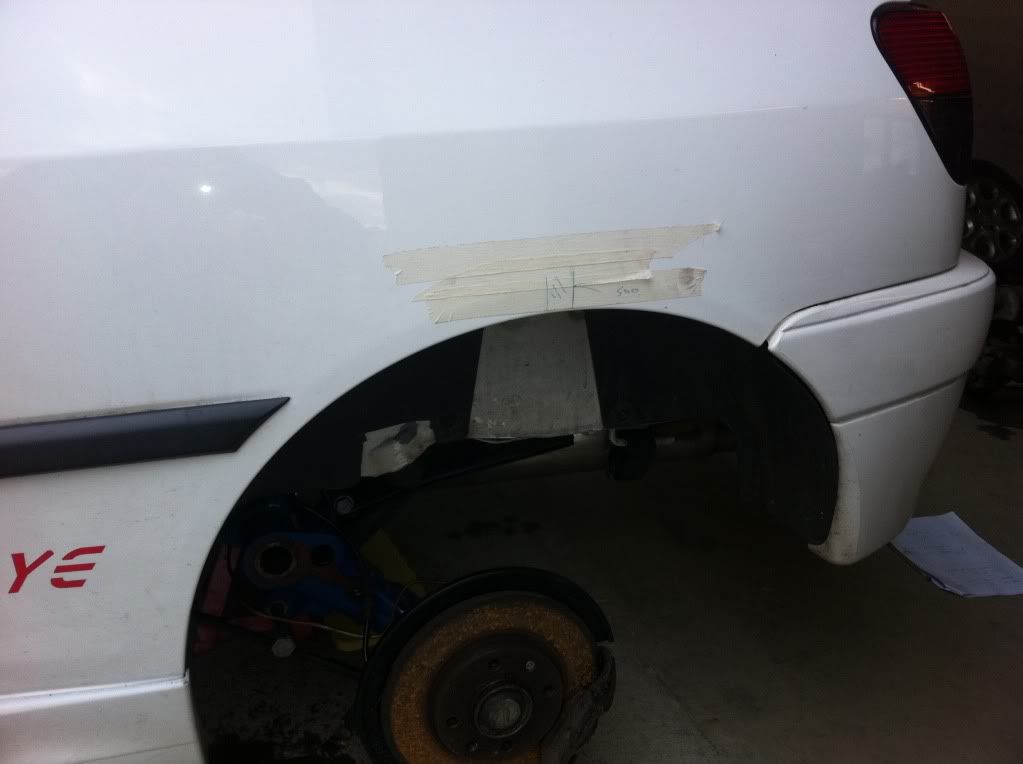
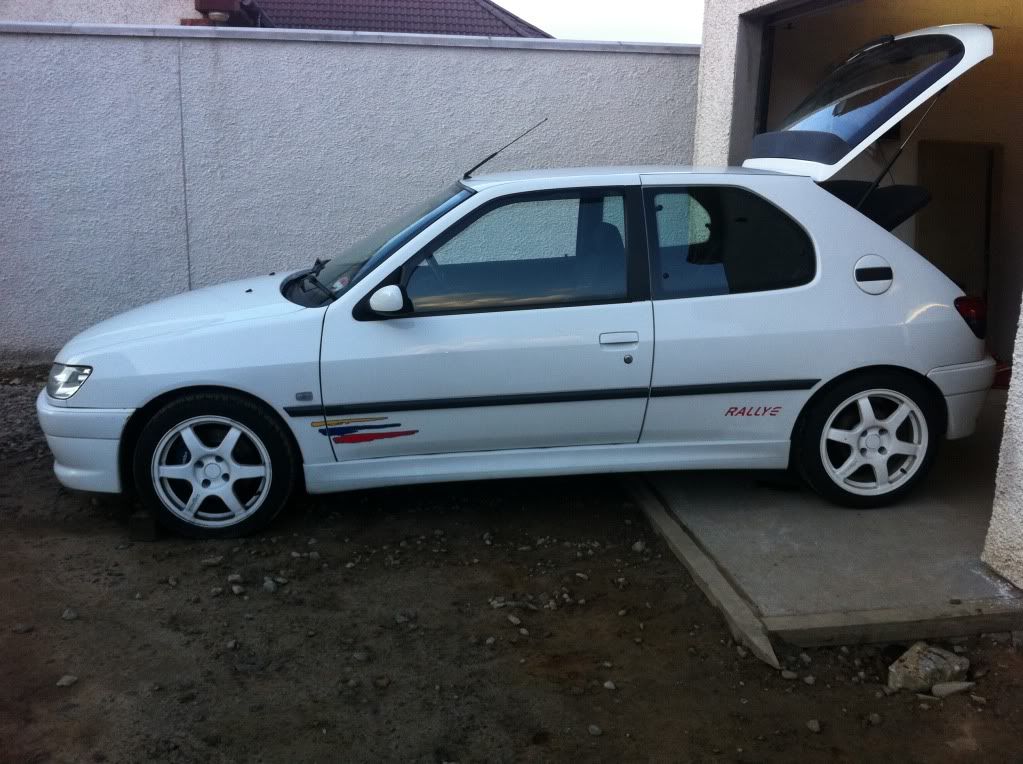
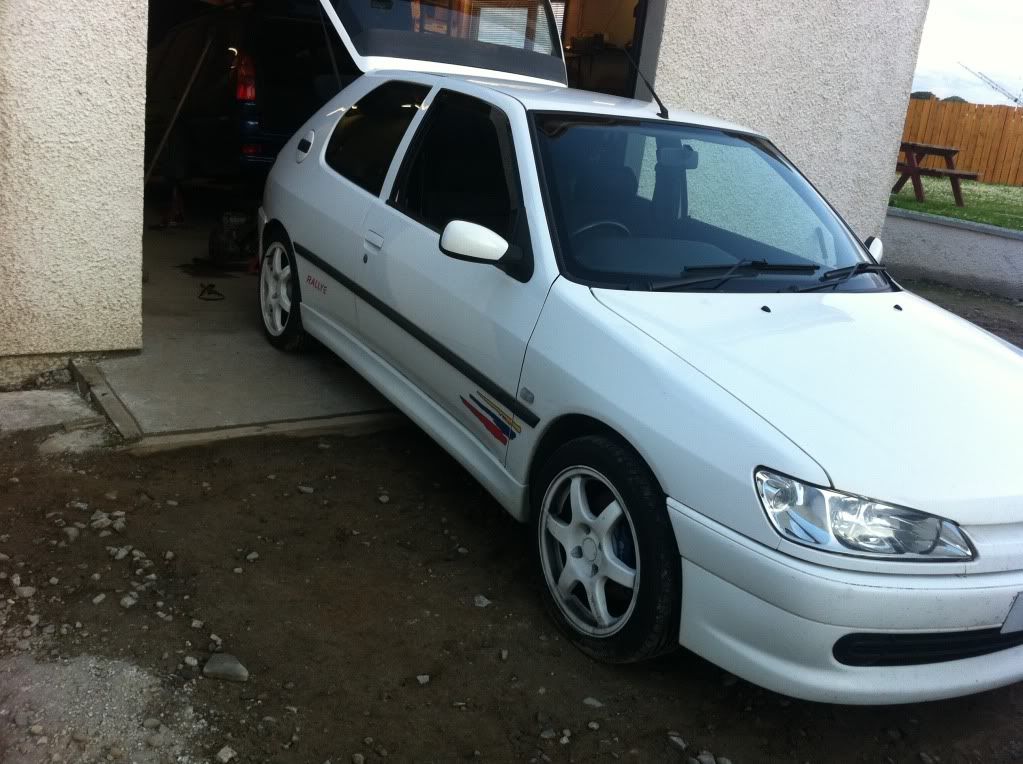
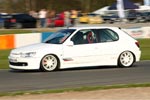
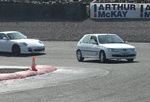
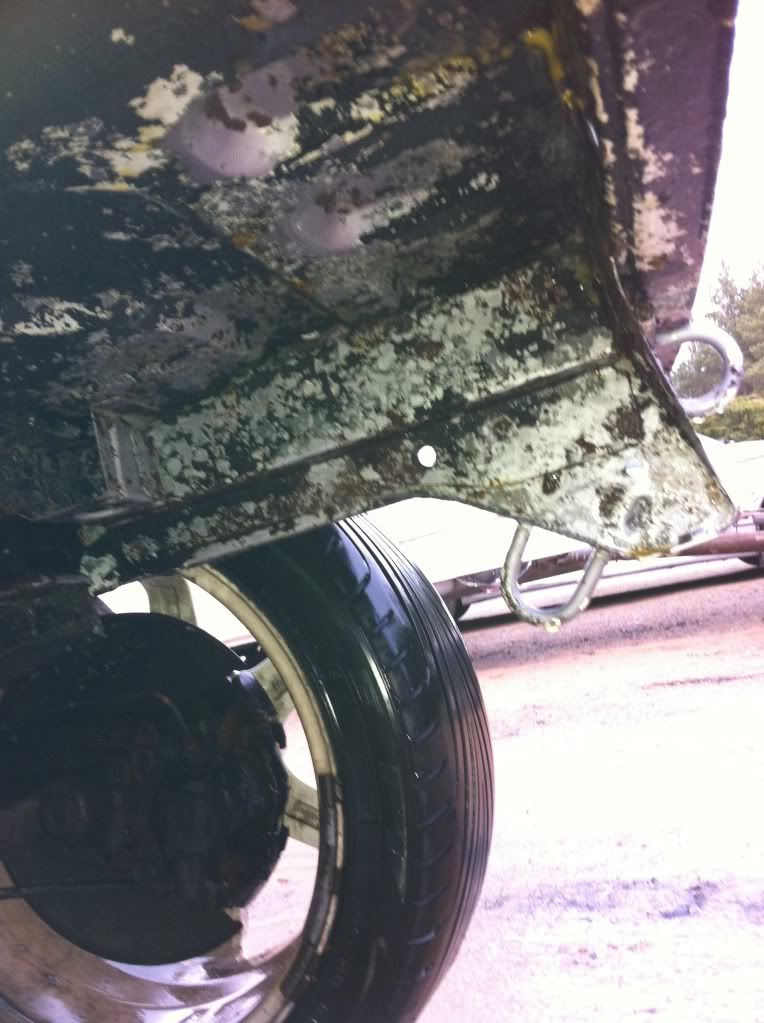
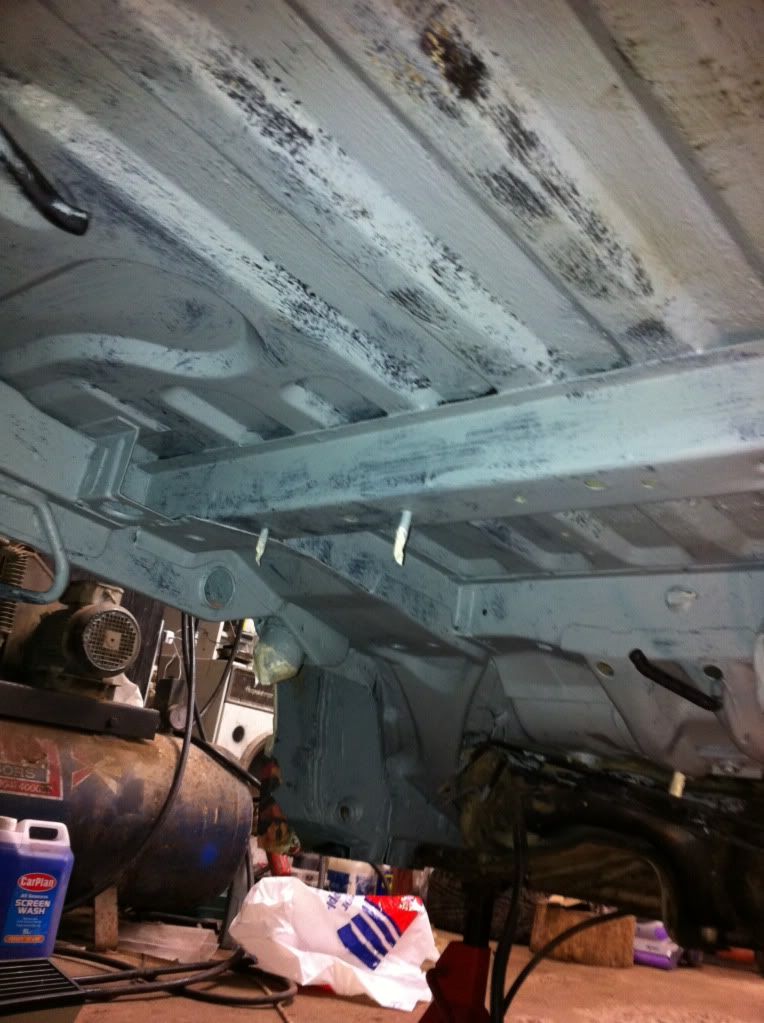
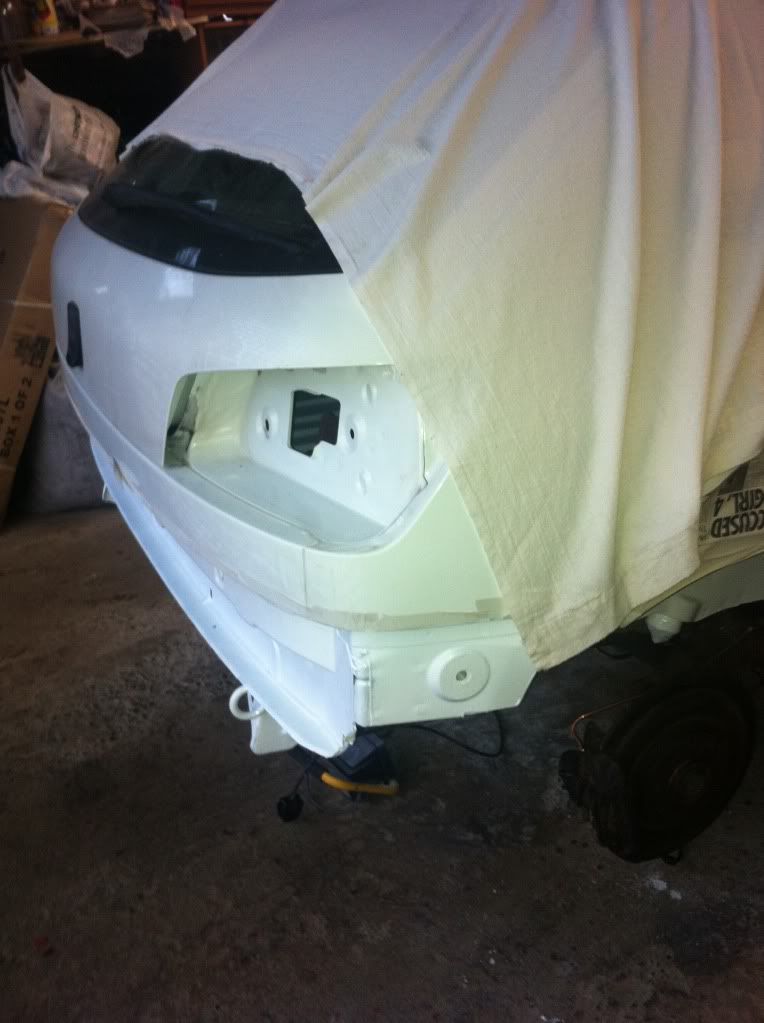
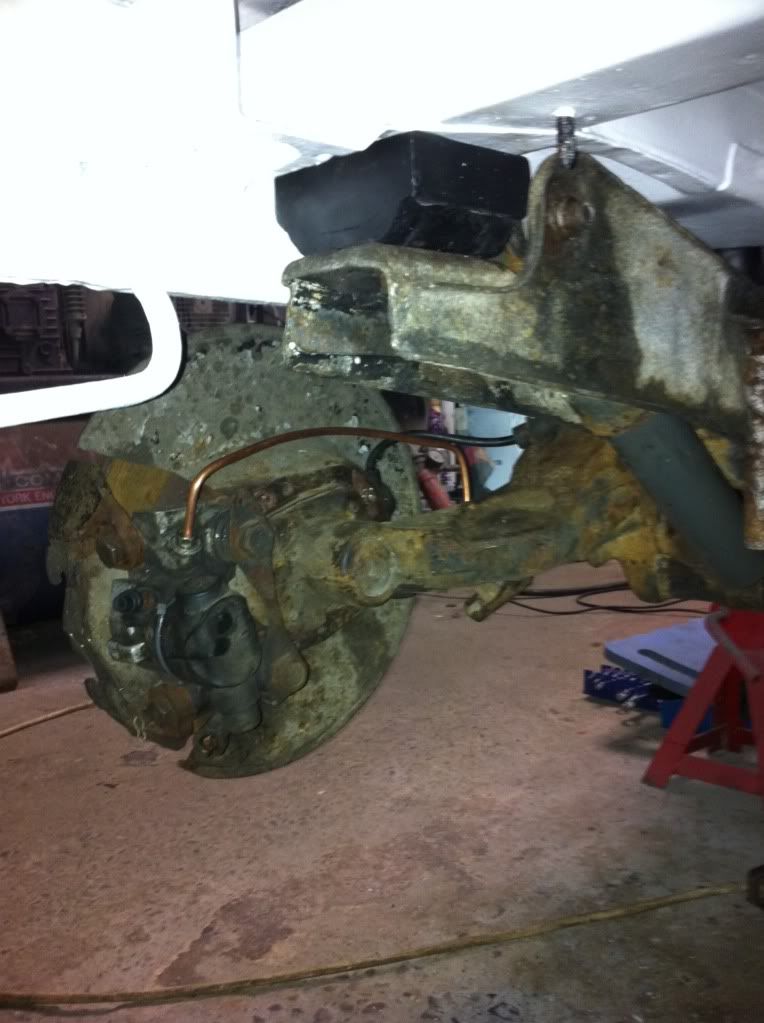
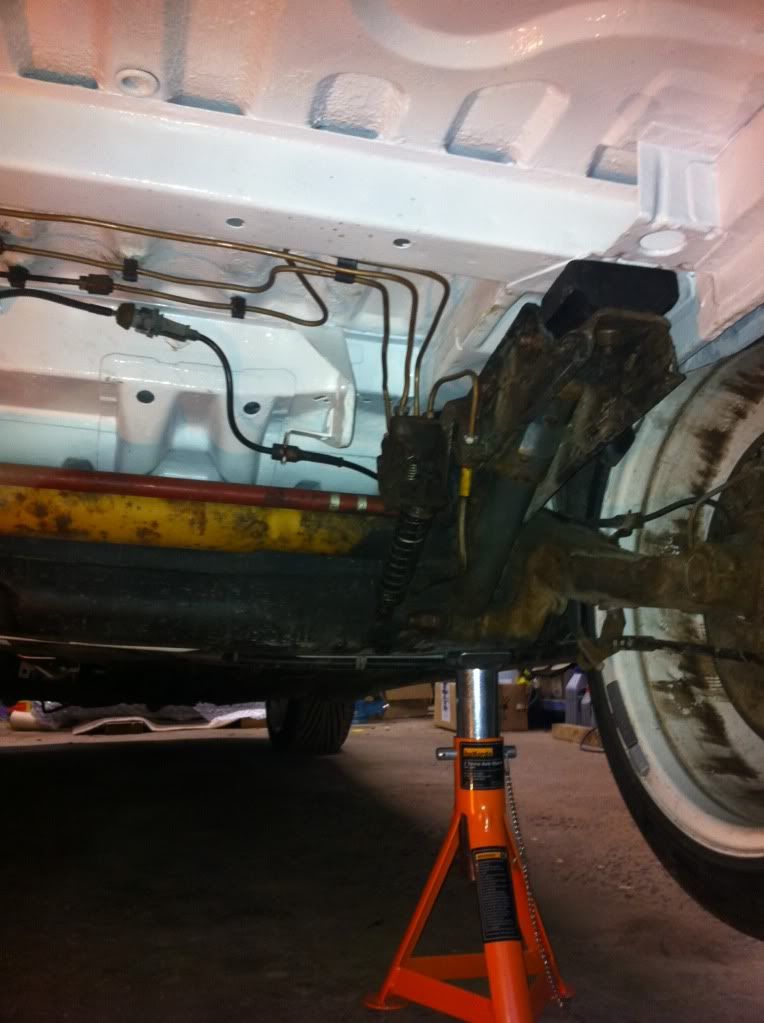
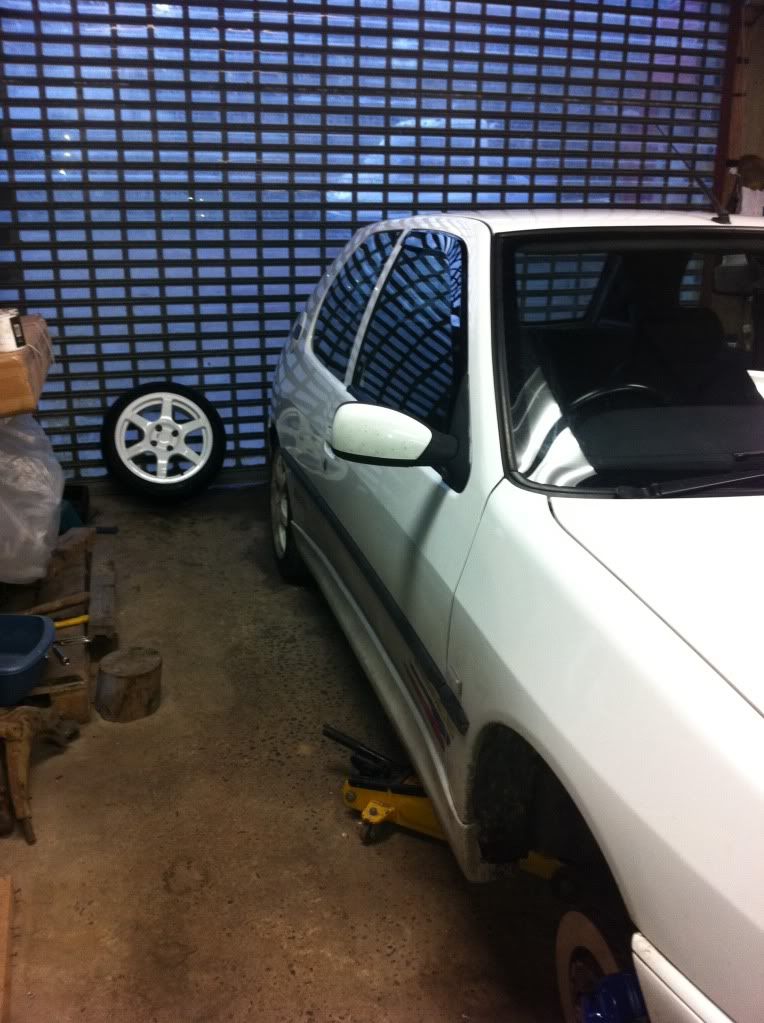
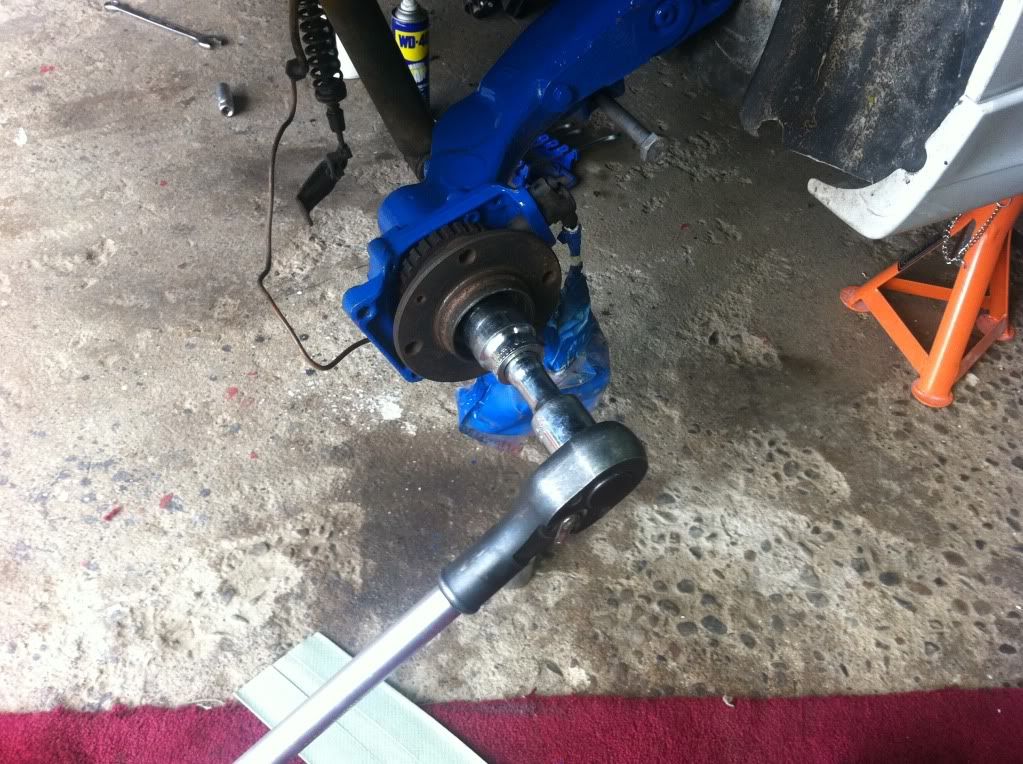
Car elevated using axel stands, took a few pictures before I started anything major.
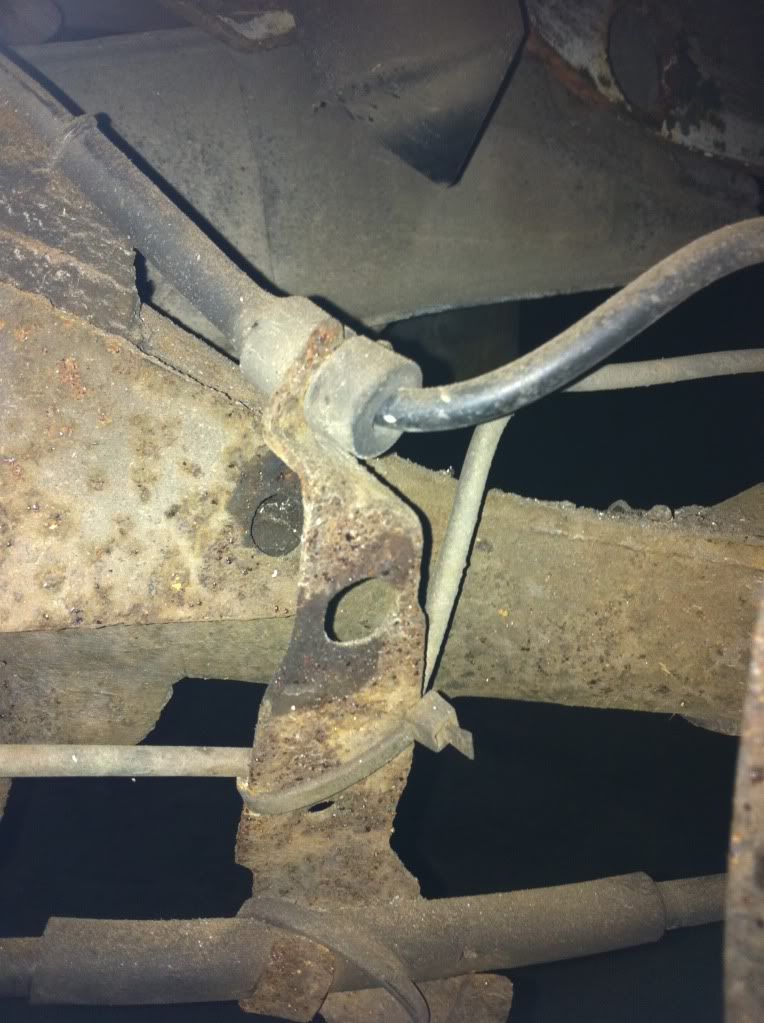
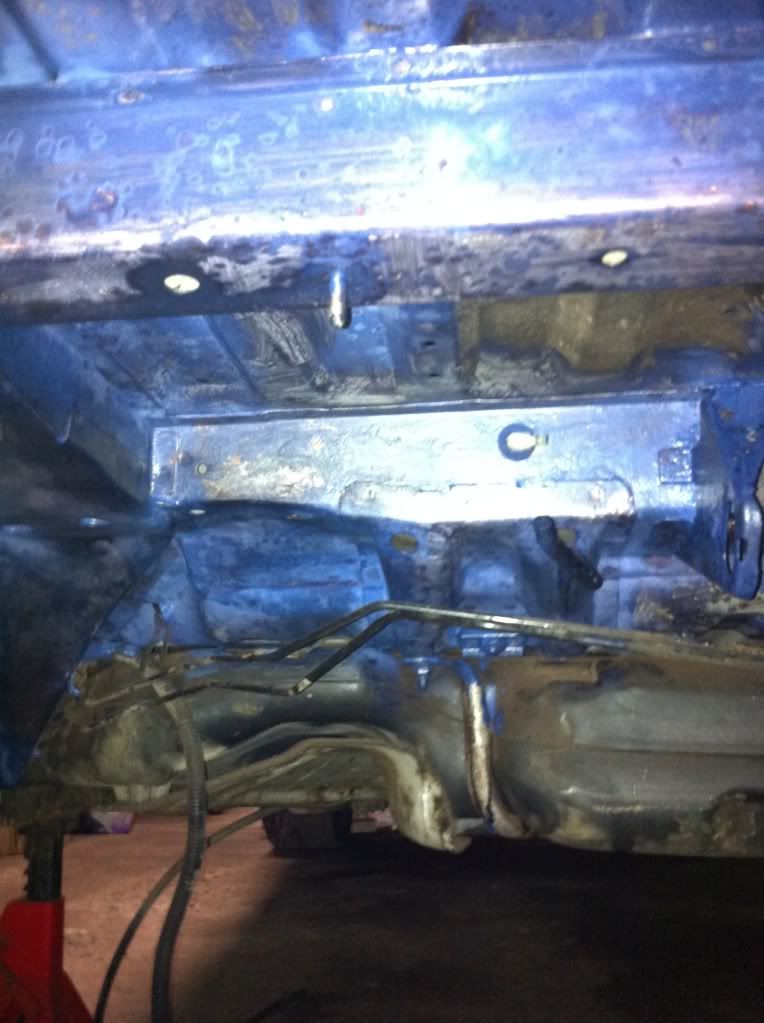
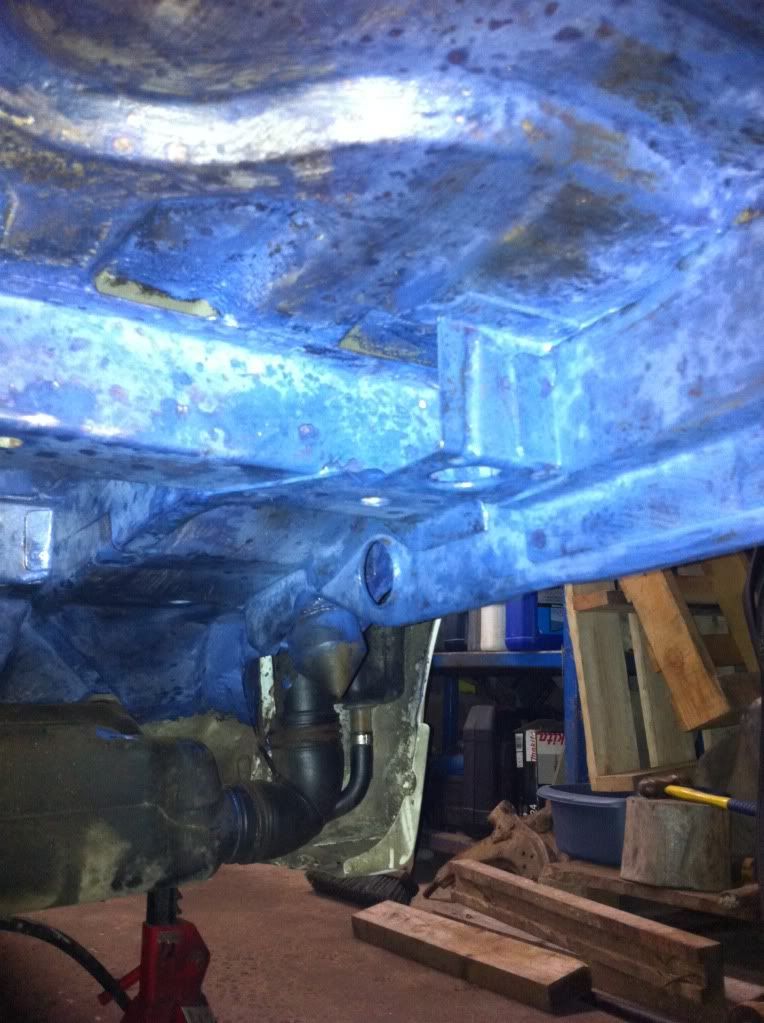
Underseal needed removed and rear axel too, didn�t get this done straight away
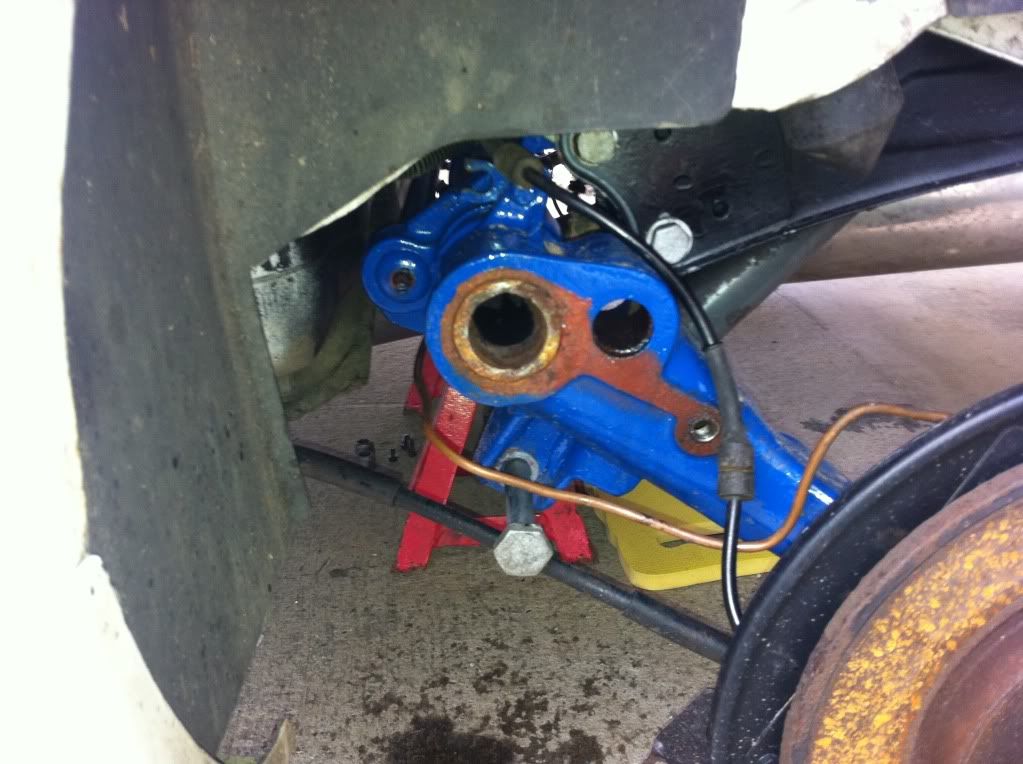
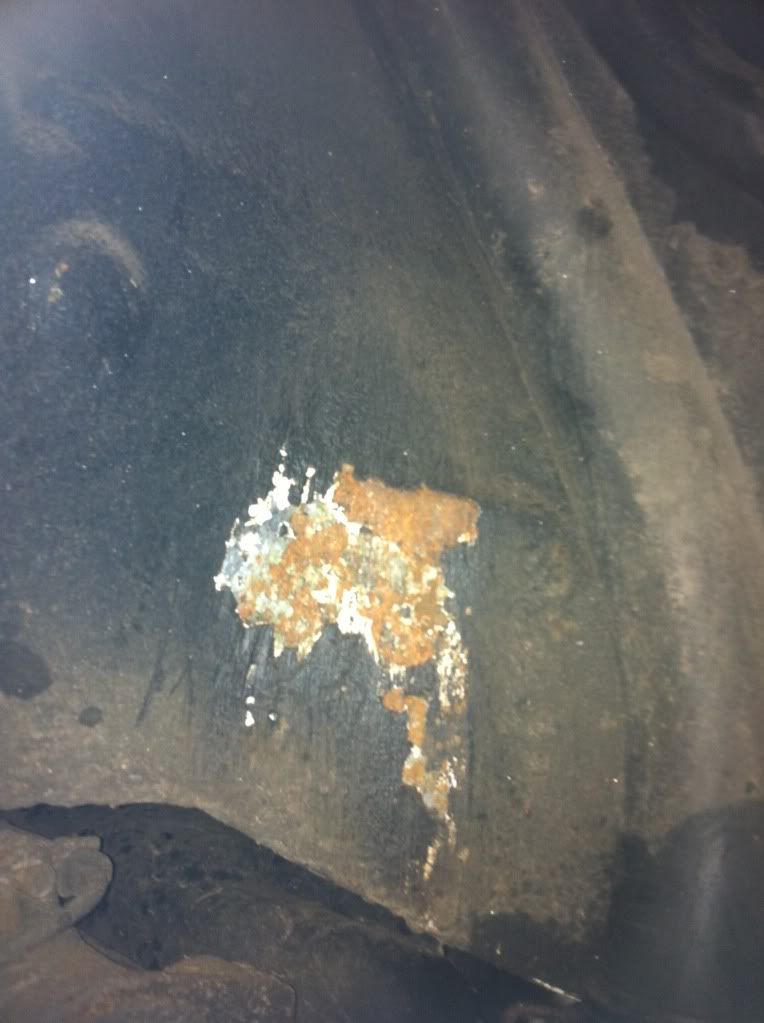
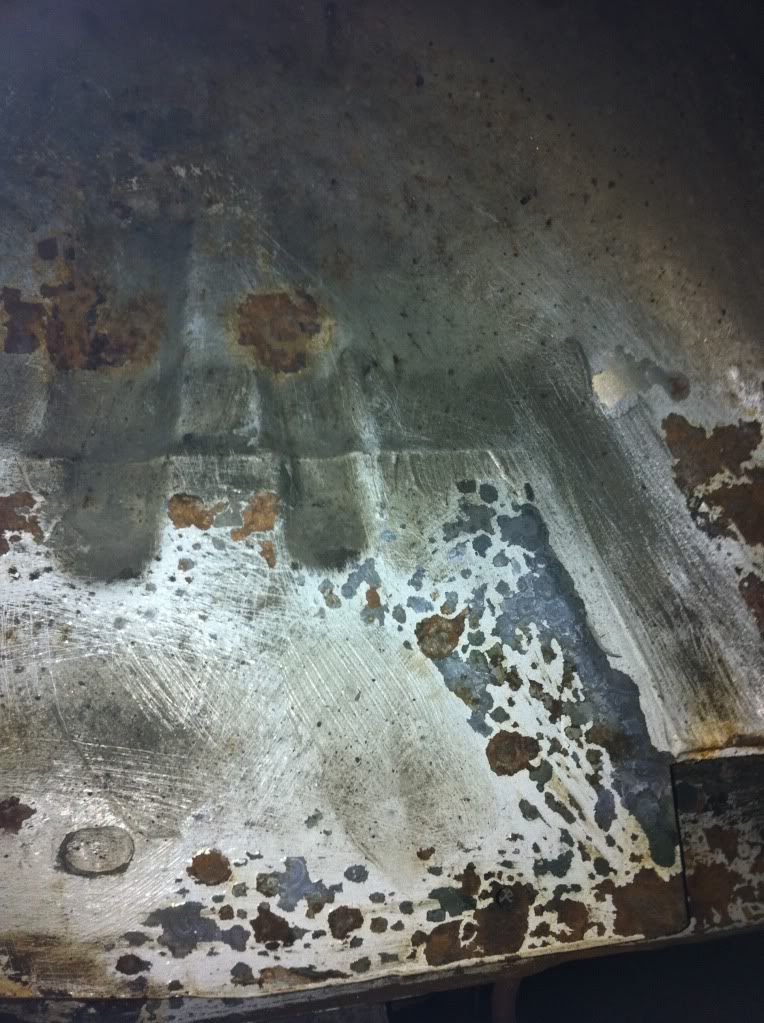
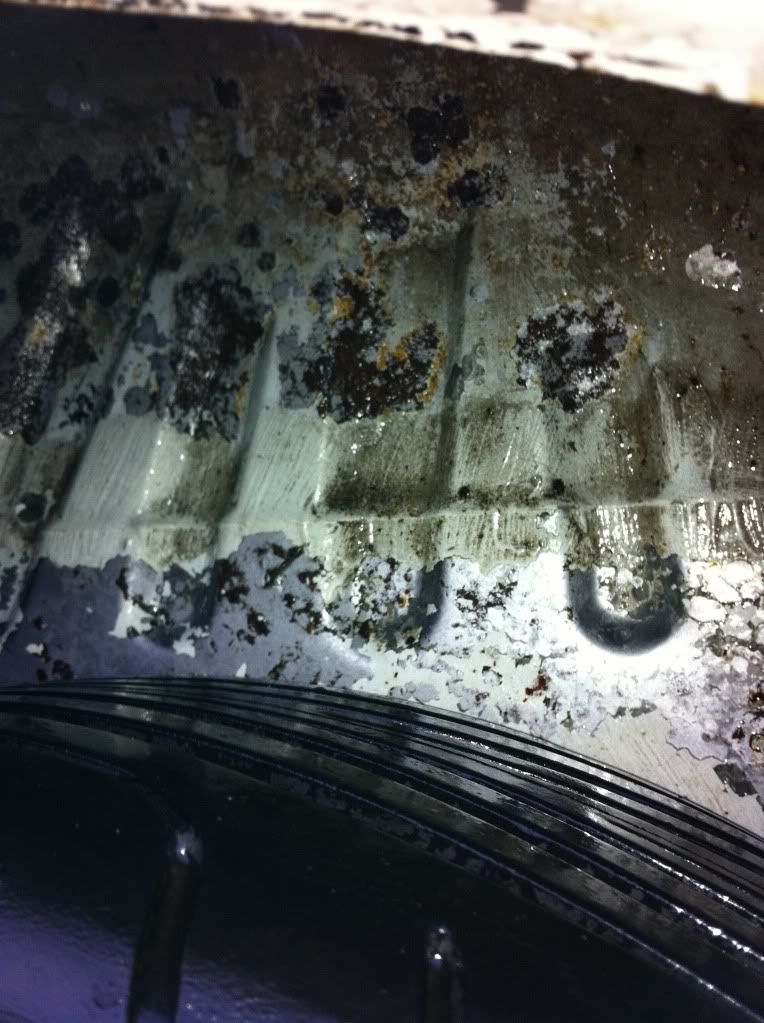
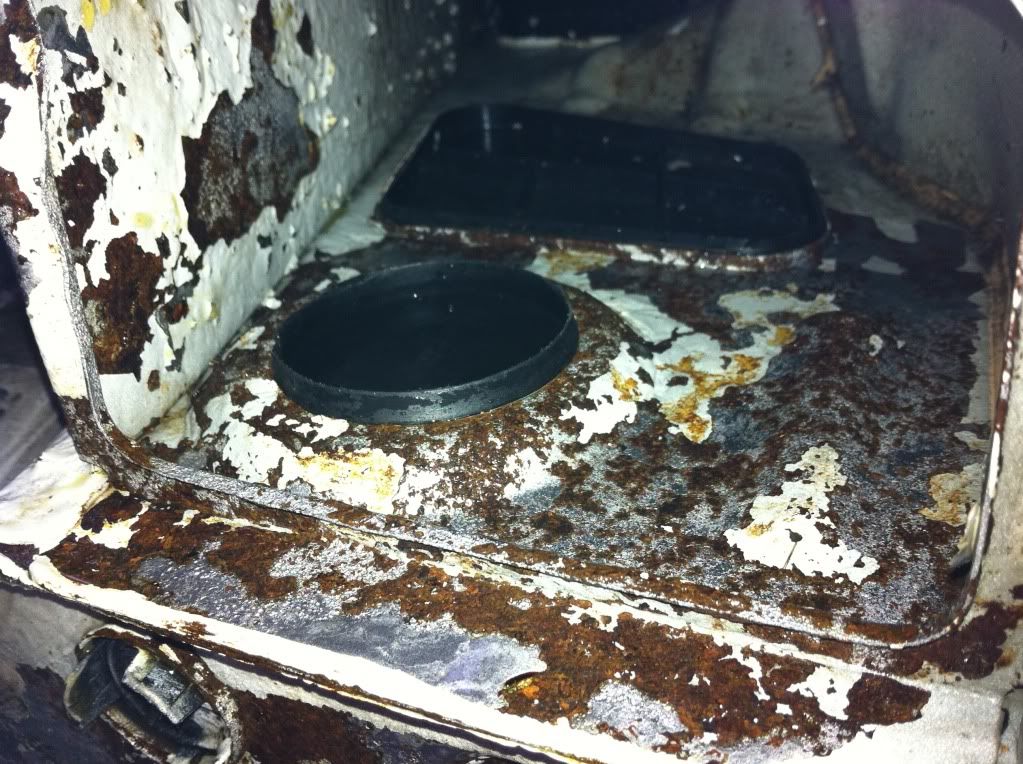
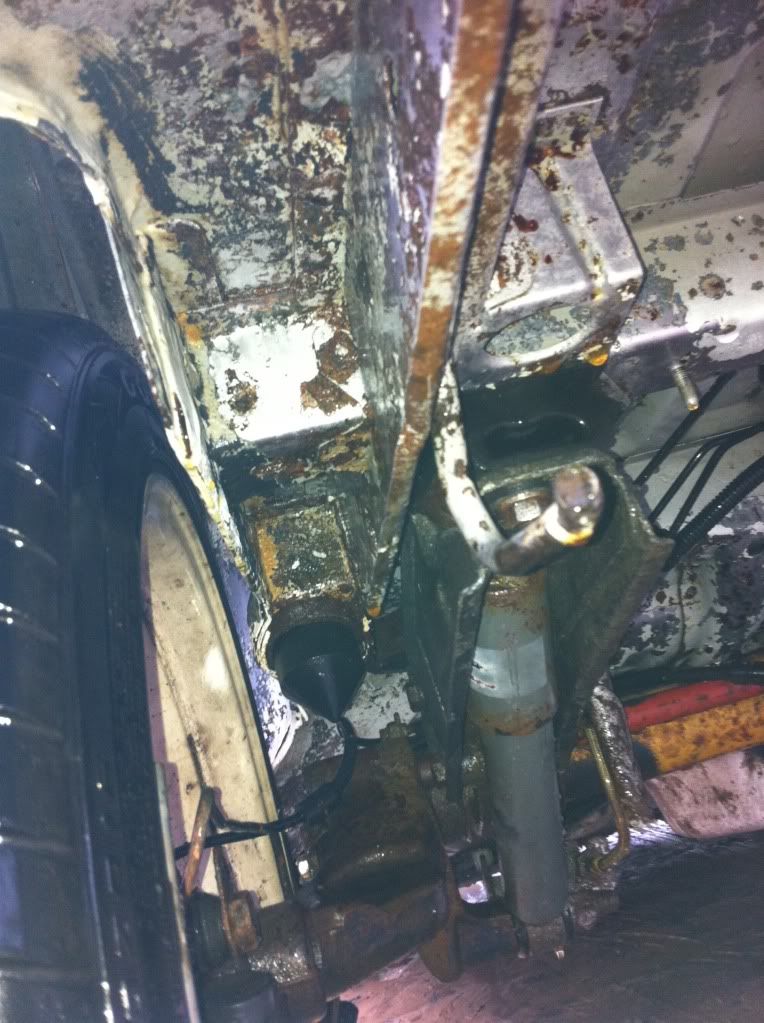
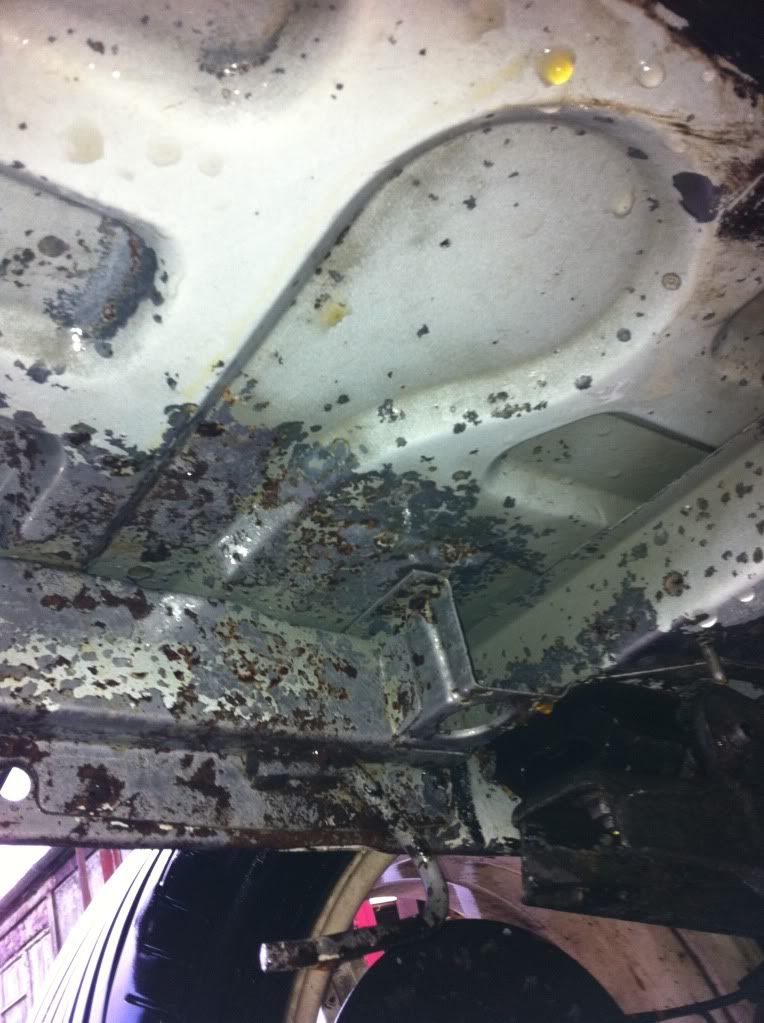
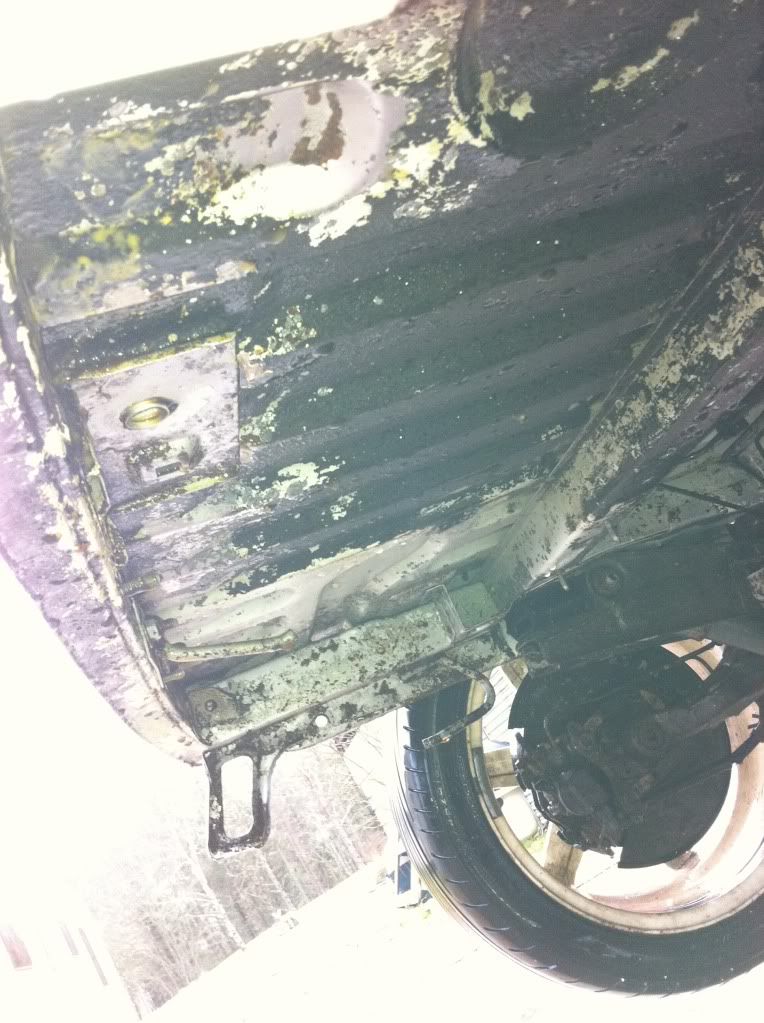
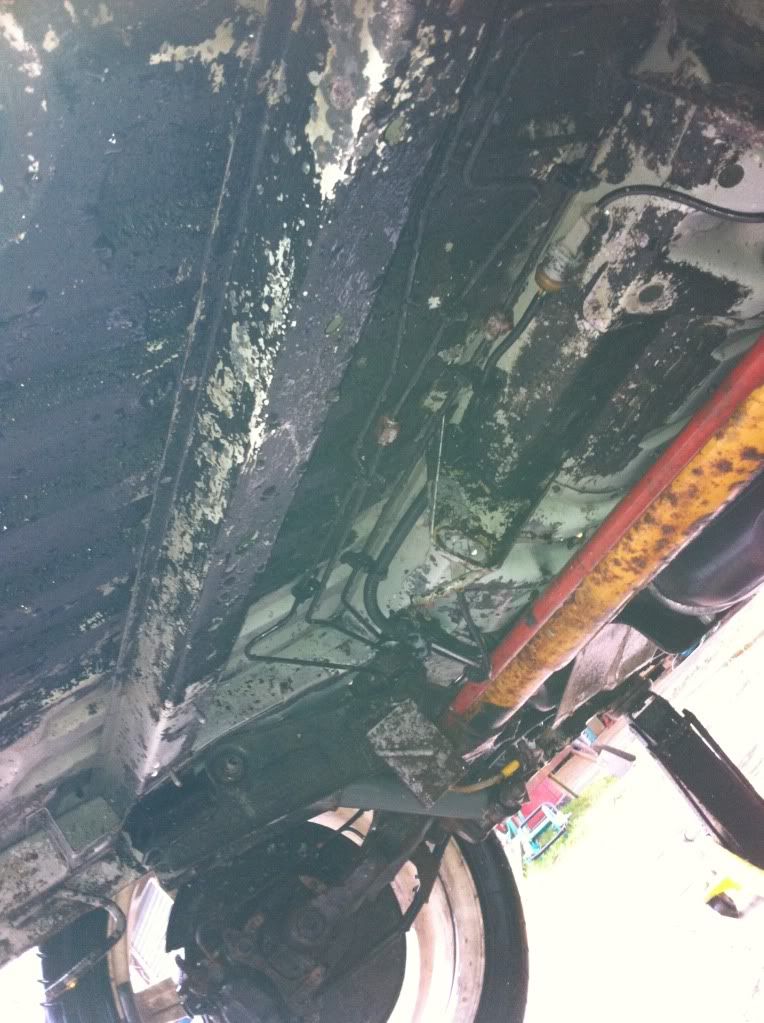
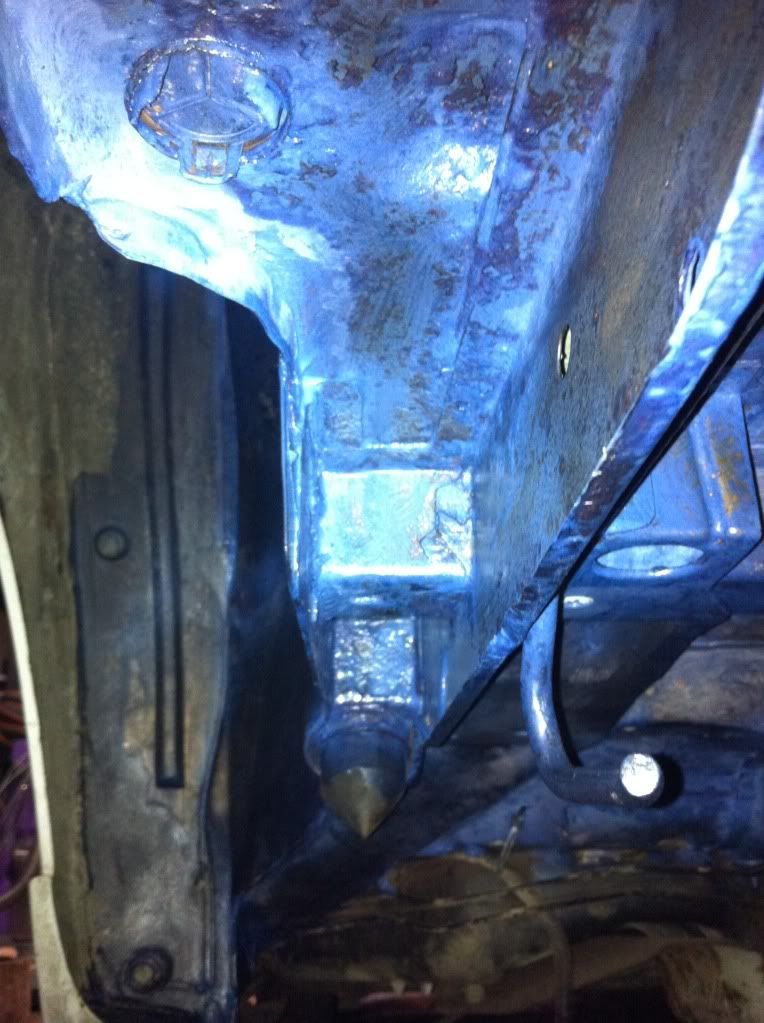
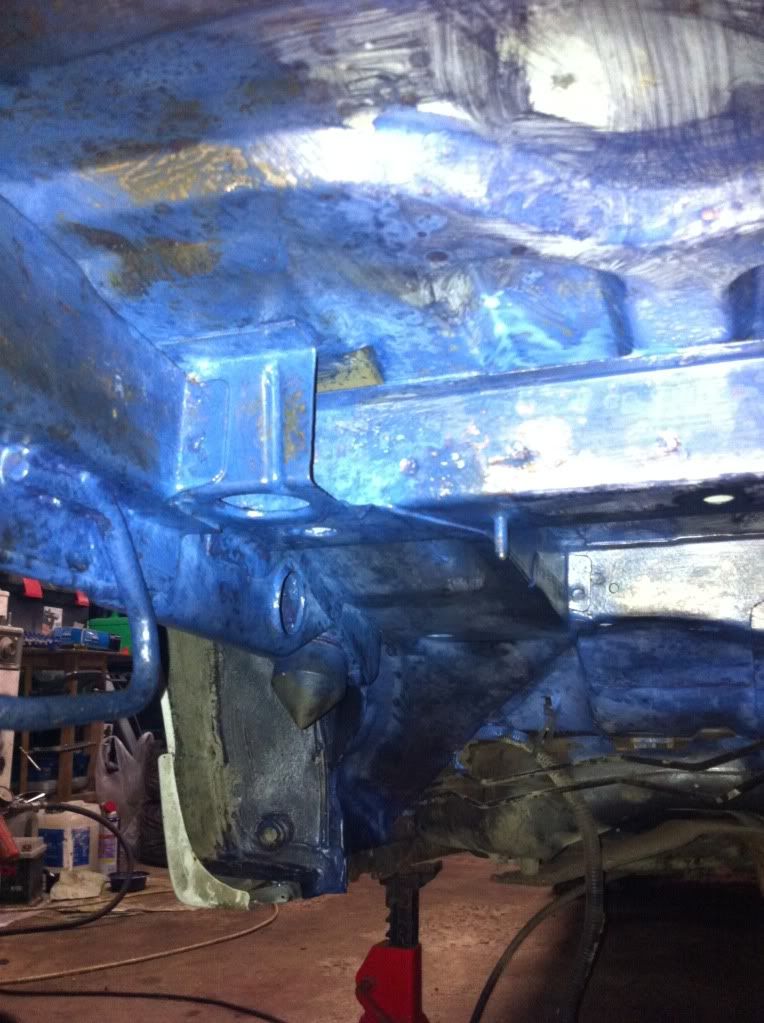
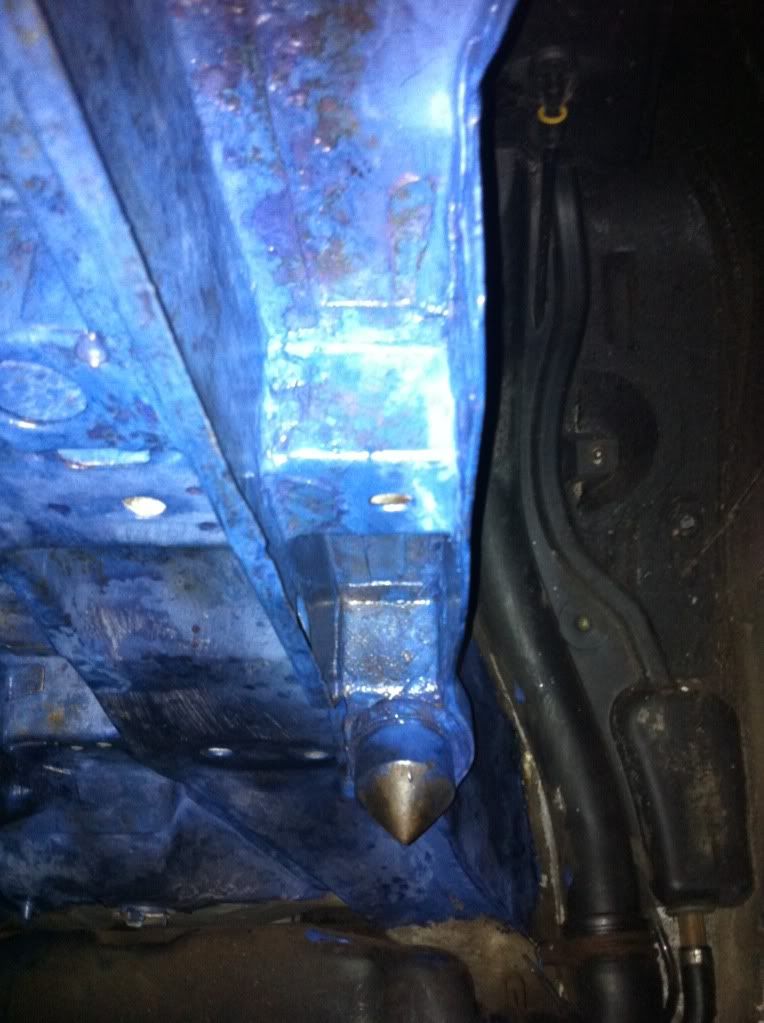
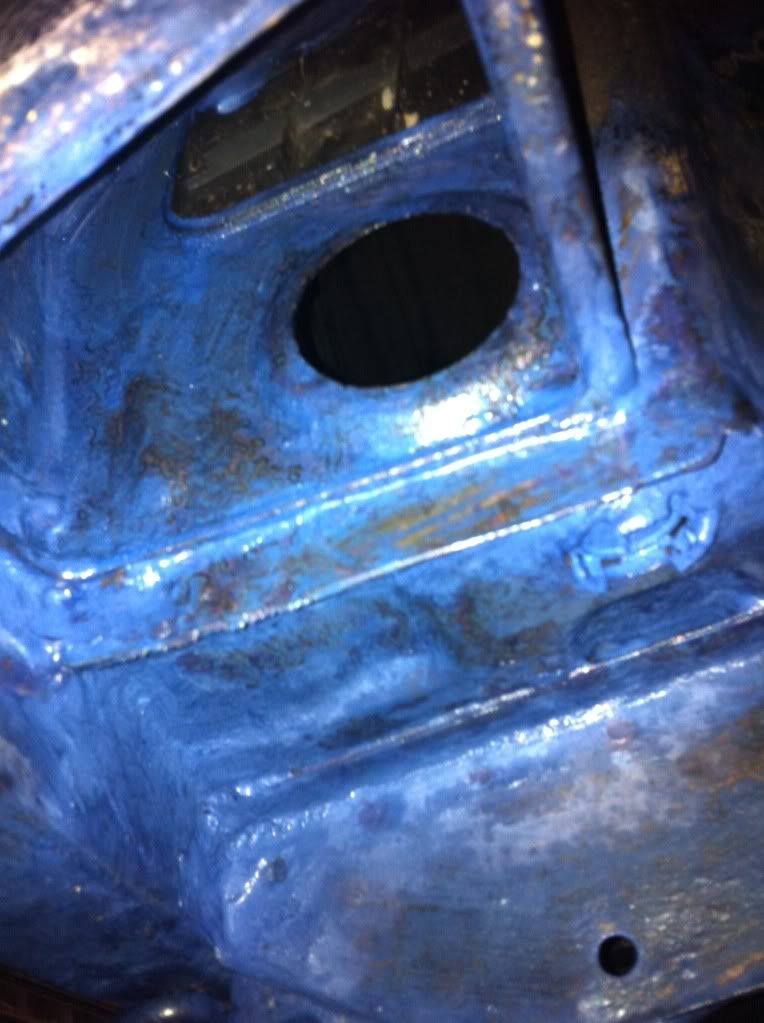
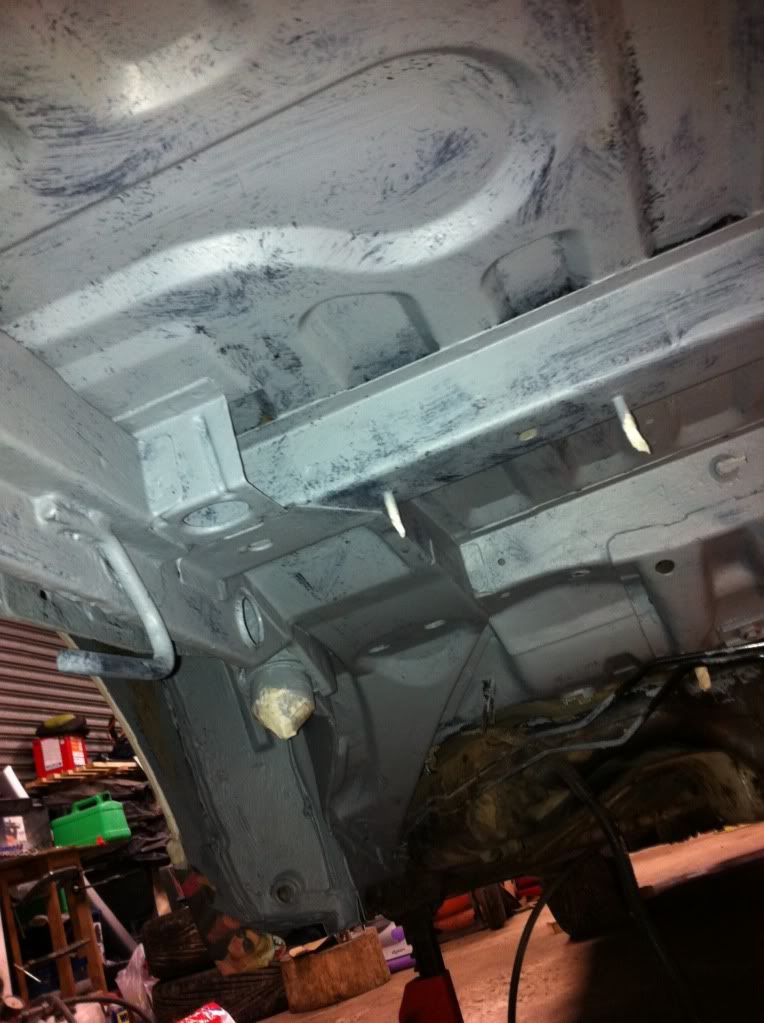
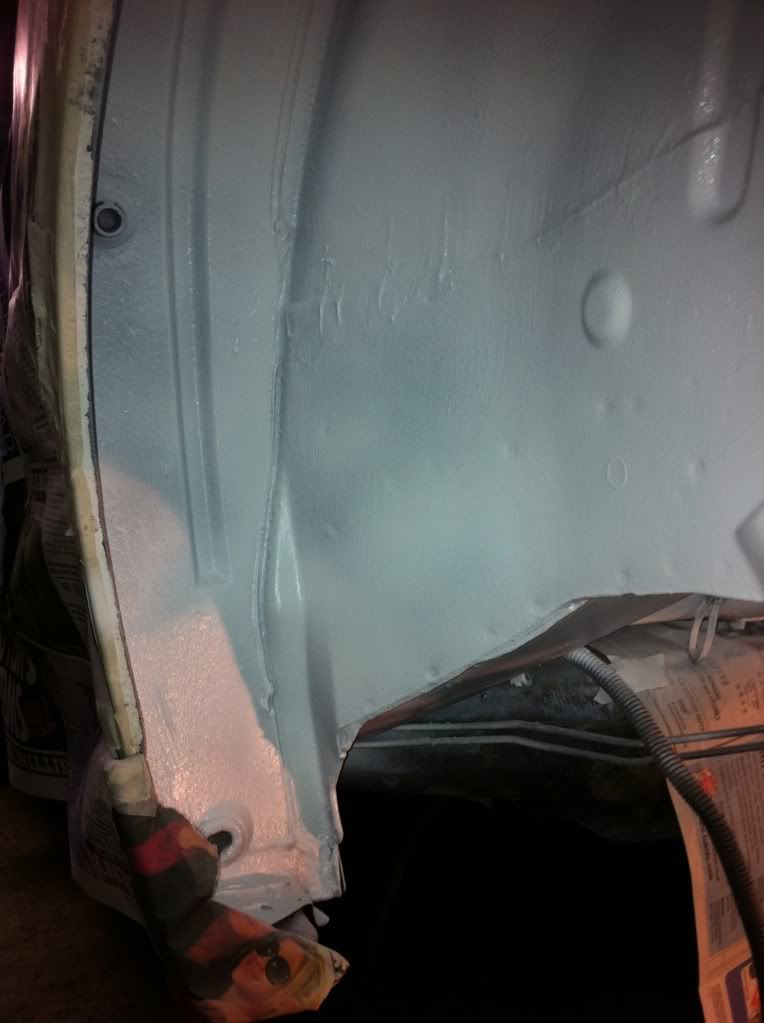
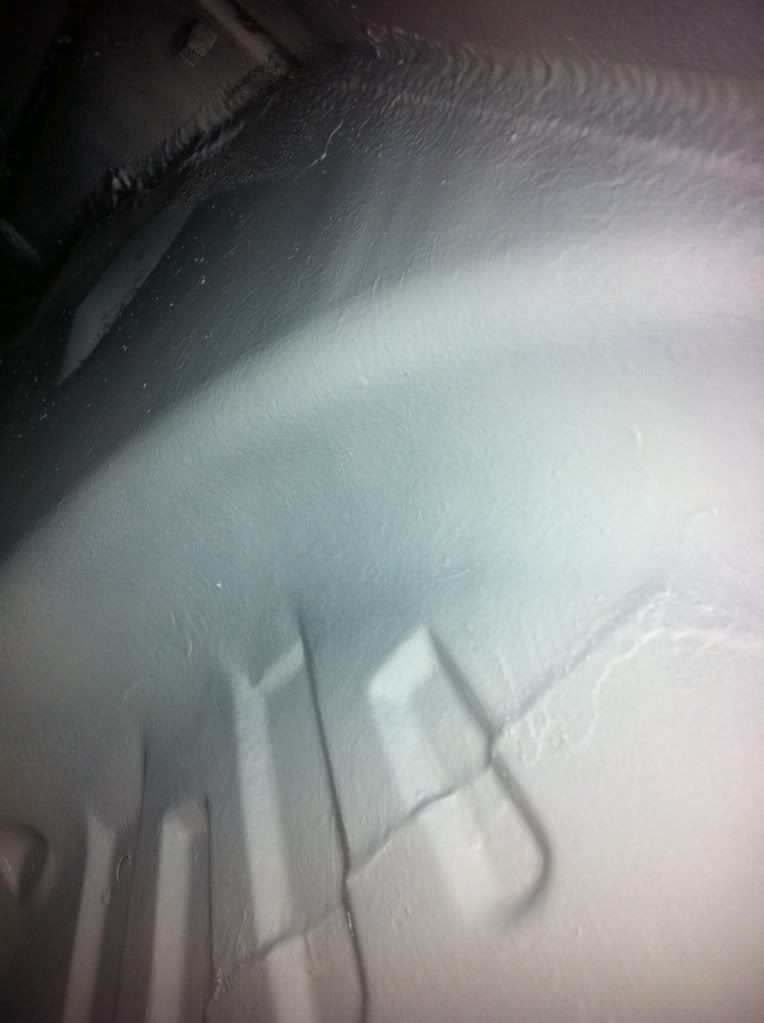
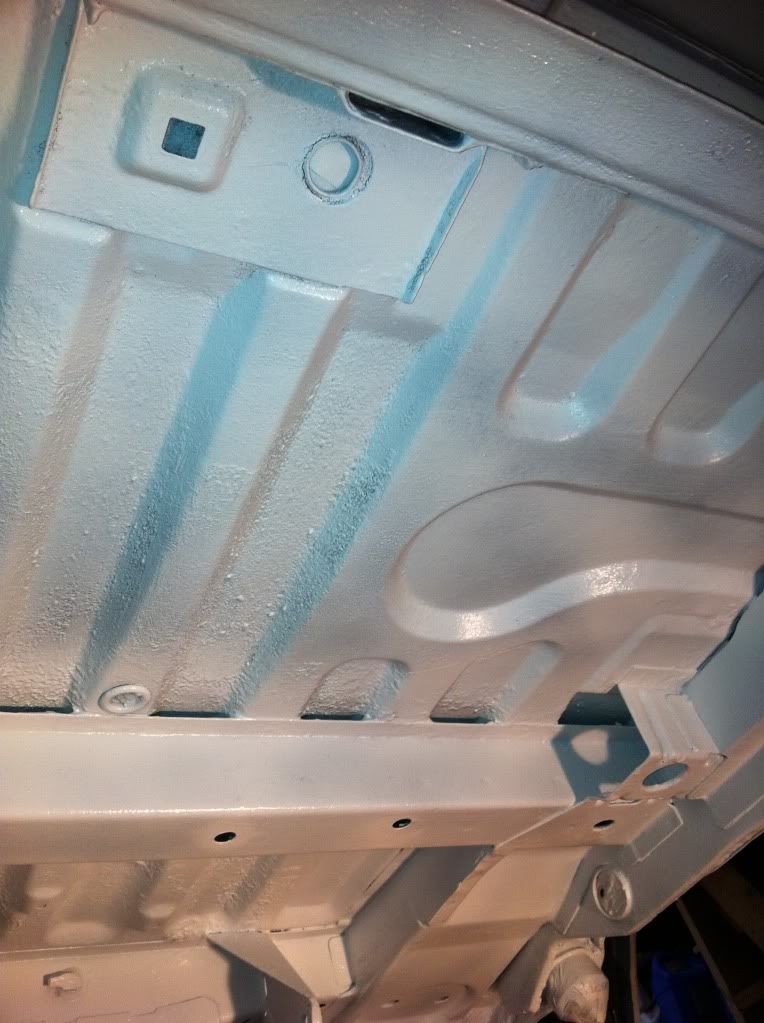
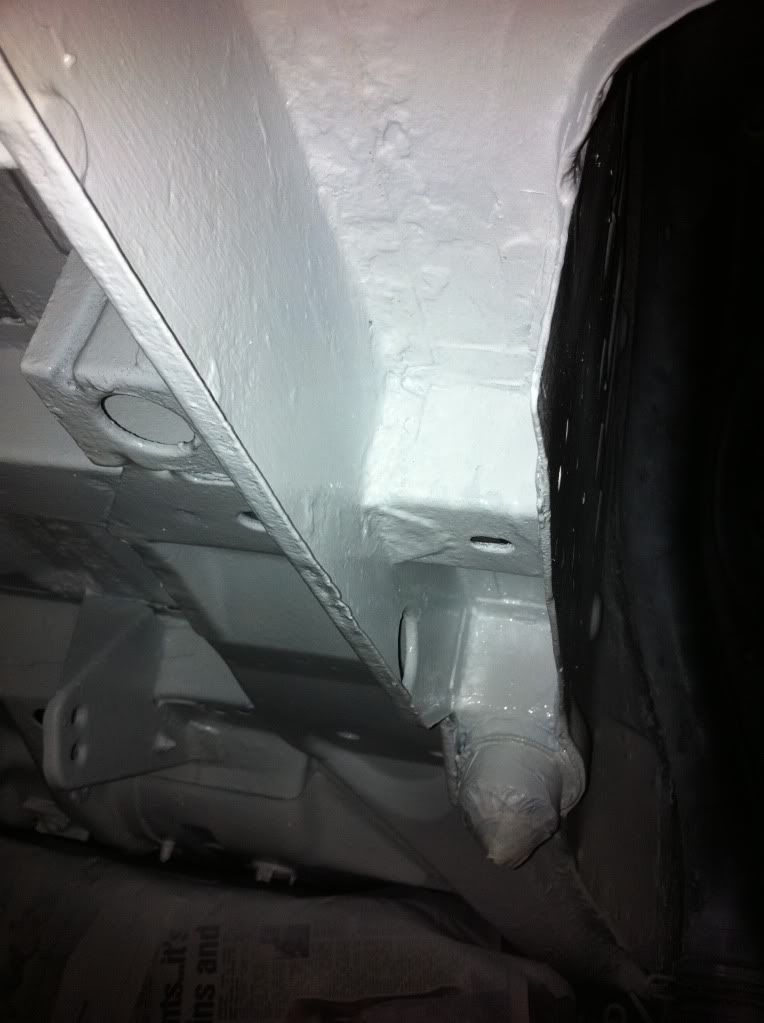
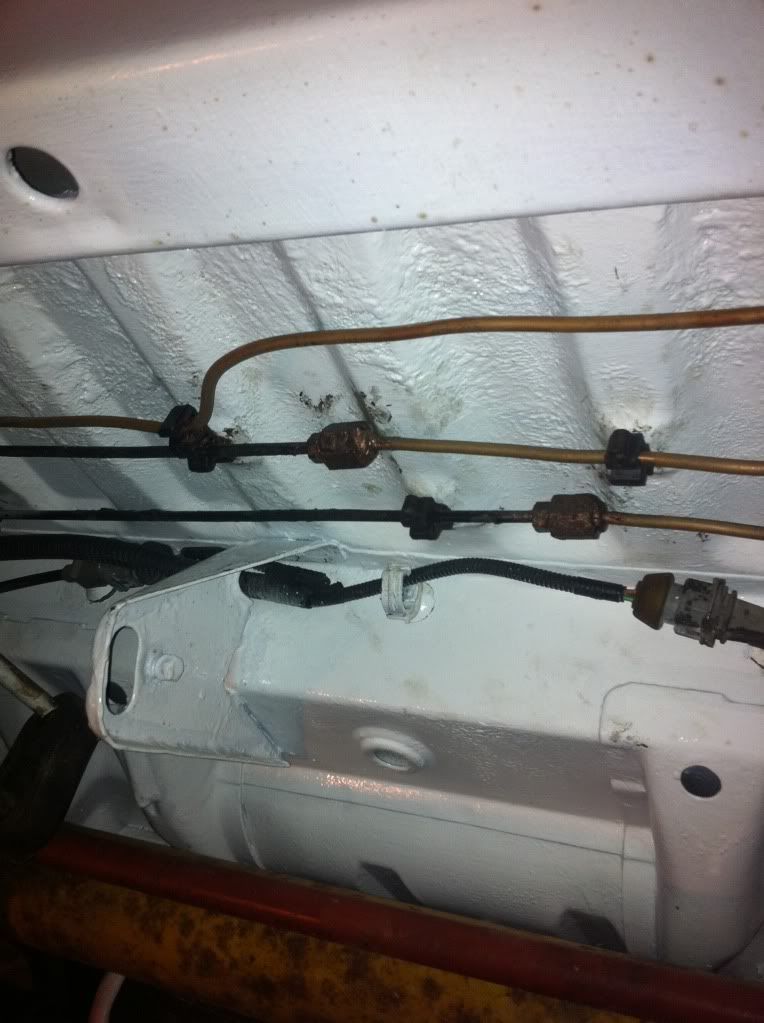
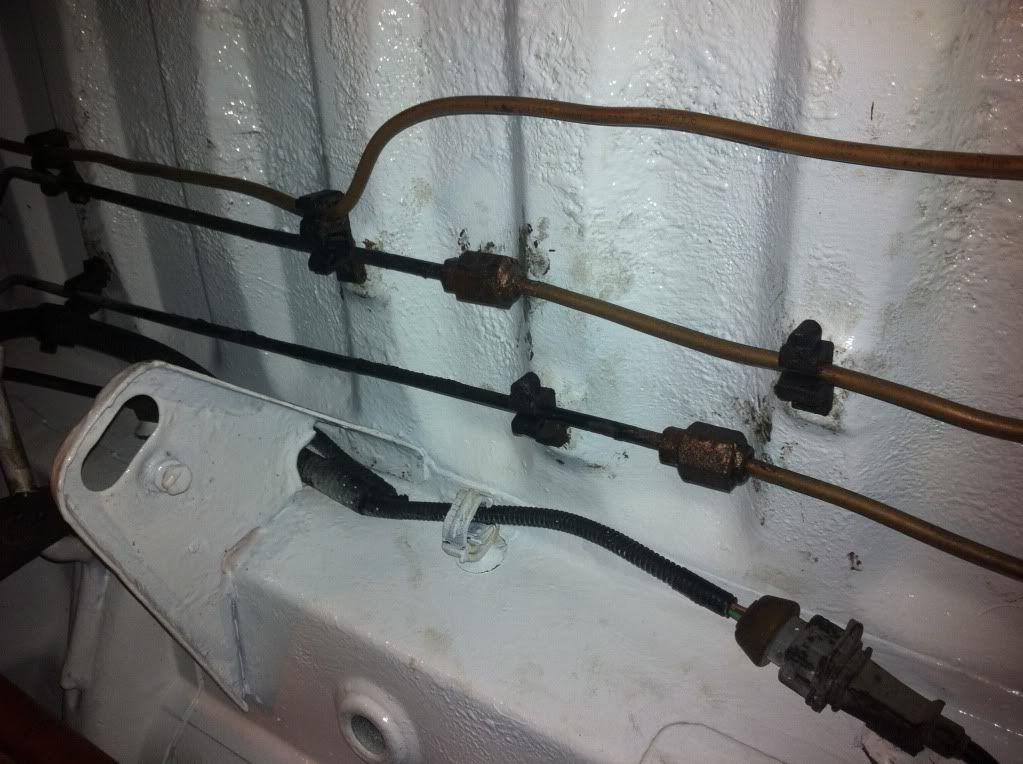
Had 4 inch grinder with wire brush on standby, along with small handheld air grinder and various attachments, also used compressed air for blastings loose bits off. These first pictures were after a wee poke about with wire brush. Really looked bad...
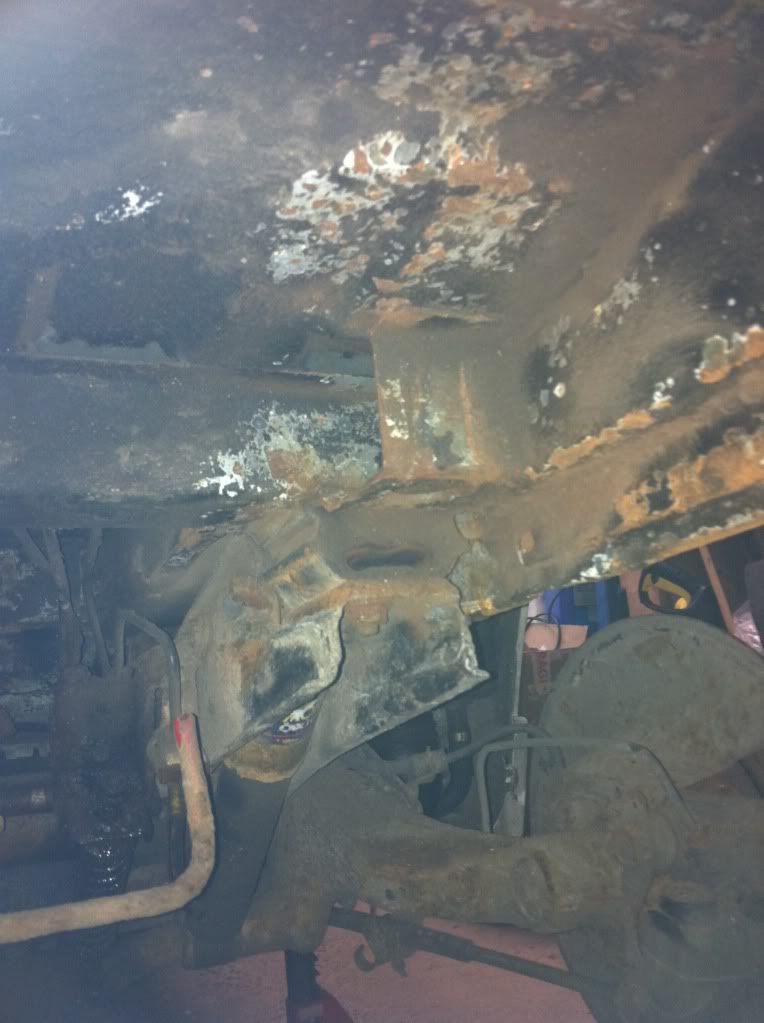
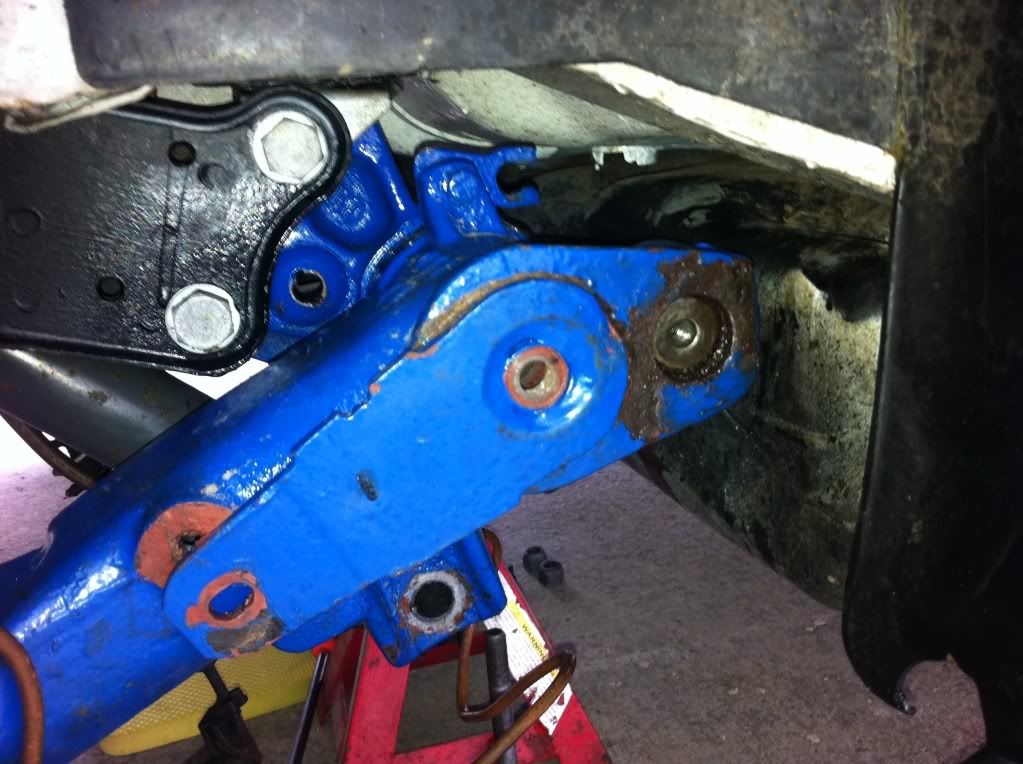
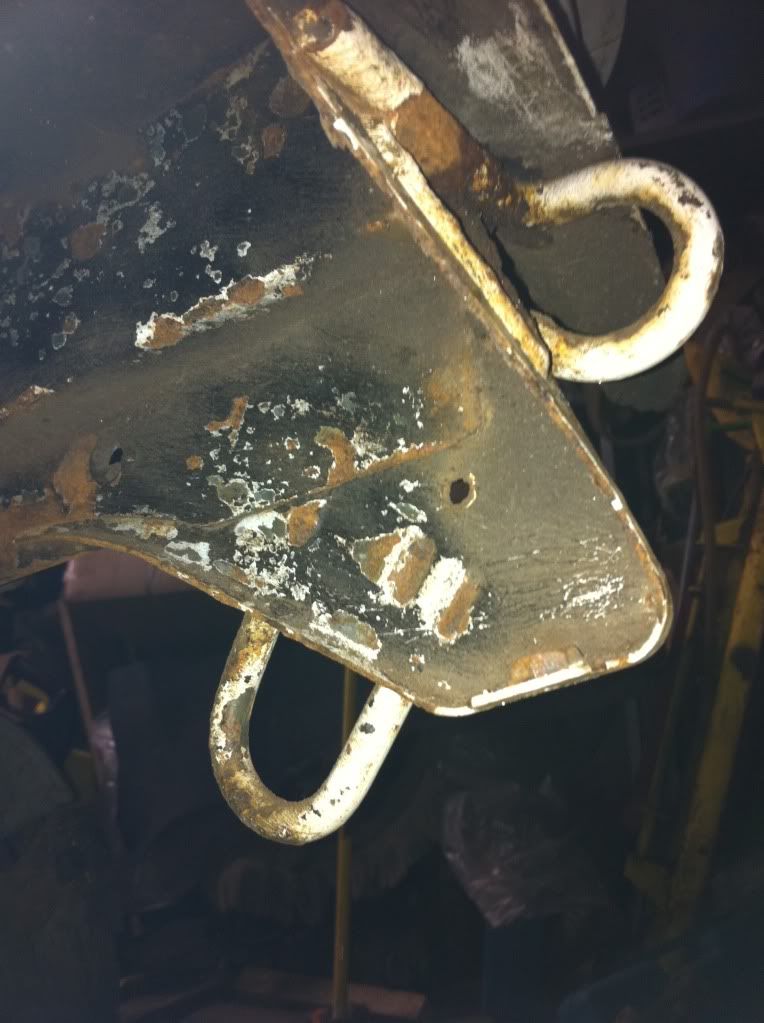
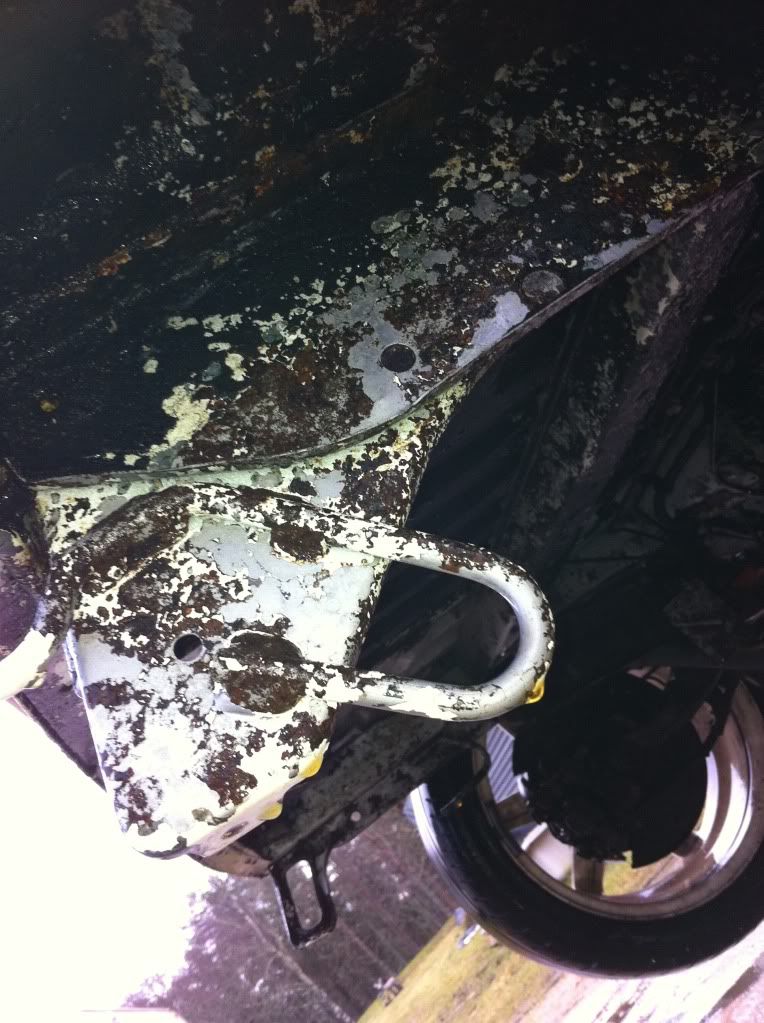
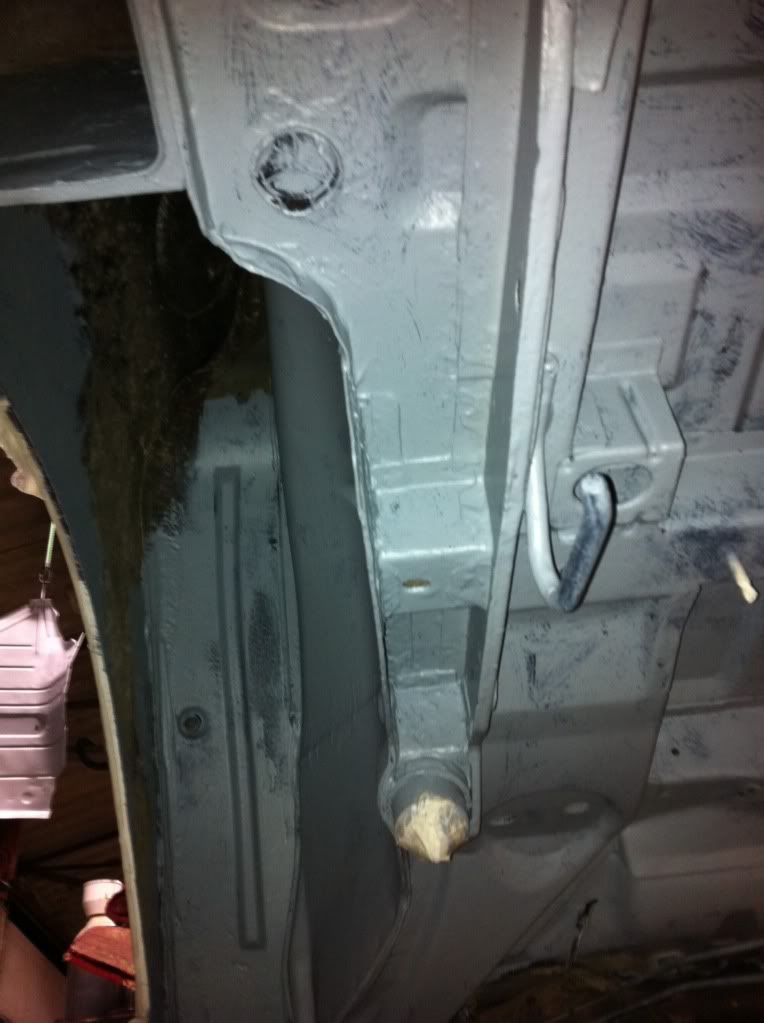
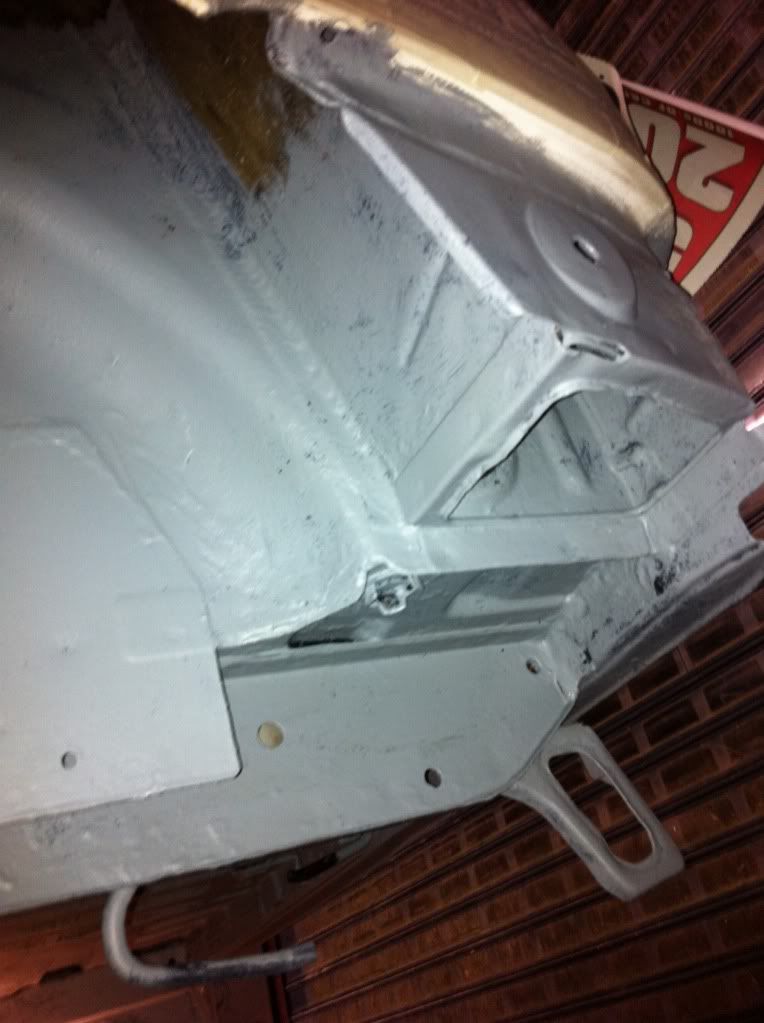
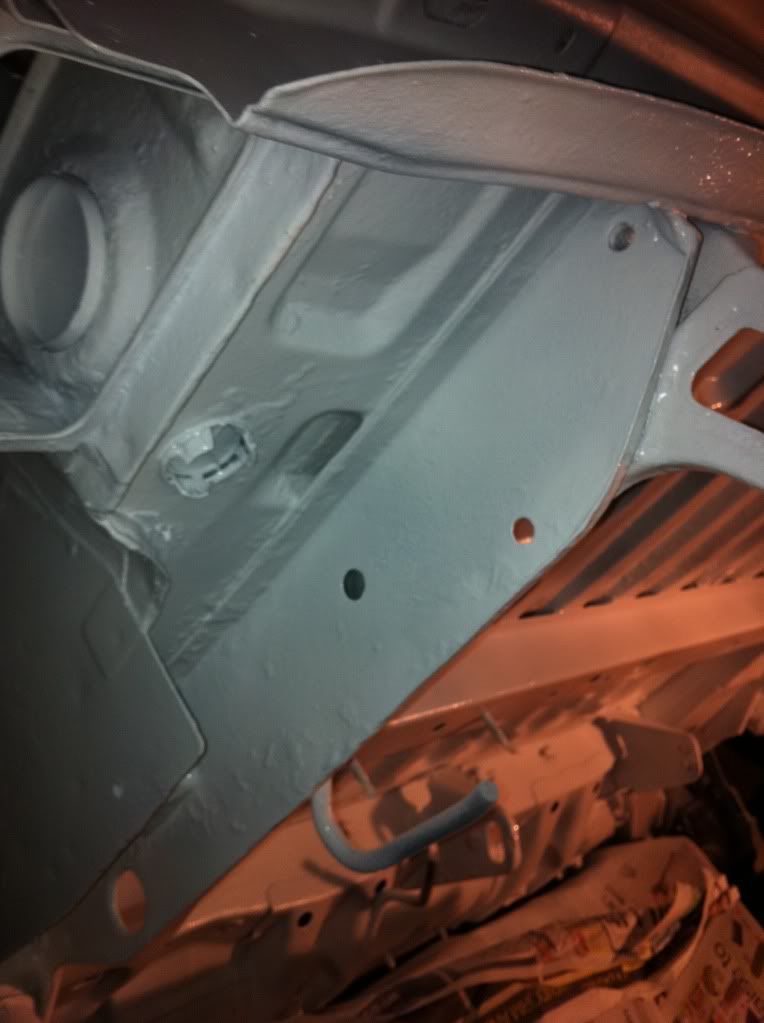
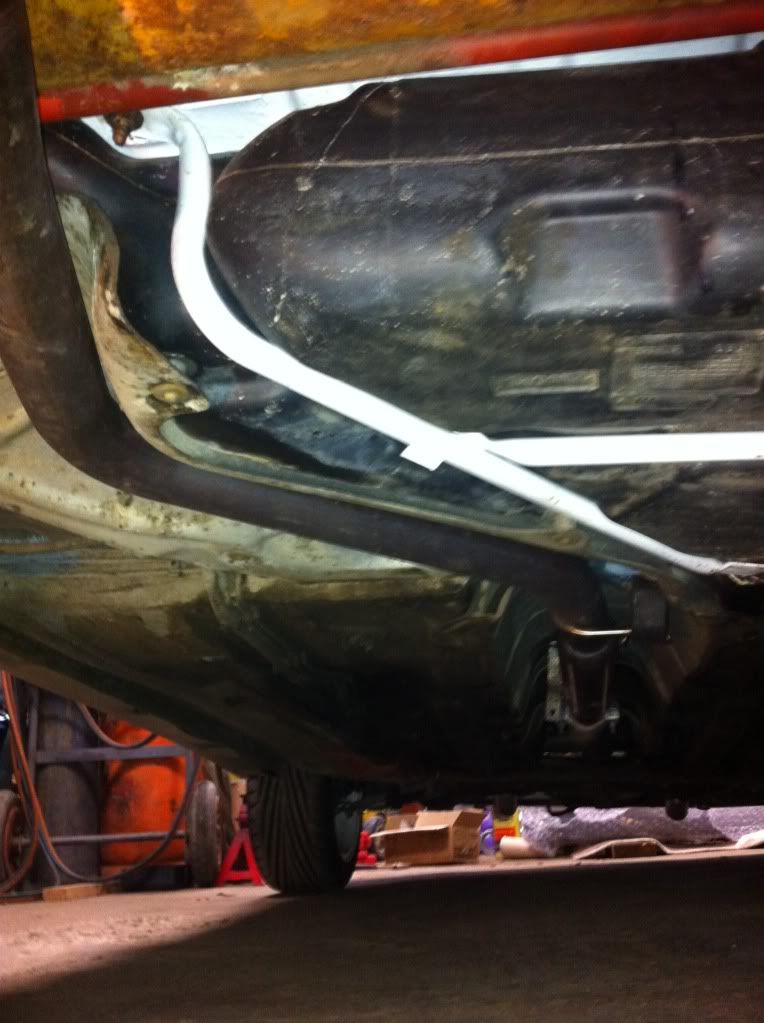
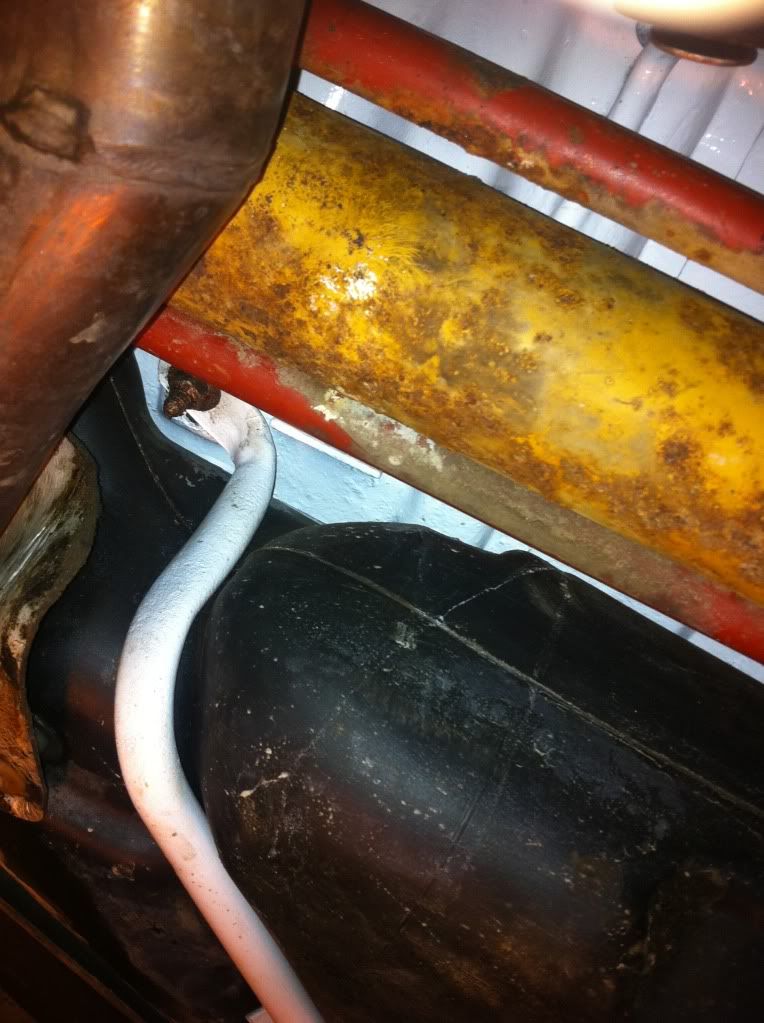
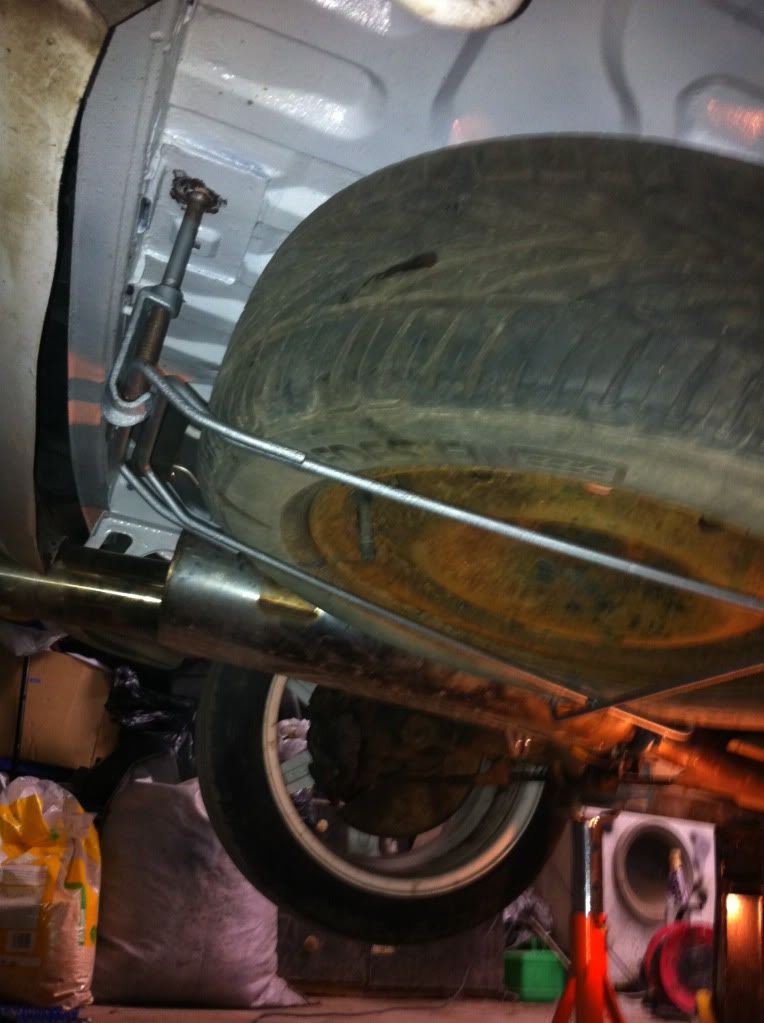
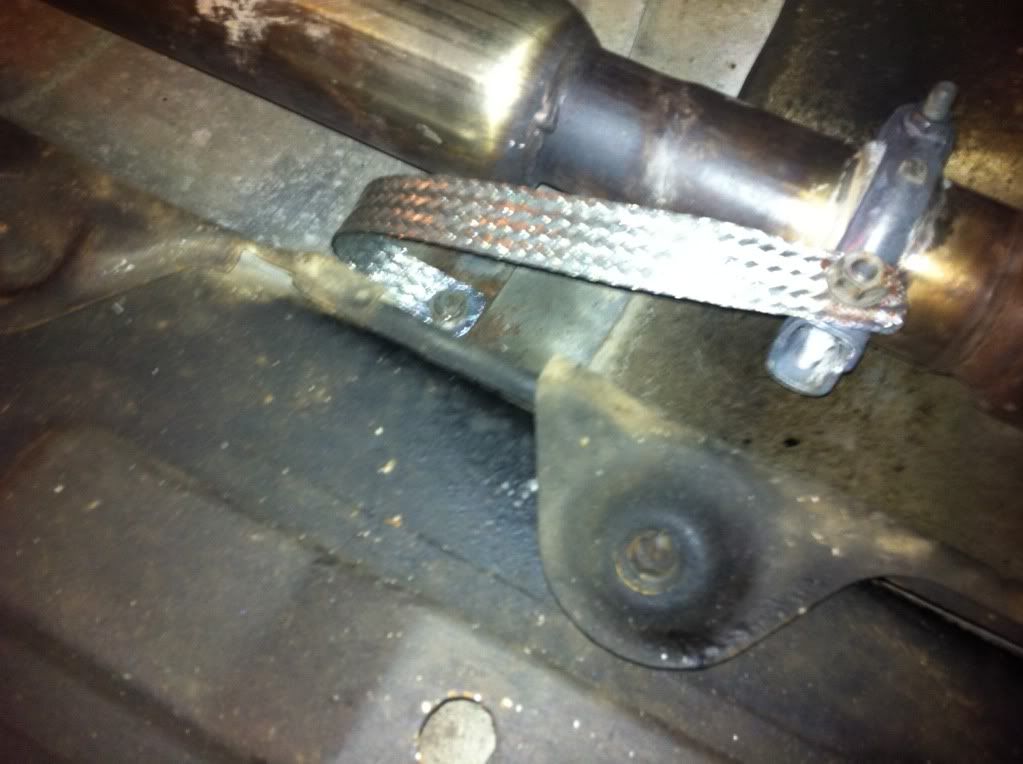
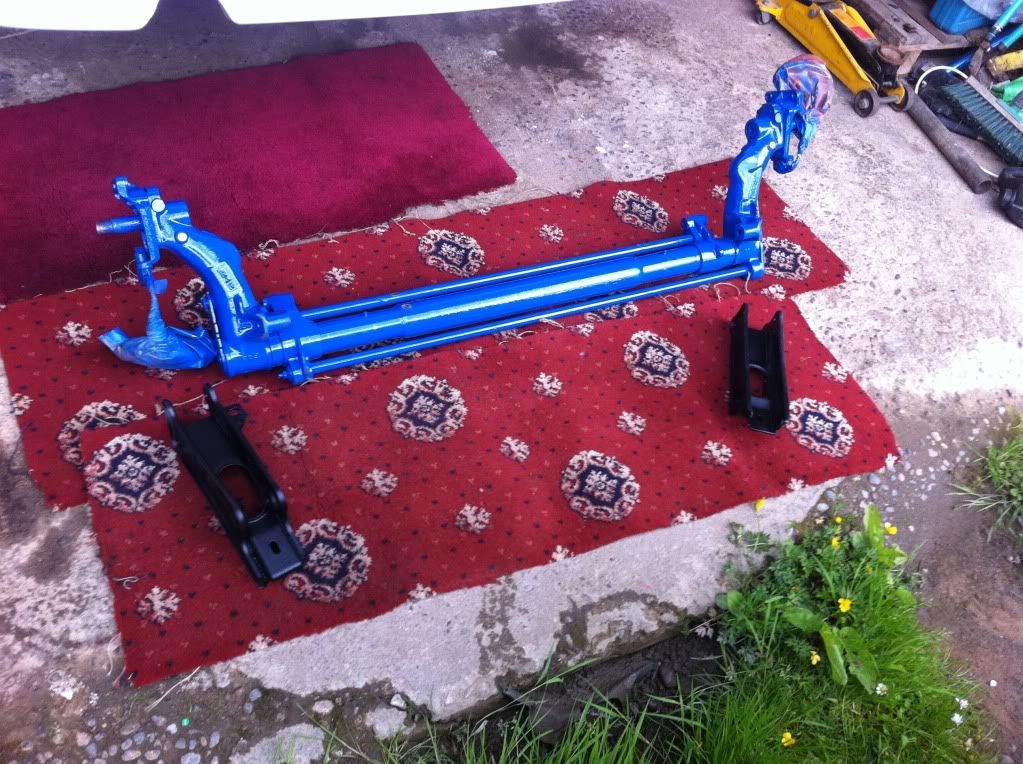
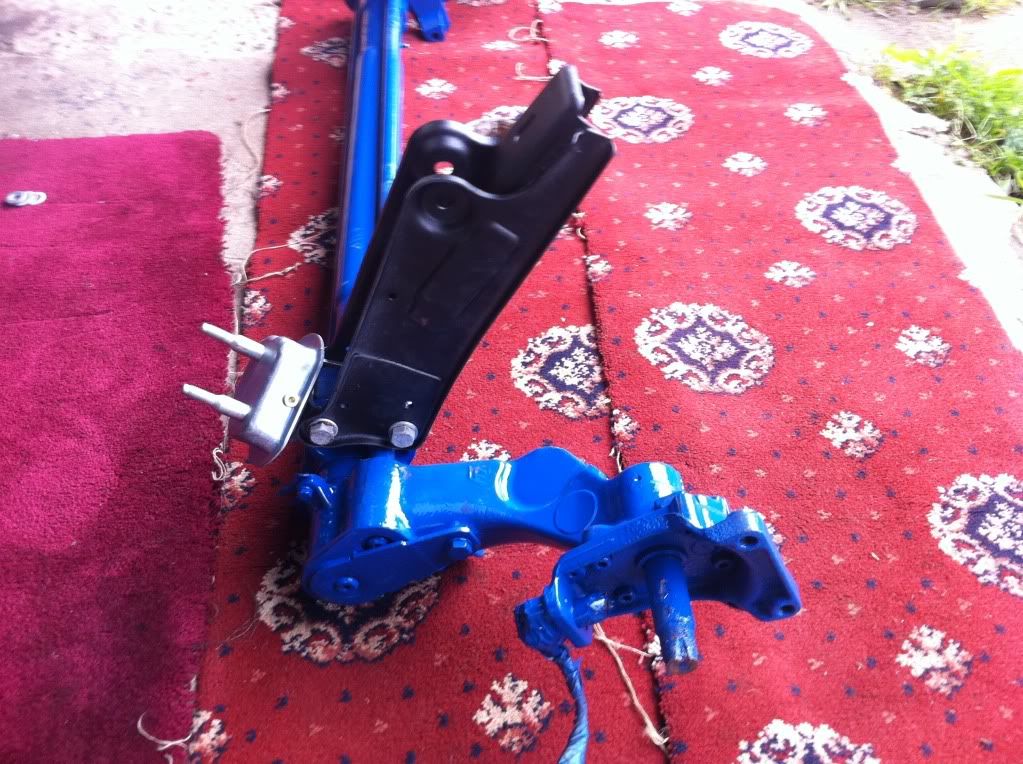
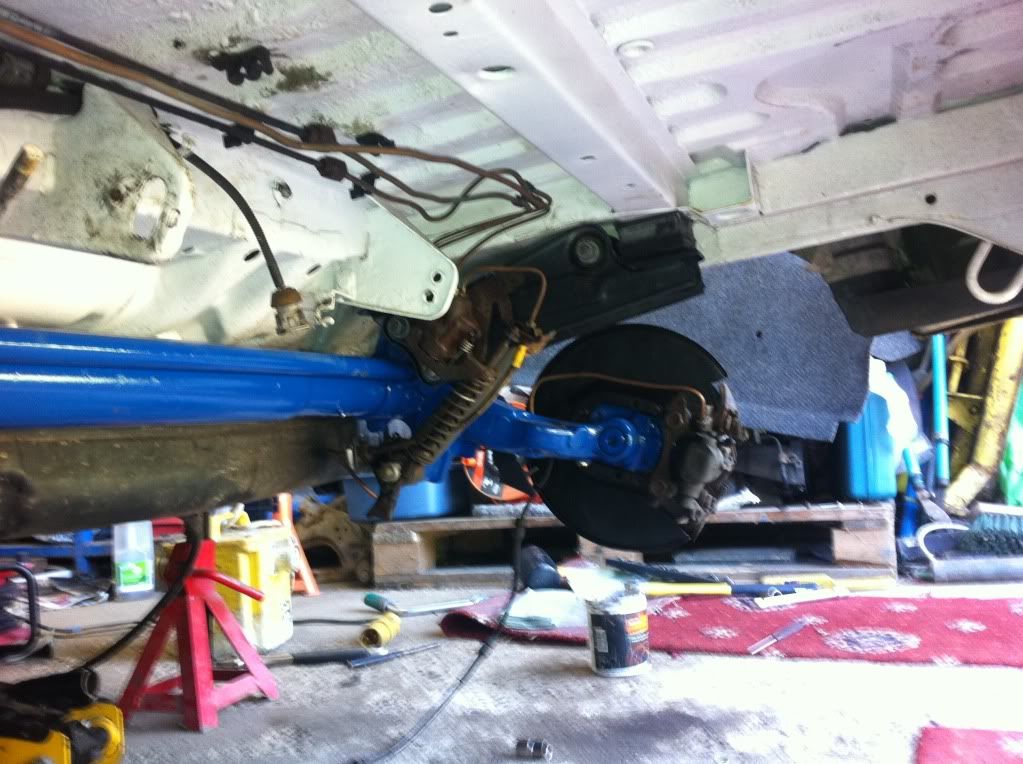
This bracket got damaged and bent pretty badly 2/3 years ago when a taxi decided to try and push me out a junction. It needed straightened to say least

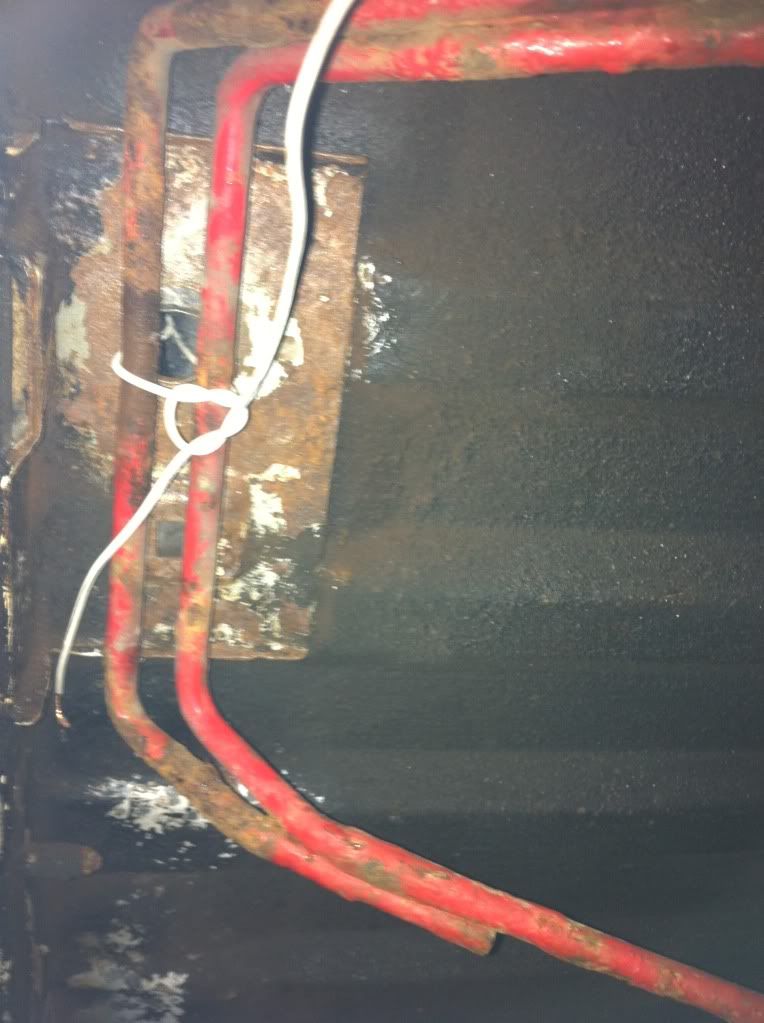
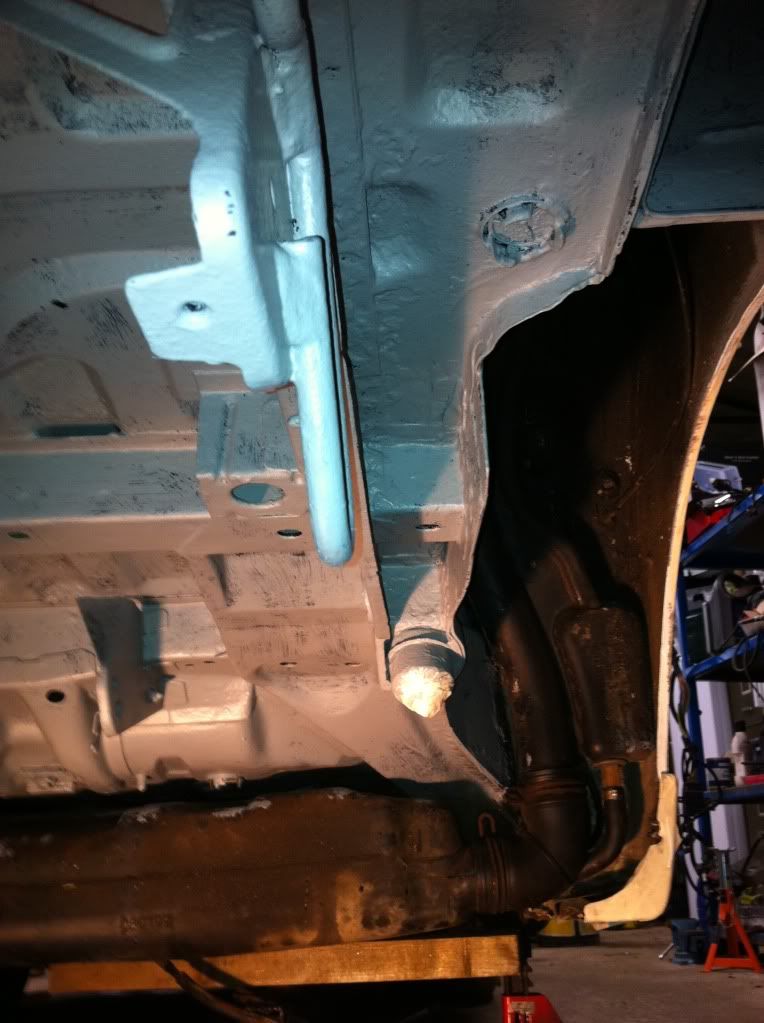
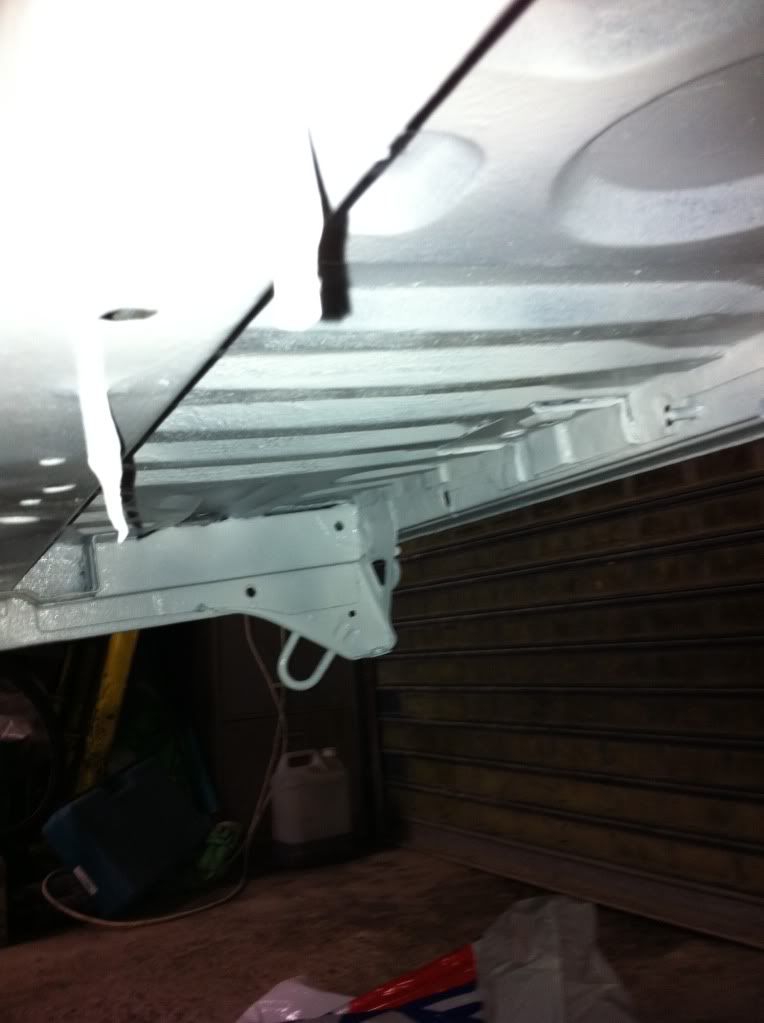
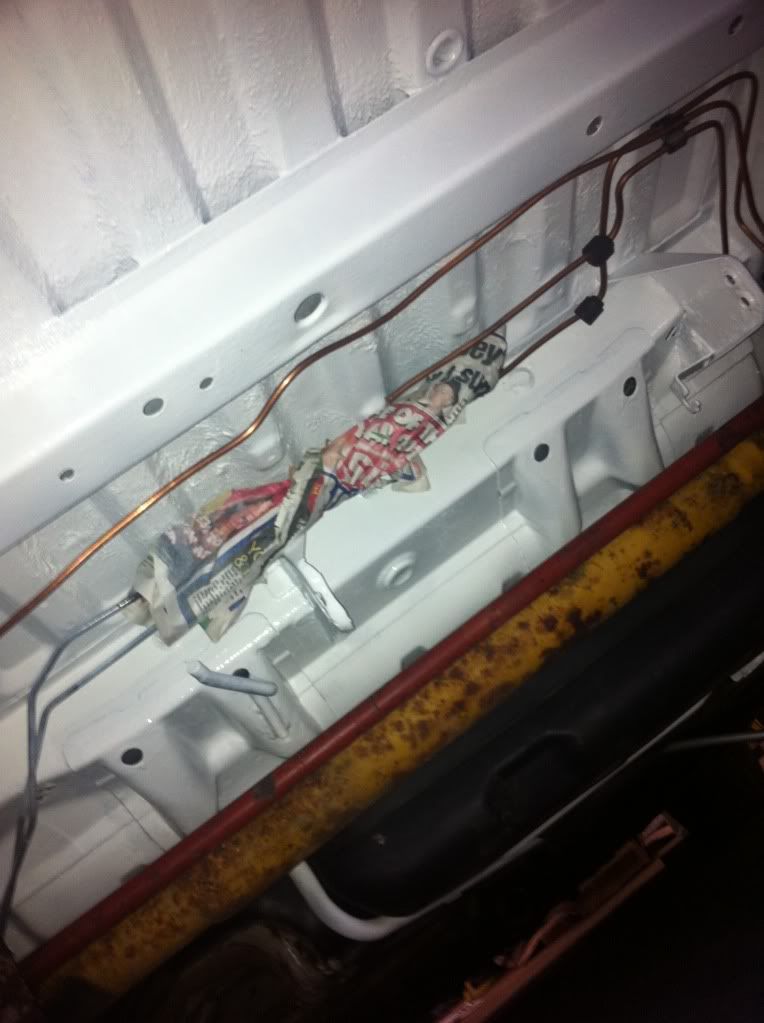
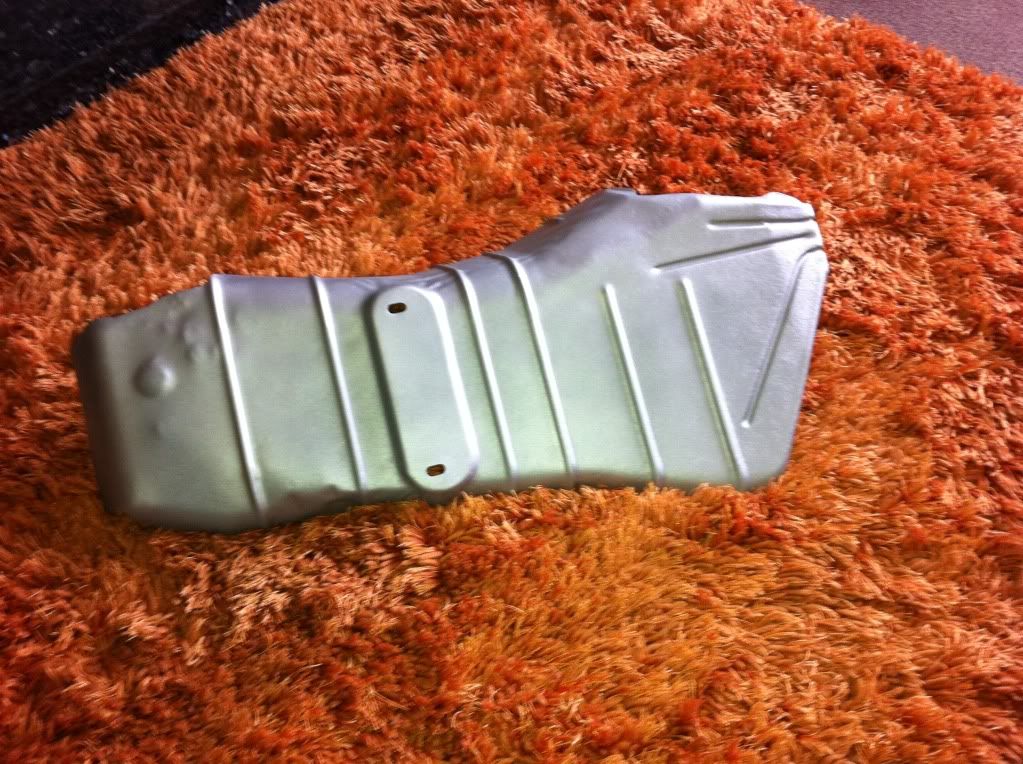
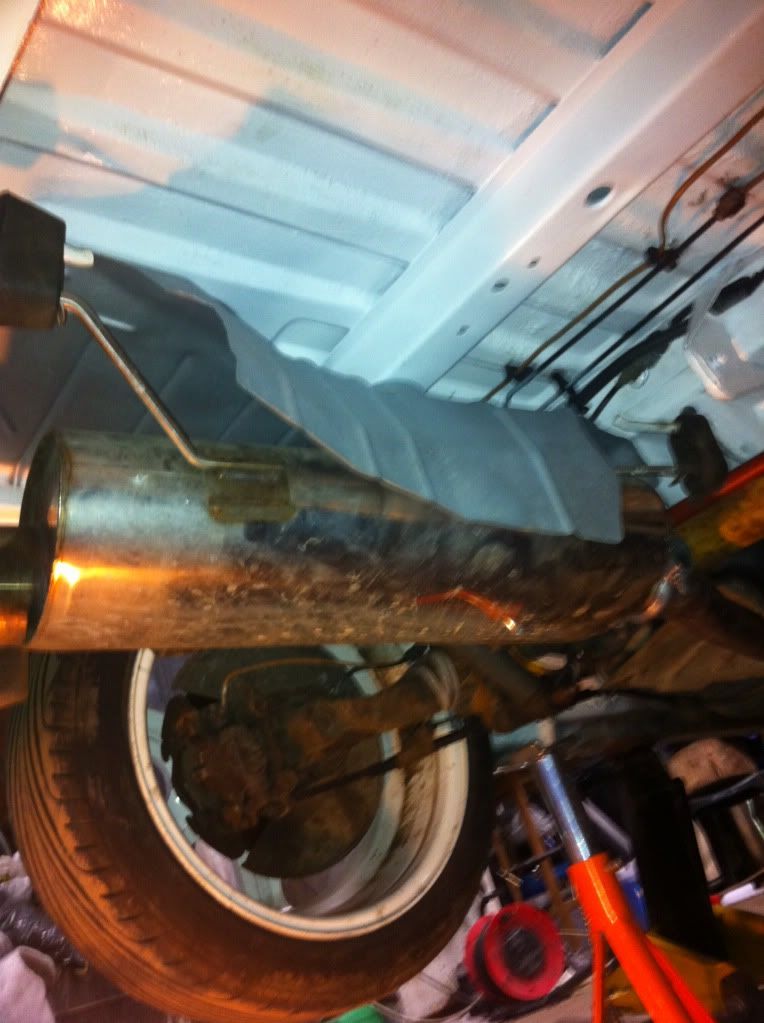
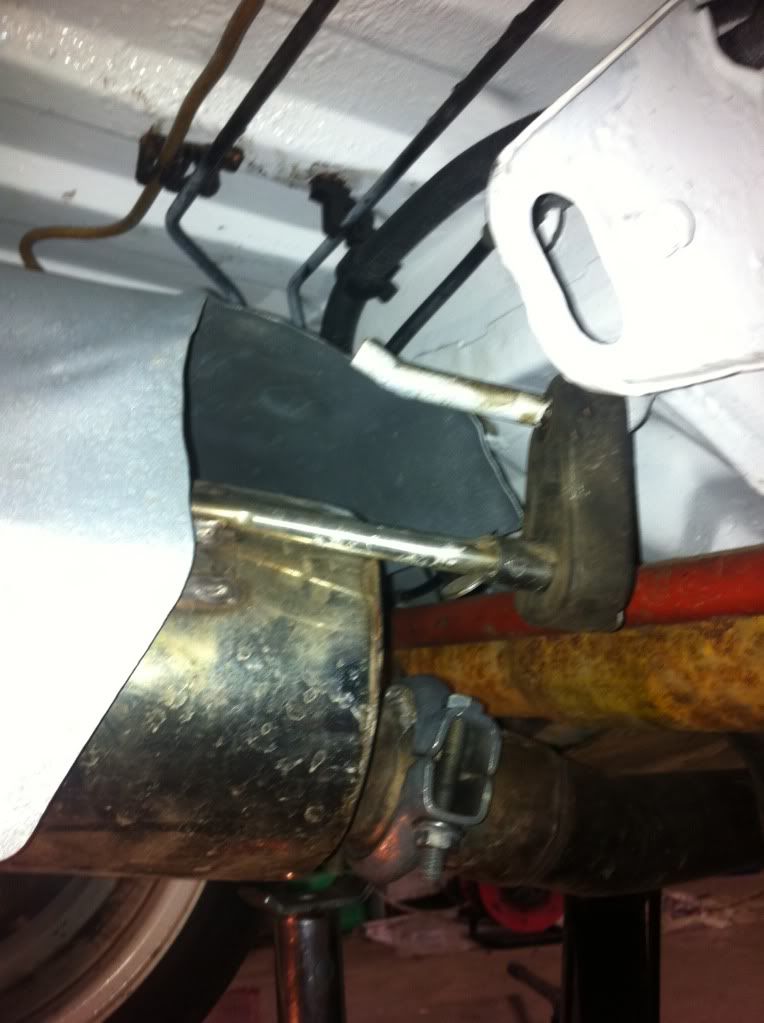
Exhaust heat shield before it got sand blasted


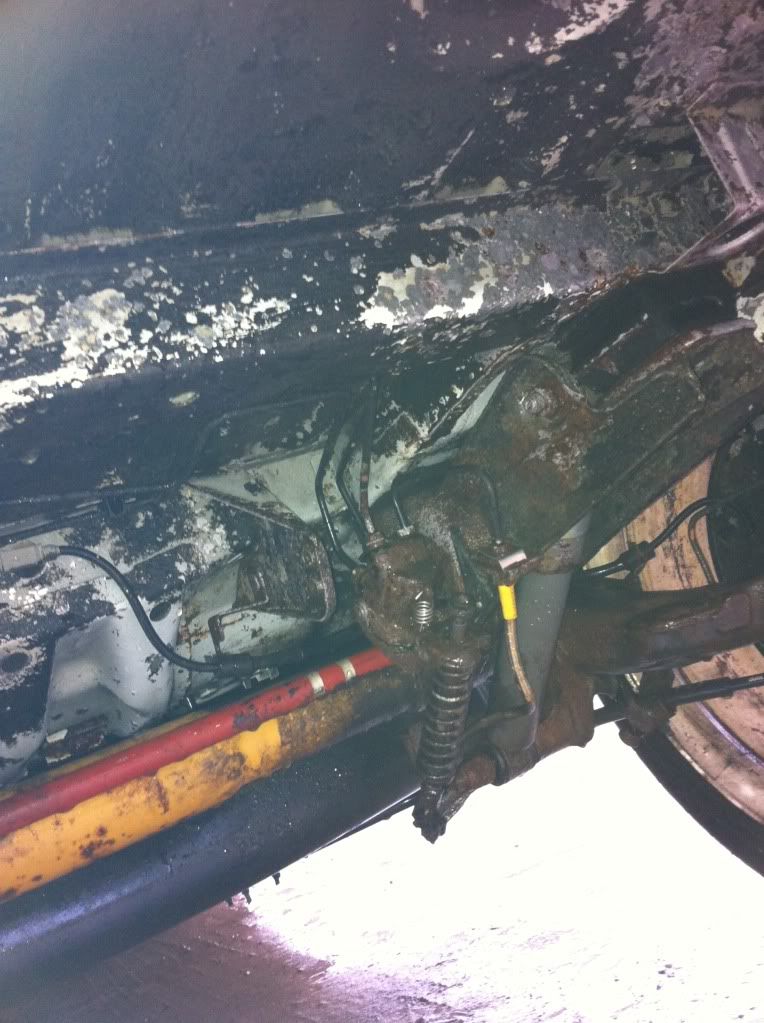
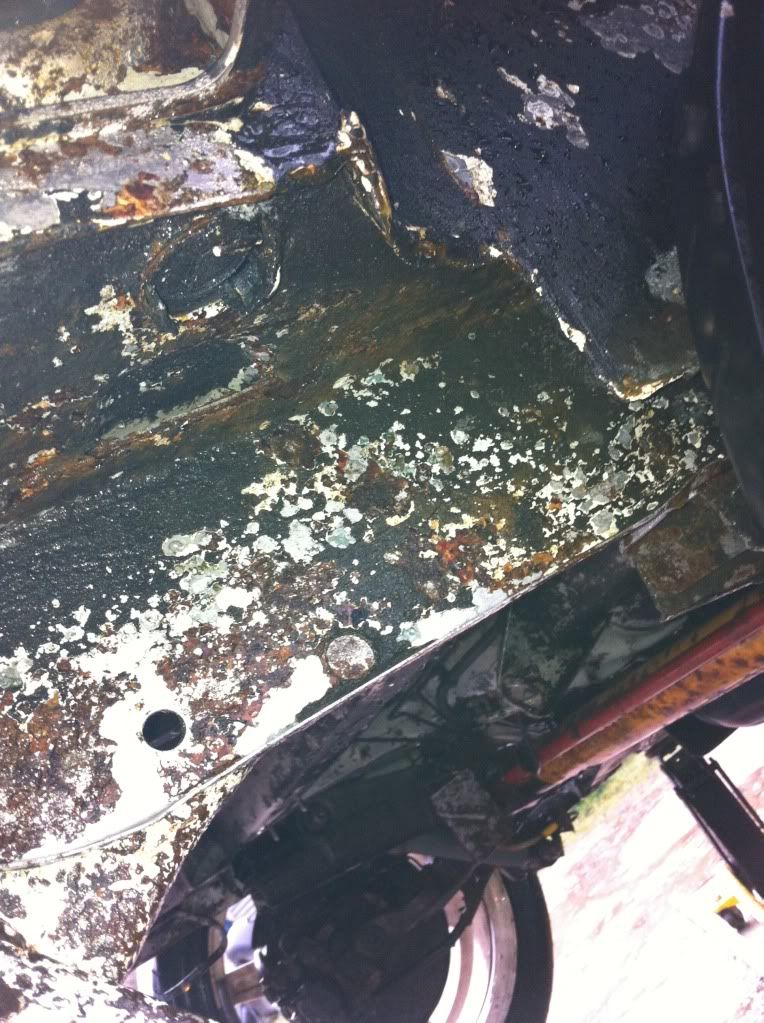
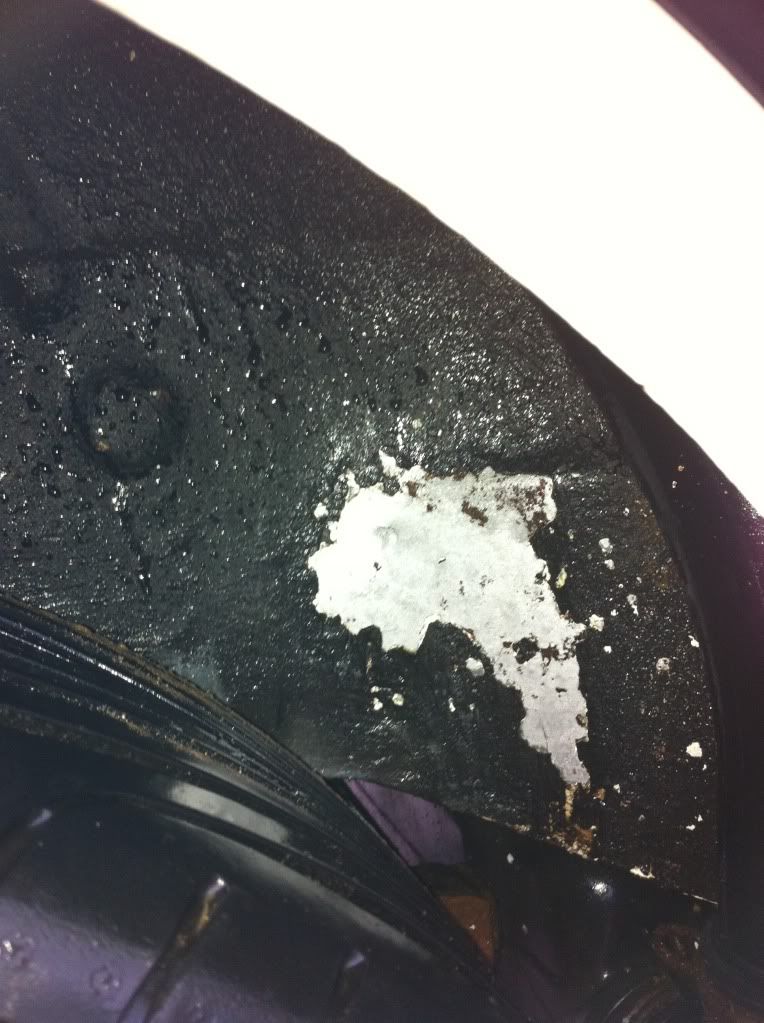
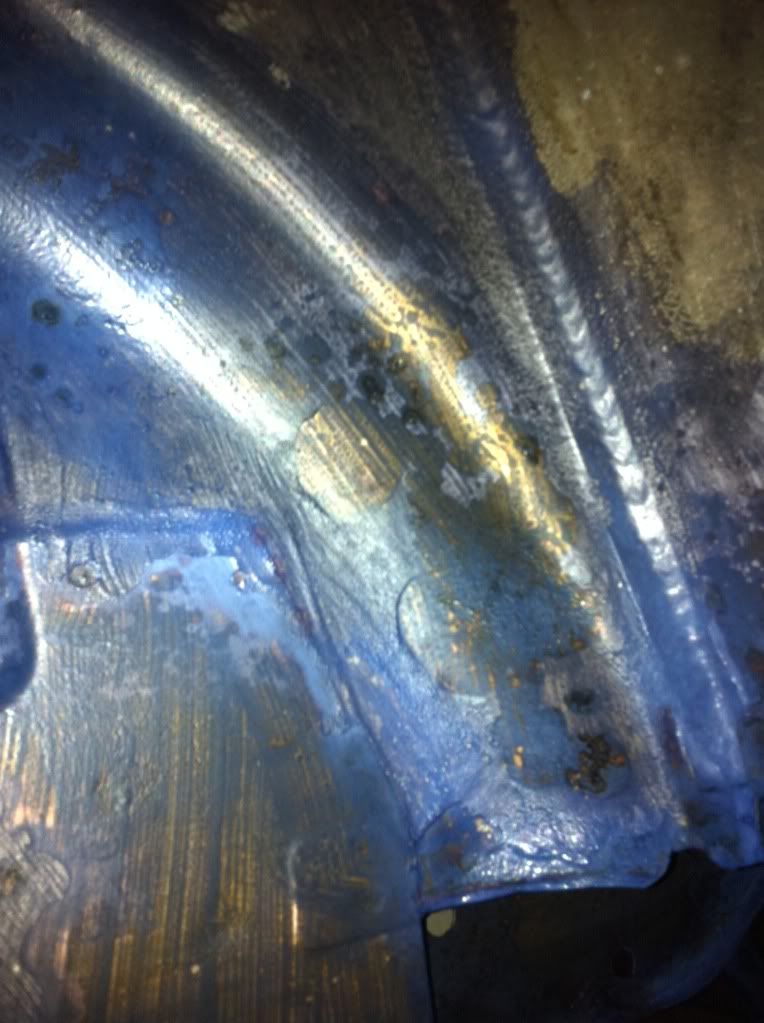
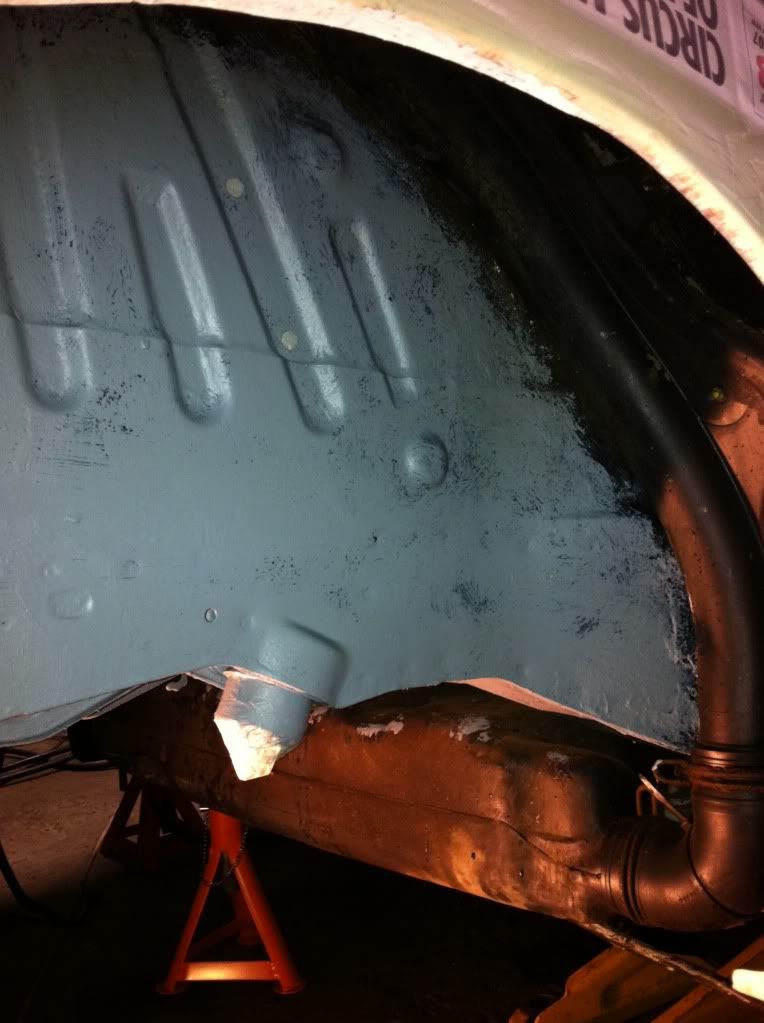
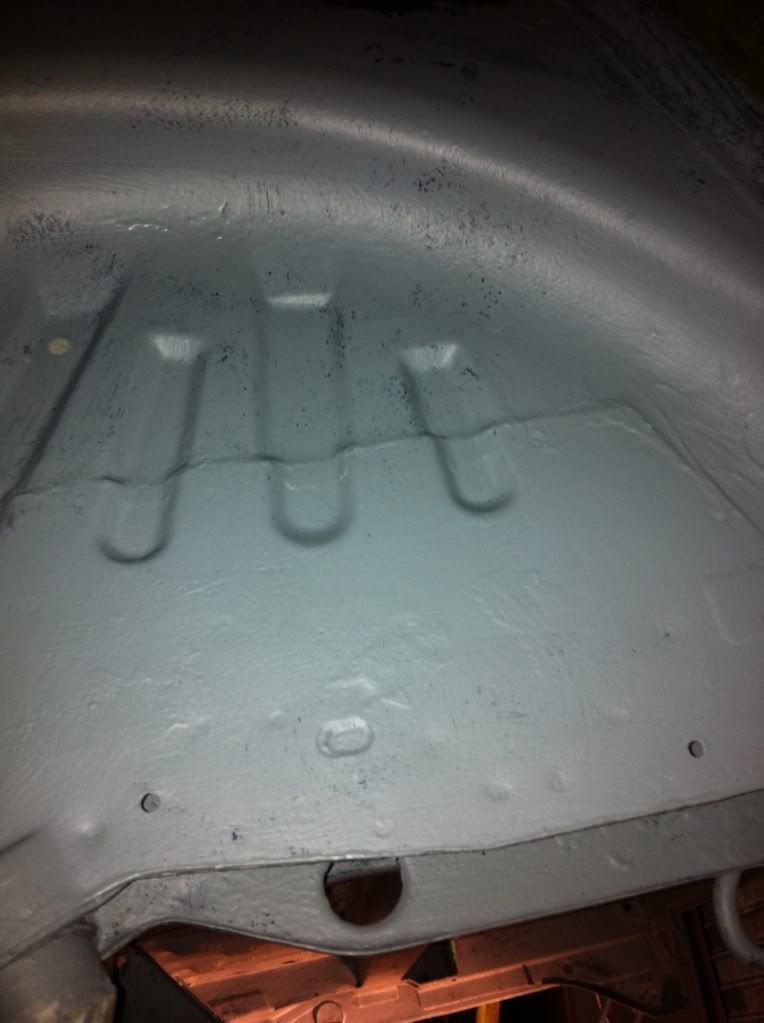
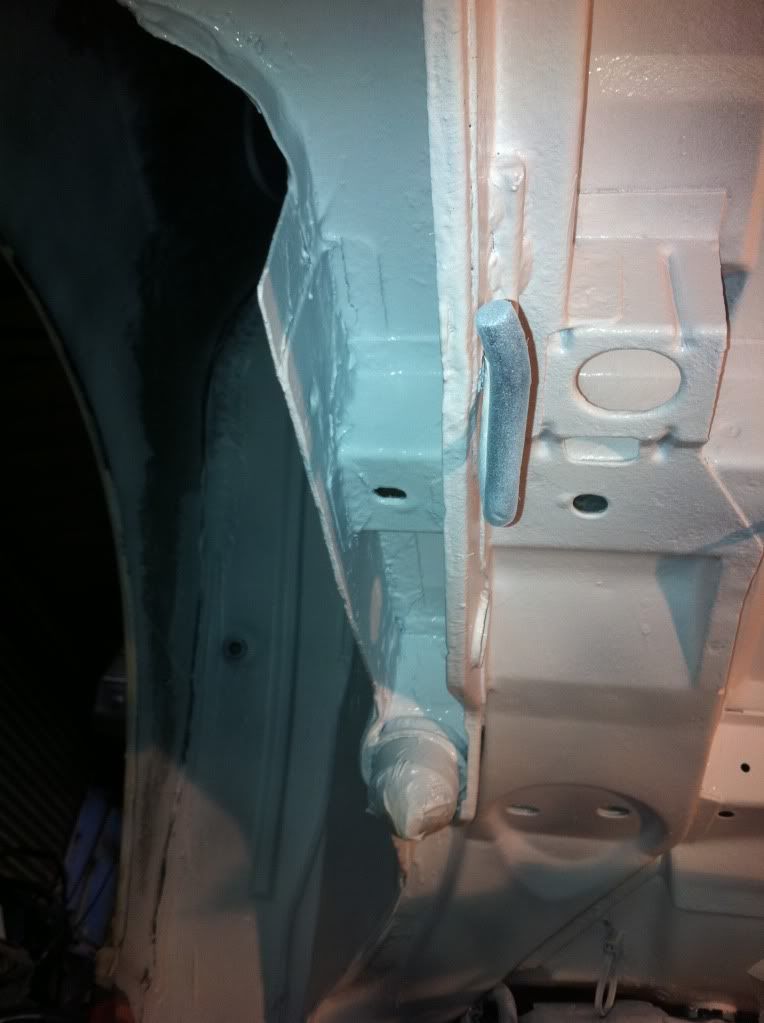
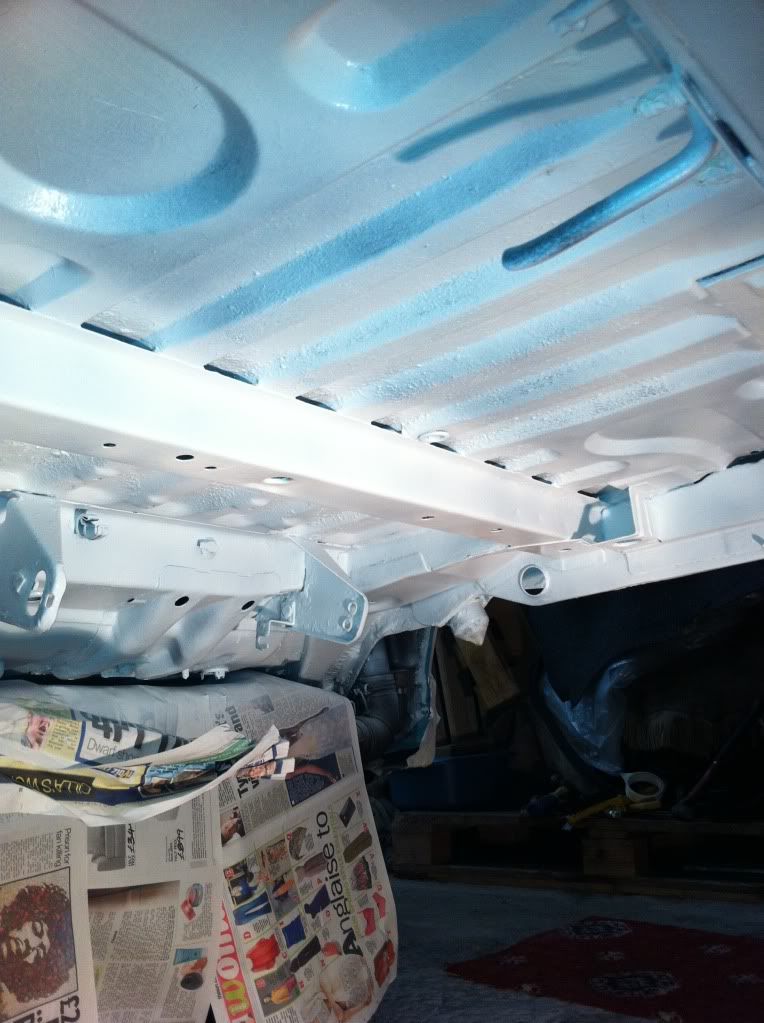
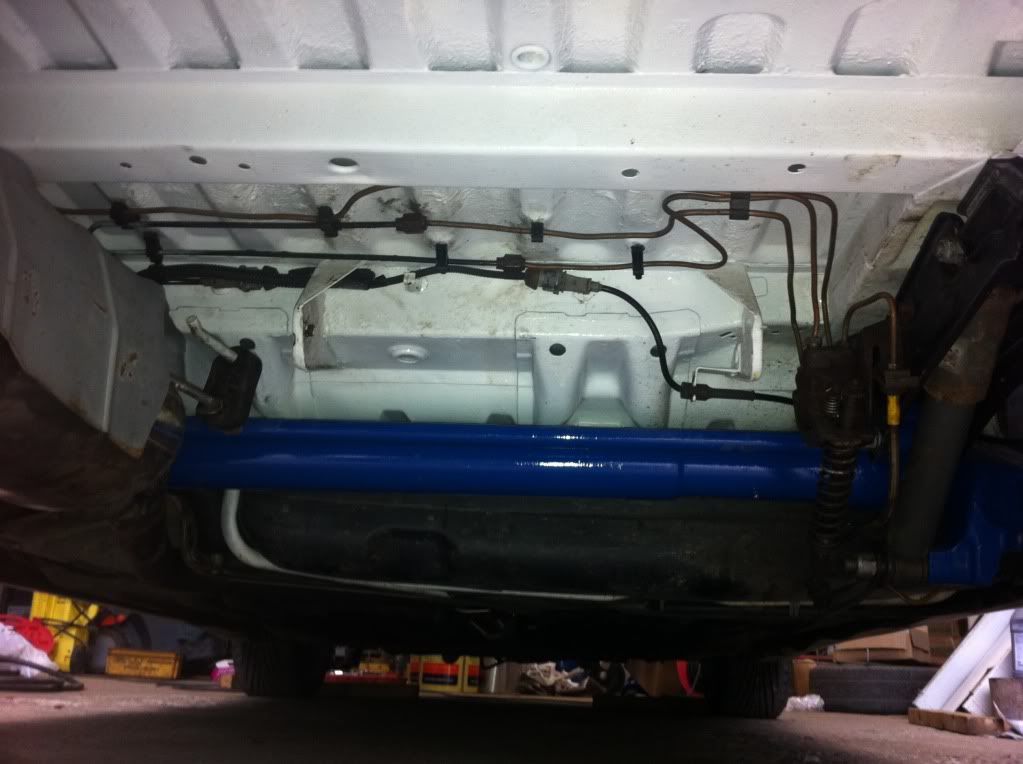
Drivers side rear arch had lots of underseal, which required lots of attention with 4 inch grinder with wire buff disk on it

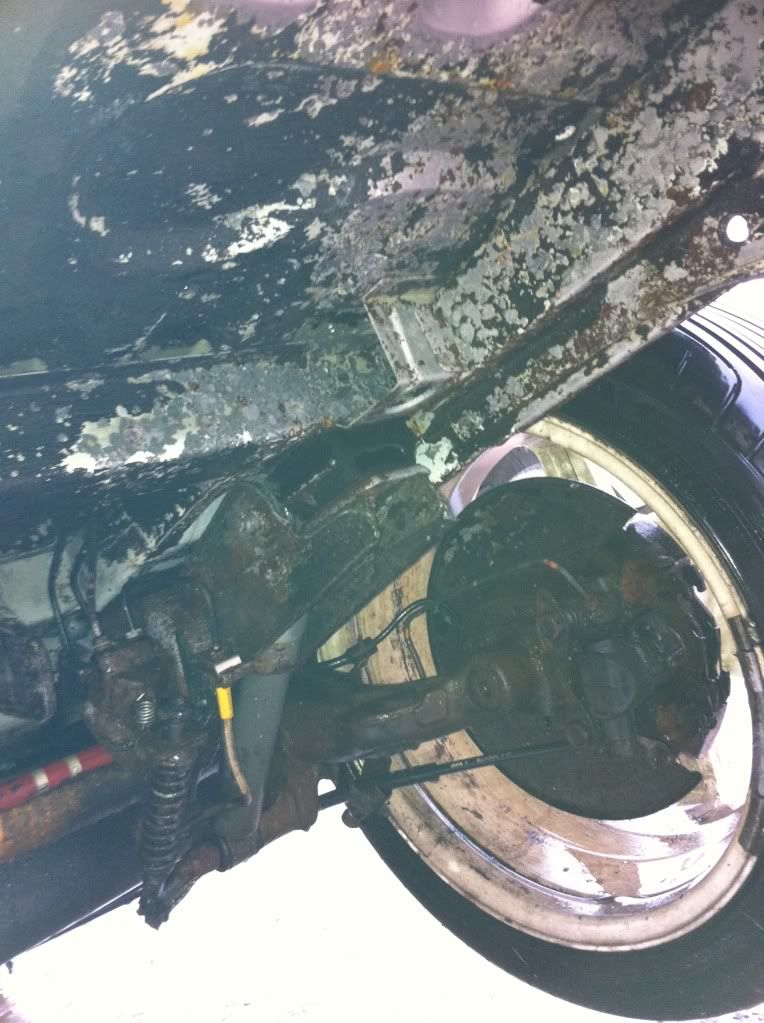
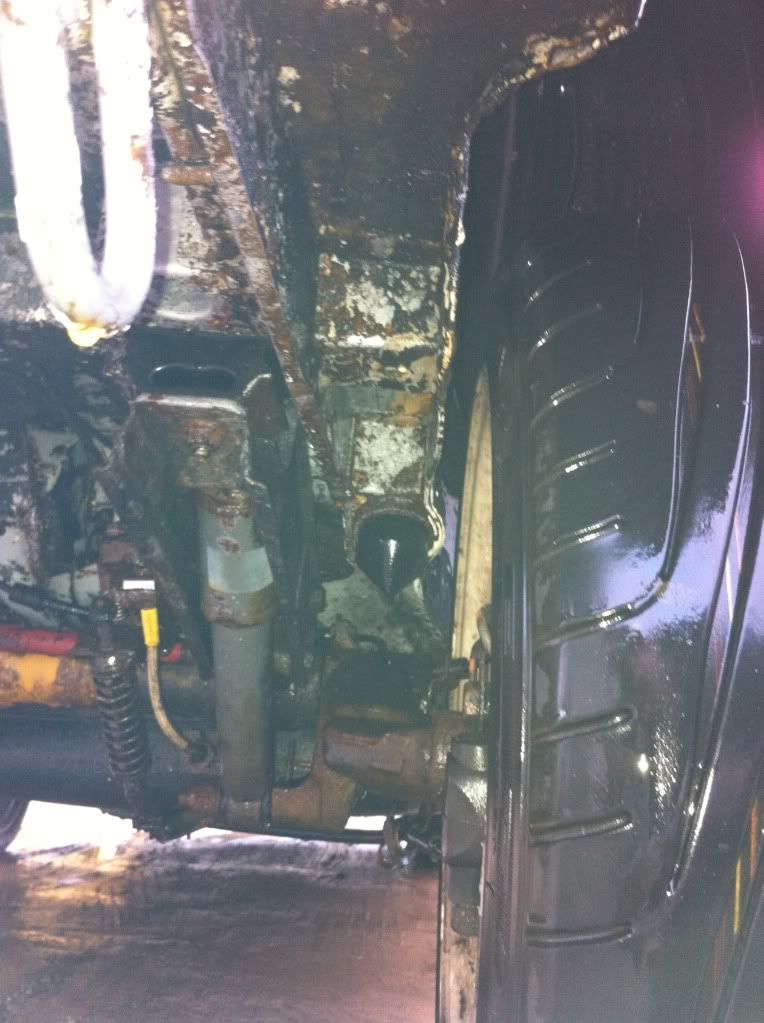
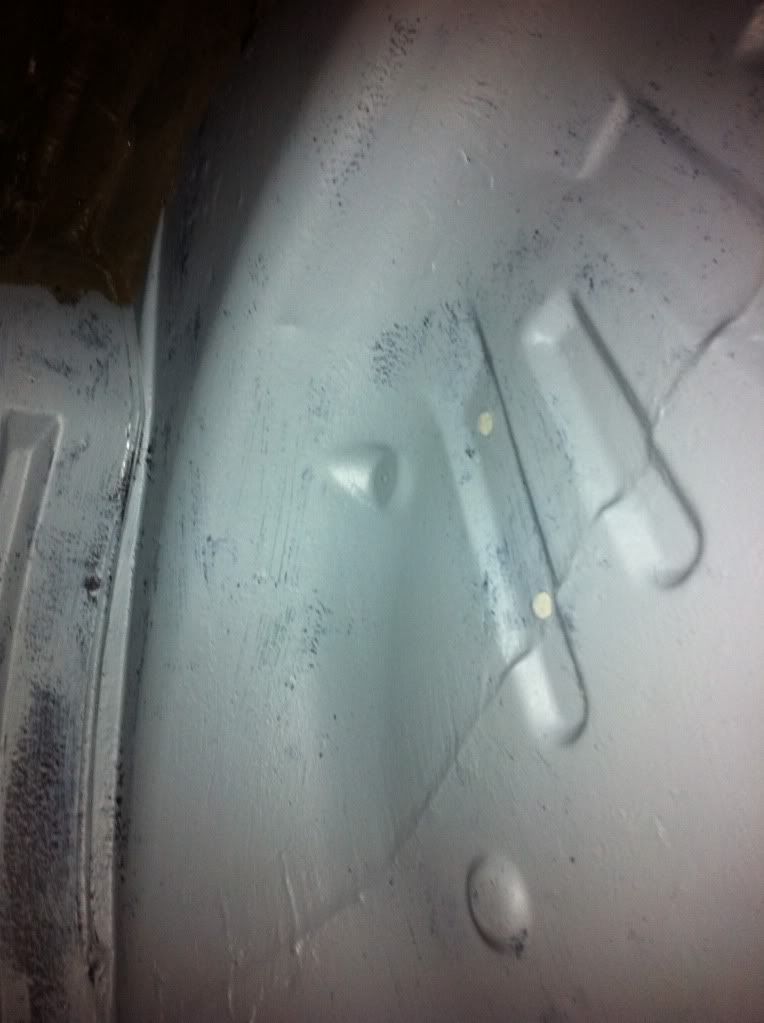
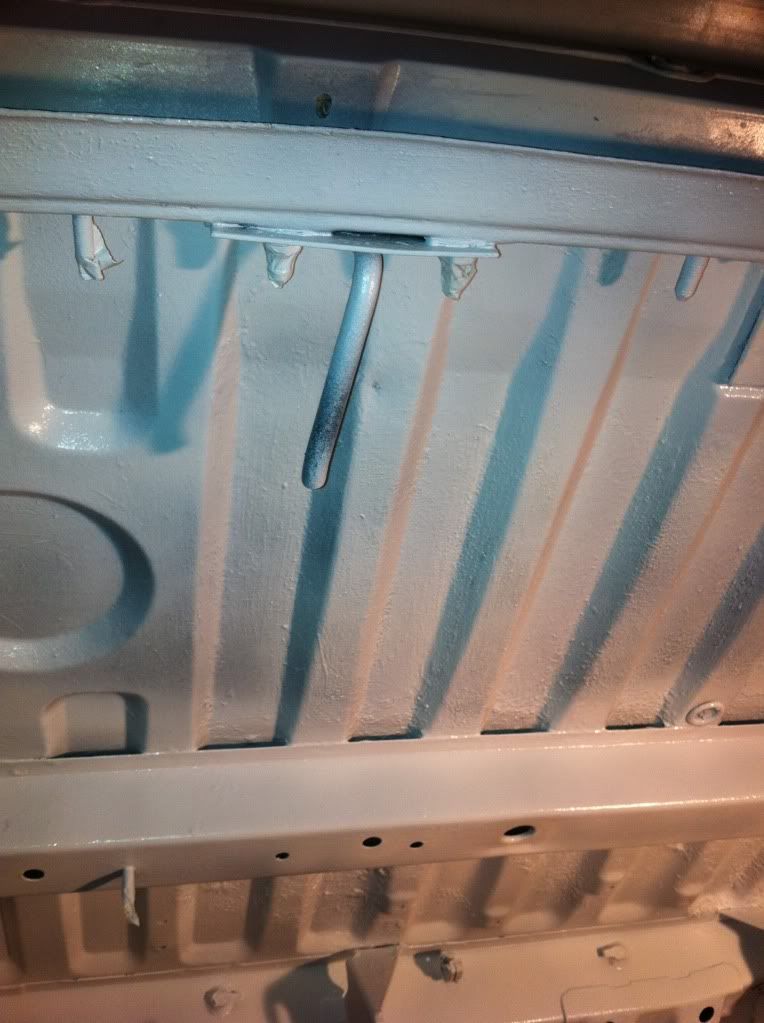
Passenger side rear arch


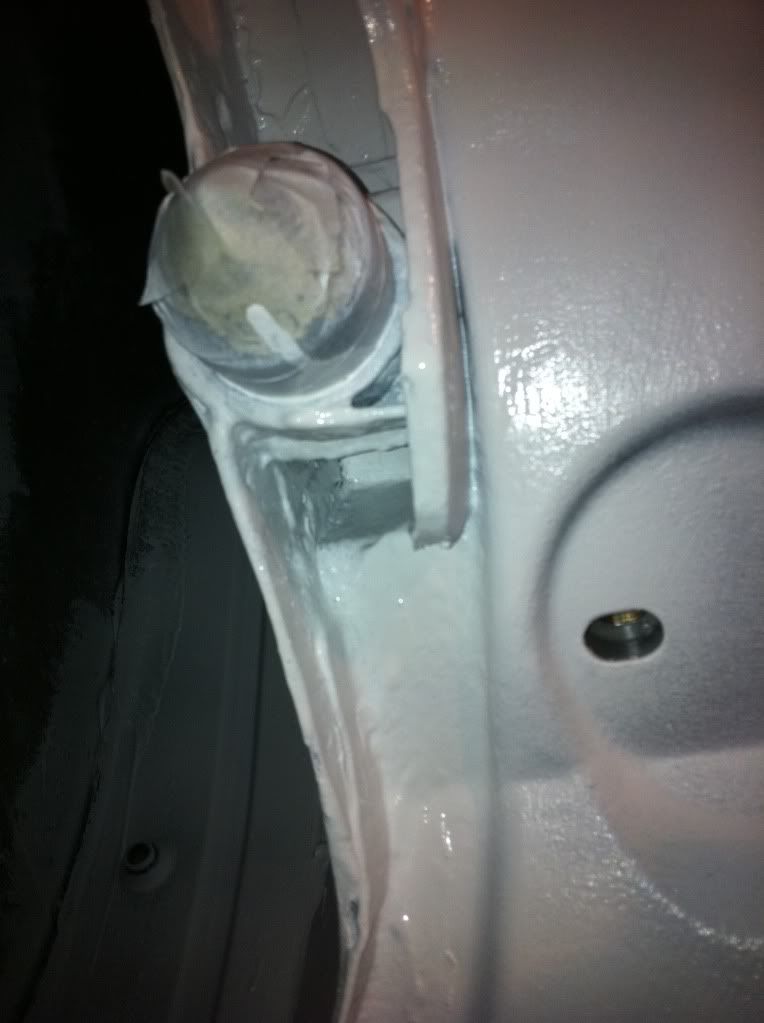
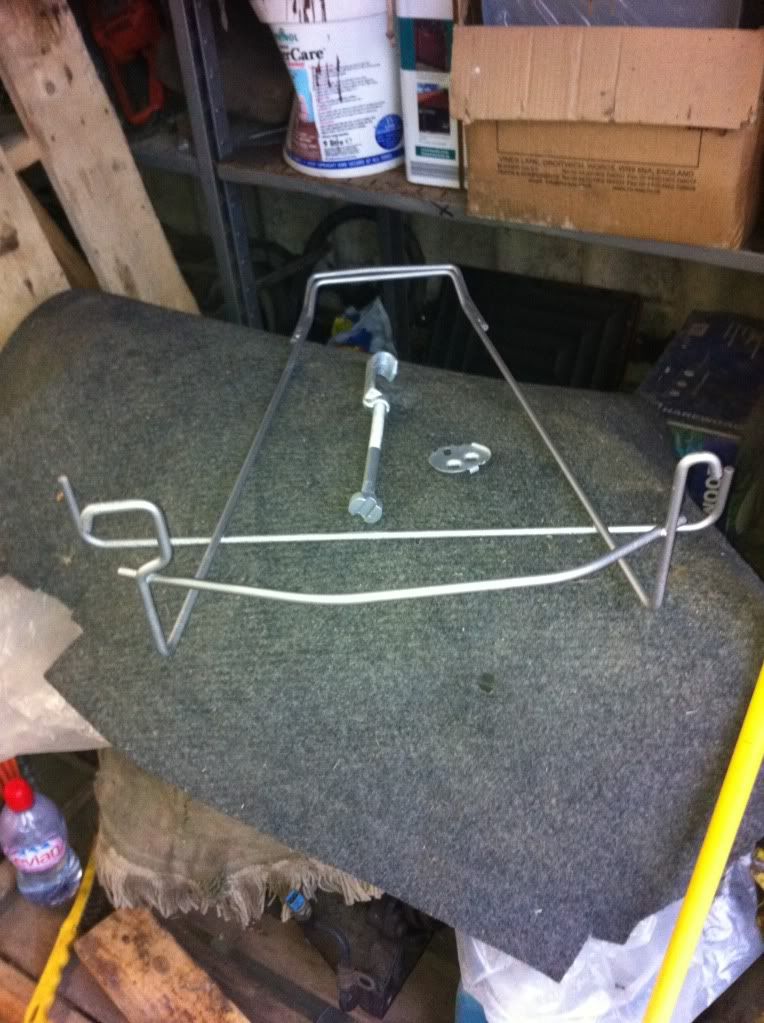
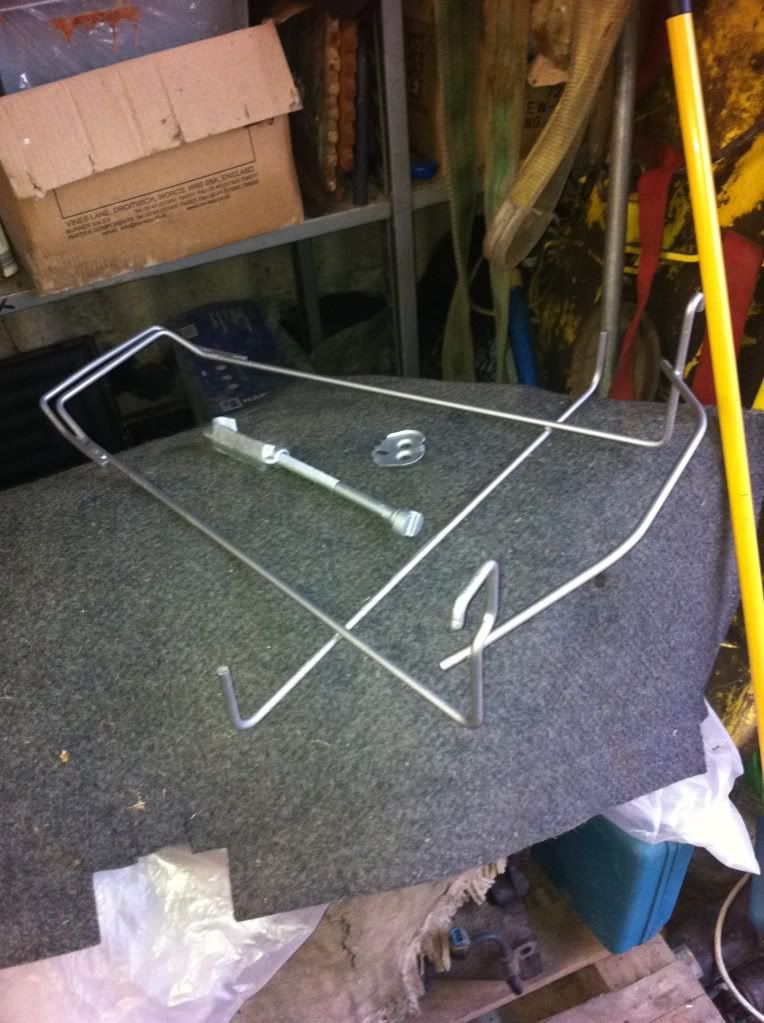
Planning getting spare wheel cage sand blasted soon its still to be fixed

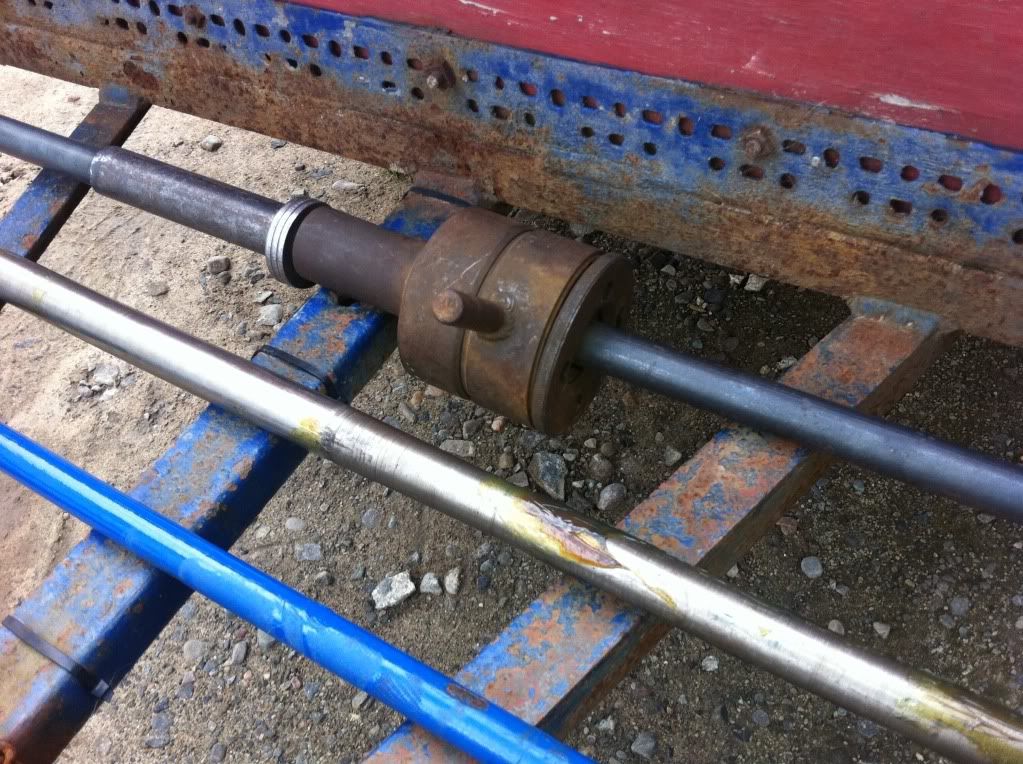
This was the thread that I fixed with the Recoil kit:

From : January 2011, changed links due to Photobucket fail
Mid January got slowly started with derusting:
Car elevated using axel stands, took a few pictures before I started anything major.
Underseal needed removed and rear axel too, didn�t get this done straight away
Had 4 inch grinder with wire brush on standby, along with small handheld air grinder and various attachments, also used compressed air for blastings loose bits off. These first pictures were after a wee poke about with wire brush. Really looked bad...
This bracket got damaged and bent pretty badly 2/3 years ago when a taxi decided to try and push me out a junction. It needed straightened to say least
Exhaust heat shield before it got sand blasted
Drivers side rear arch had lots of underseal, which required lots of attention with 4 inch grinder with wire buff disk on it
Passenger side rear arch
Planning getting spare wheel cage sand blasted soon its still to be fixed
This was the thread that I fixed with the Recoil kit:
From : January 2011
________________________________________
TEAM HIGH BOOST SUPERCHARGED RALLYE
My Rallye project thread


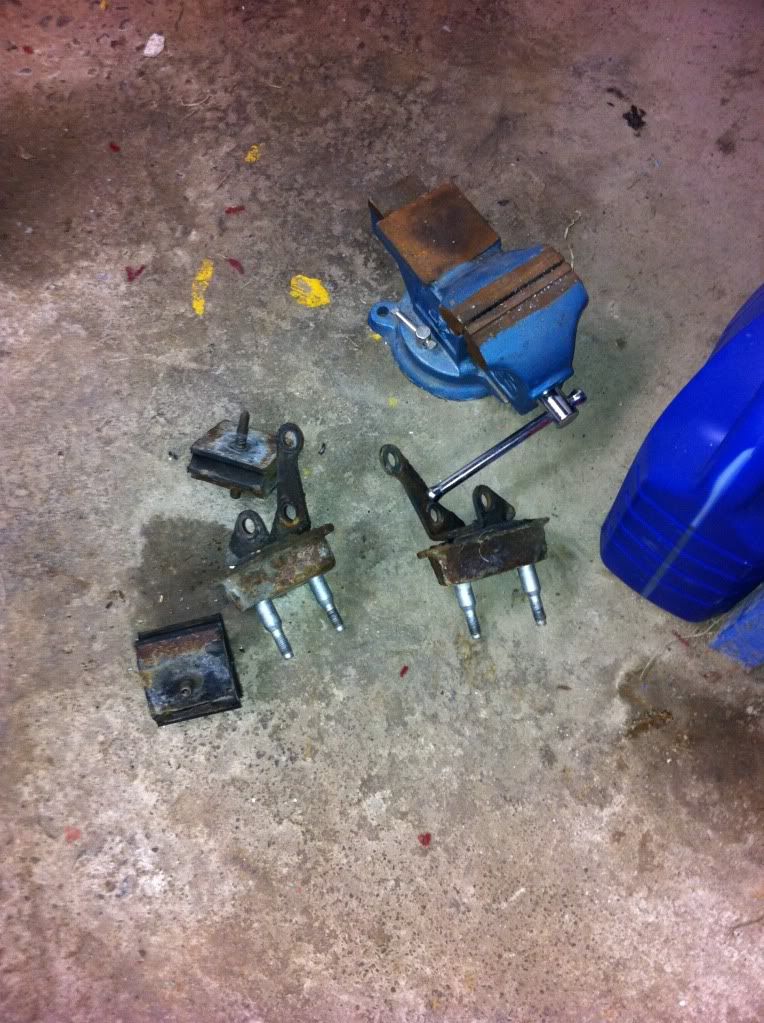

 basically old ones were long gone
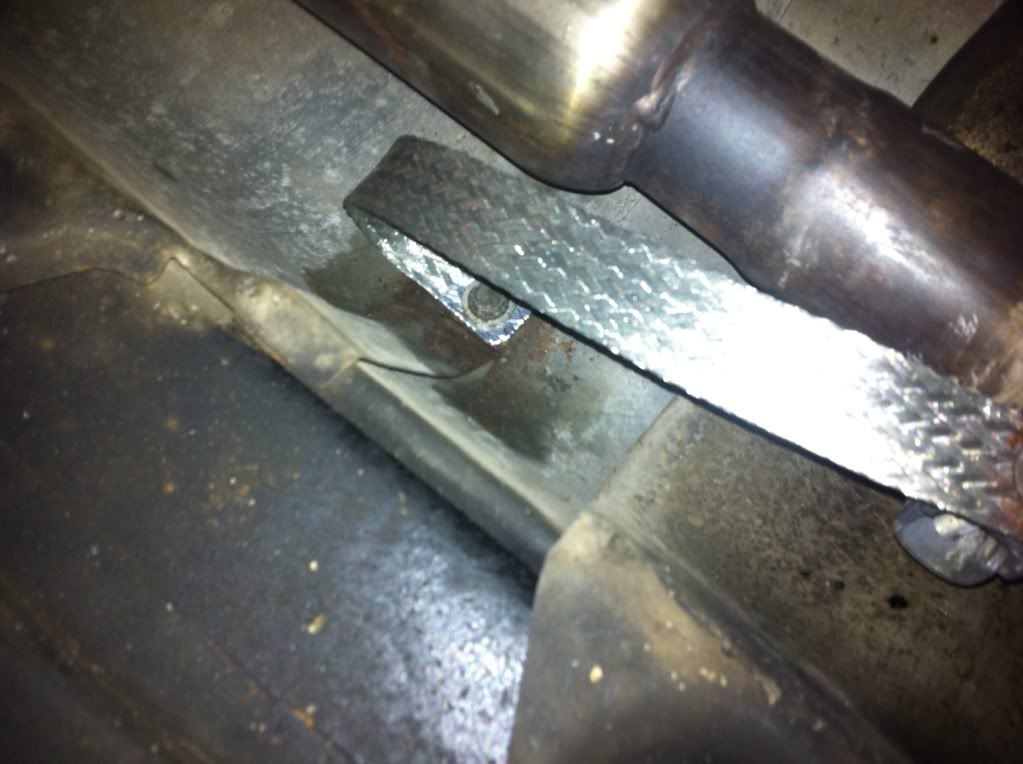


 )
)